Download
1 / 5
50 likes | 60 Vues
Read box 2 ‘Stencil Printing’ in your knowledge organiser. Materials and equipment: Image to work from (motif) Card Craft knife. 1. Choose your motif (you may need to simplify this.) 2. Stick this onto your card 3. Use a craft knife to cut out your design.

E N D
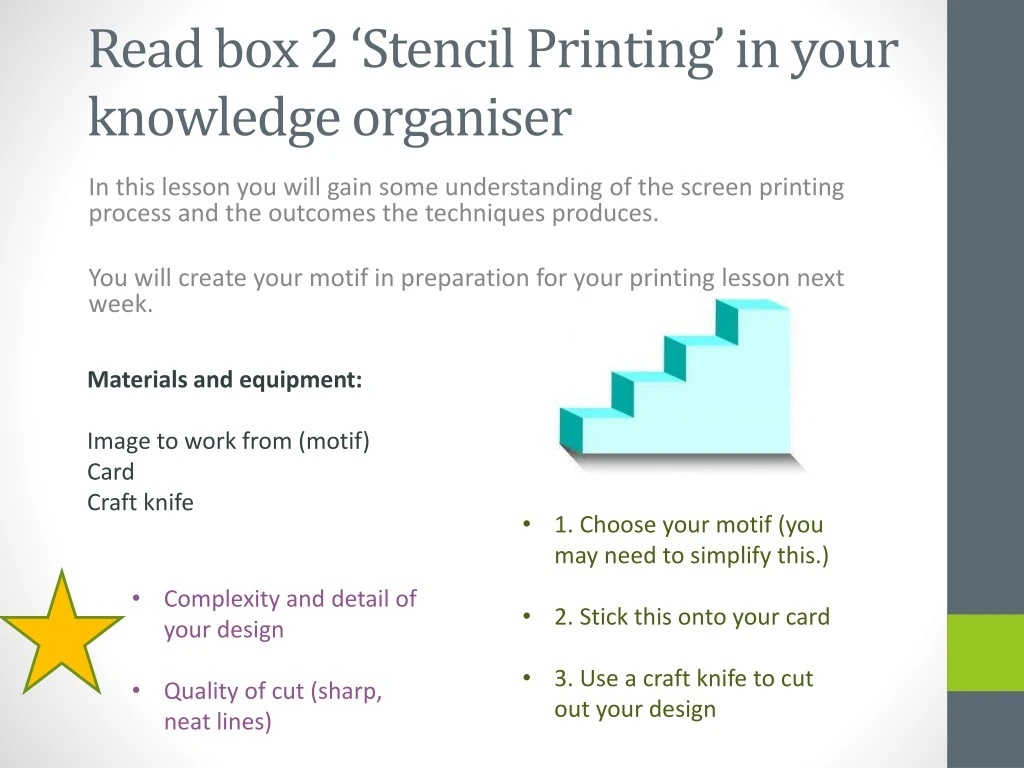
Read box 2 ‘Stencil Printing’ in your knowledge organiser Materials and equipment: Image to work from (motif) Card Craft knife • 1. Choose your motif (you may need to simplify this.) • 2. Stick this onto your card • 3. Use a craft knife to cut out your design In this lesson you will gain some understanding of the screen printing process and the outcomes the techniques produces. You will create your motif in preparation for your printing lesson next week. • Complexity and detail of your design • Quality of cut (sharp, neat lines)
Screen Printing Tom Abbiss Smith Eliza South Wood Adam Gale Dan Parry Jones Andy Warhol Elizabeth Corkey
Homework • Ensure your stencil is cut out ready for printing DUE Thursday • Bring in inspiration for reduction lino and intaglio flipped image
Screen-Printing • What you need: • Dyes and inks • Background Papers • Parcel Tape • Cloths • Squeegee • Frame Instructions: • Collect all of your equipment and lay out on the table • Make sure your stencil is attached to your screen print with the brown parcel tape and there are no spaces of your screen showing • Decide on your repeat pattern and how it will look • Mix your dye colour and place the correct amount on the screen • With a partner and a squeegee you need to swipe the screen twice (this is depending on whether it is paper, fabric etc) • Make sure your layer is dried before swiping again • When all the layers are complete add detail to the piece through paint, cutting and/or attaching more papers etc • Tidy away all equipment and put dyes somewhere safe
Screen Printing—Process and tips Taping the stencil to the screen... Before you start you will need: • A stencil cut out from screen printing card • Frame • Brown parcel tape • Squeegee • Dyes—make up from acrylic paint and printing solution (2:1) • Newspaper • Pen • Masking Tape • Hair dryer Creating a repeat print: )Tape your repeated motif template onto your frame (centred from edges) with parcel tape. )Block out the rest of the frame with more tape. )Set up your space; position newspaper and tape to form one surface. Use small pieces of masking tape to adhere your paper (or fabric) to the newspaper & mark in place. )Position frame for first print and make a reference mark on the newspaper where the top and the bottom of your stencil card meets (this will help you to align further prints). )Add your dye to the frame above the top of the stencil. )You will need someone to hold the frame in place for you before you print… Hold the squeegee at about 6o degrees to the frame and swipe through using a fluid motion. Smoothly, swipe back up to complete the print. )Carefully lift off the screen and dry your print before adding the next repeat. )To align the next print, line up the top of your stencil card with the bottom mark created earlier and make yourself a mark for the next (in line with the bottom of the card). )Repeat until you have the desired number of prints. Marking out guides... Squeegee at 60 Degrees... Tips and ideas: • Develop your print by working over and into it (make copies so that you can experiment) in pen / collage / paint / stitch etc. • For further challenge, try creating a second stencil (using the exact dimensions of the first) and cut away more intricate details to layer over the silhouettes. • If your print is bobbly your mix is too thin (add more acrylic). • If your print does not pick up on all of the detail you need to add more pressure / ensure that you pull through twice. A more complex print...


