Download
1 / 19
710 likes | 3.01k Vues
Introduction to the Compound microscope . Khady Guiro C2PRISM 2011. Definition. " Micro" refers to tiny , "scope" refers to view or look at. Microscopes are tools used to enlarge images of small objects so they can be studied.

E N D
Introduction to the Compound microscope Khady Guiro C2PRISM 2011
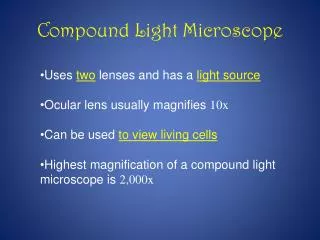
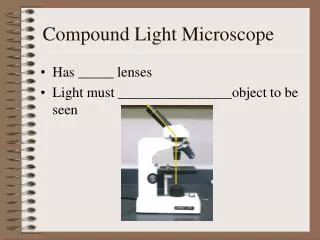
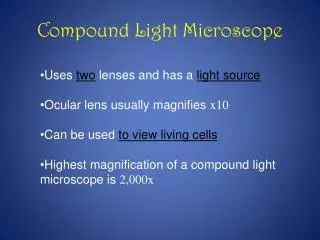
Definition • "Micro" refers to tiny, "scope" refers to view or look at. • Microscopes are tools used to enlarge images of small objects so they can be studied. • The compound light microscope is an instrument containing two lenses, which magnifies, and a variety of knobs to resolve (focus) the picture. • Because it uses more than one lens, it is also called the compound microscope.
Introduction • Many objects are too small to be seen by the eye alone. • They can be seen, however, with the use of an instrument that magnifies, or visually enlarges, the object. • One such instrument, which is of great importance to biologists and other scientists, is the compound light microscope.
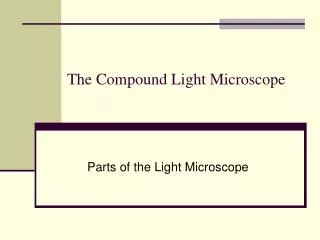
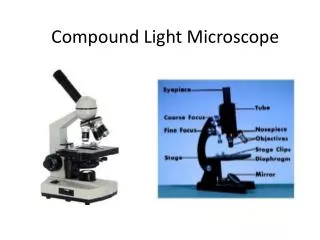
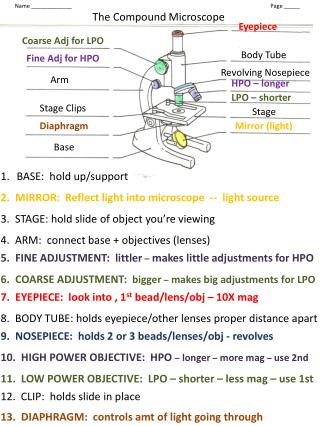
Microscope Parts Eyepiece BodyTube RevolvingNosepiece Arm ObjectiveLens Stage StageClips CoarseFocus Diaphragm FineFocus Light Base
Handling the microscope • Always carry the microscope with both hands. • Graspthe arm of the microscope with one hand and place • your other hand under the base. • Always hold the microscope in an upright position so that the eyepiece cannot fall out.
Closer look • Notice the numbers etched on the objectives and on the eyepiece. • Each number is followed by an “X” that means “times.” • For example, the low-power objective may have the number “10X” on its side. • That objective magnifies an object 10 times its normal size.
Illustration • The total magnification of a microscope is calculated by multiplying the magnification of the objective by the magnification of the eyepiece.
Side view • Look at the microscope from the side. Locate the coarse adjustment knob. • moves the objectives up and down. • Practice moving the coarse adjustment knob to see how it moves the objectives with each turn. • Turn the coarse adjustment so that the low-power objective is positioned about 3 cm from the stage.
Nosepiece 1. Locate the revolving nosepiece. 2. Turn the nosepiece until you hear the high-power objective click into position. 3. Now turn the nosepiece until the low-power objective clicks back into position.
Turning on the microscope • Plug in the cord and turn on the light. • Look through the eyepiece. • Adjust the diaphragm to permit sufficient light to enter the microscope. • The white circle of light you see is the field of view.
Using the Microscope • Place the Slide on the Microscope • Use Stage Clips • Click Nosepiece to the lowest (shortest) setting • Look into the Eyepiece • Use the Coarse Focus
Using High Power • Follow steps to focus using low power • Click the nosepiece to the longest objective • Do NOTuse the Coarse Focusing Knob • Use the Fine Focus Knob to bring the slide What can you find on your slide?
Images Produced by Light Microscopes Amoeba Streptococcus bacteria Anthrax bacteria Plant cells Human cheek cells Yeast cells
Higher magnifications Animal cells Plant cells
Animal cell Onion cell
2 points questions • Why might it be a good idea to keep your microscope at least 10 cm from the edge of the table? • Why should a microscope slide and coverslip be held by their edges? • Why do scientists use microscopes? • Why should you use lens paper only once? • Why is it important to eliminate air bubbles from the slide?
5points questions • Why do you place one hand under the base of the microscope as you carry it? • How is the image of an object seen through the high power objective different from the image seen through the low-power objective? • Explain why a specimen to be viewed under the microscope must be thin.