Download
1 / 43
430 likes | 546 Vues
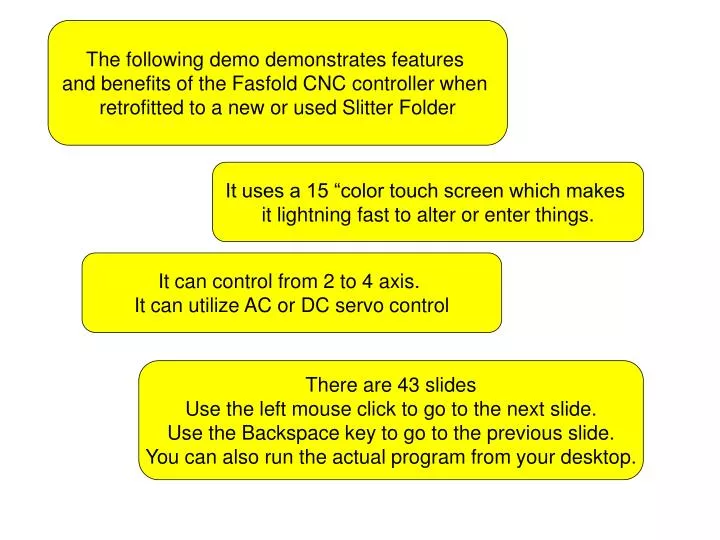
The following demo demonstrates features and benefits of the Fasfold CNC controller when retrofitted to a new or used Slitter Folder. It uses a 15 “color touch screen which makes it lightning fast to alter or enter things. It can control from 2 to 4 axis.

E N D
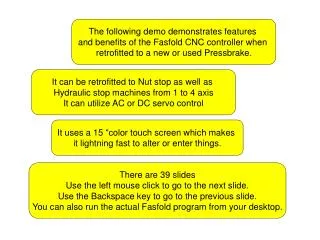
The following demo demonstrates features and benefits of the Fasfold CNC controller when retrofitted to a new or used Slitter Folder It uses a 15 “color touch screen which makes it lightning fast to alter or enter things. It can control from 2 to 4 axis. It can utilize AC or DC servocontrol There are 43 slides Use the left mouse click to go to the next slide. Use the Backspace key to go to the previous slide. You can also run the actual program from your desktop.
Whenever you press on any value…. This keypad pops up which allows you to enter data
Finger touch Quickdraw to go to the Quickdraw screen
Touch here to start the profile
Touch here for end of 1st length
Touch here for next bend Touch here to change the grid size
Touch here for last bend Lets say we placed it on the wrong corner. Use the Undo button to erase. Undo
Touch here to place the last bend correctly
Touch this corner to move it in Use Draw/Edit to make changes
Touch this corner to move it out again Use OK to return to The Main Screen
Any values can be altered here to fine tune the profile Dimensions in the first and Angle in the second column
Use Insert to insert a slit before a bend
Enter the bend number where the slit needs to be inserted 1
28.2 plus.. This is the Backgauge position For the slit based on the total of all the dimensions of the profile It can be altered if needed. It is calculated automatically. Press OK. 90 plus.. 50 plus.. 14.2 = 182.4 This is the total length of the profile above
182.4 for the first slit The (- blue) for fold 2 & 3 indicates the folds is done on the bottom side of the material
The ( -) Blue in the first column indicates the fold needs to be done from the rear of the material Use sequence to select a specific folding order other than 1234
Lastly press 2 for the last fold First press 1 for the slit Next is 4 then 3 for the next 2 folds
You have now selected a 231 sequence ( if the slit is ignored)
Simulate any fold… By pressing on any fold number below
This fold needs to be Done from the rear…
So this needs to change to minus 28.2
Now the profile sits on the outside rather than the inside Use this key to change Between 1 & 2 operators
Use this key to change Between 1 & 2 operators
Use this key to enter a job number
Use this key to save the job
Enter the password And press OK
Use this key to open a new job
Touch on the Job you want Or press UP & Down to scroll to another page
The job opens with all relevant data like which folds is done from the rear or bottom etc
Also the previous fold sequence.. Saves a lot of time.
Fold 1 needs to be changed to (-) in the first column
So the material sits outside the folder Use this to Toggle Between Auto & Manual mode
This will take you to the Calibrate& Setup screen Use this to Toggle Between Auto & Manual mode
When any input switches or outputs activated, they change between green and red. It is so quick and powerful to do diagnostics. When you press the footswitch, it changes to green and if the valve operates, it changes color as well. This minimizes down time. Hydraulic pump Encoder Top switch Valves This takes you to the Parameter screen Bottom switch Backgauge motor Valves Foot switches
This takes you to the Calibration This is the Apron slow speed, fast speed, Tolerance etc. This is the Backgauge slow speed, fast speed, Tolerance etc.
Calibration is as easy as entering the actual measured values in here. This takes you back To the Main screen
Jobs can also be downloaded from the office This button downloads the job to the PLC on the machine