Download
1 / 10
100 likes | 106 Vues
Project Overview. Introduction & Product Analysis Drawing & communication Sensing abilities in robots Programming Robots Mechanisms and Systems Designing new products & Packaging Presentation and Rendering Biomimicry Concept Modelling Concept presentations. LESSON 07. LESSON 7 STARTER.

E N D
Project Overview • Introduction & Product Analysis • Drawing & communication • Sensing abilities in robots • Programming Robots • Mechanisms and Systems • Designing new products & Packaging • Presentation and Rendering • Biomimicry • Concept Modelling • Concept presentations
LESSON 7 STARTER Learning objective: Learn to graphically communicate products realistically. Apply tone, shading and shadow and learn how to use these with great effect. METHODS OF RENDERING Rendering is the term used in product design by designers to describe a process that you might liken to colouring in. Rendering is much more complex than colouring within the lines, firstly because often there are no lines!Rendering requires a trained designer to pay attention to a number of techniques and features of a rendered image that ensure it looks realistic on the paper.These are: LIGHT, SHADOW, COLOUR, TONE, LINE QUALITY, REFLECTION, HORIZON & SCALE. New words: tone, shadow, colour, light, quality, reflection, horizon, scale, rendering
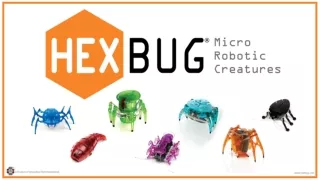
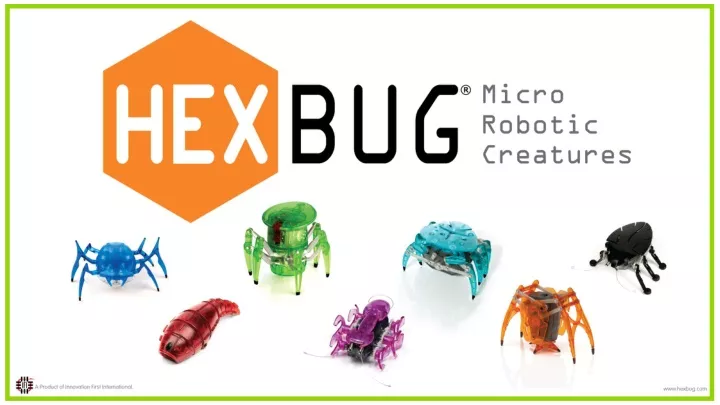
Rendering and Presentation Here is a rendered image of the original Hexbug robotic toy when it was first designed by the design team.Can you spot all the features listed below? • Light– hits the edges of the plastic • Shadow– appears on the legs • Colour– is used all over • Tone– is seen on the red legs • Line quality – gives a crisp look • Reflections– appear on the antenna • Horizon– is not evident here • Scale– is applied to the whole drawing LIGHT, SHADOW, COLOUR, TONE, LINE QUALITY, REFLECTION, HORIZON & SCALE
Rendering and Presentation Colour & ToneChoosing the right colour and creating variations in the tone of that colour creates realism in your product design drawings. In this Larva rendering, note how much variation the designer has achieved from one green pen. By applying the pen over and over in the same space you can create tone. If you can create this tone to look progressively darker or lighter in a direction you create something called a gradient. This is shown below and taken from the image left. LIGHT, SHADOW, COLOUR, TONE, LINE QUALITY, REFLECTION, HORIZON & SCALE New words: gradient
Rendering and Presentation Why use pen and paper when computers must be quicker?Because of the skill of the designer and their ability to render by hand quickly, it is often simpler to sketch and idea and render it rather than scan in the image and retouch it using a computer. Here a designer has explored two ways of designing the Crab legs by both are quickly rendered using pen, pencil and pastel. LIGHT, SHADOW, COLOUR, TONE, LINE QUALITY, REFLECTION, HORIZON & SCALE
Rendering and Presentation Watch and learnWatch this short video discussing how to rendering using different media, then have a go yourself using the lesson hand-out. Task: Render all of your Hexbug images using pen, pencil and pastel. LIGHT, SHADOW, COLOUR, TONE, LINE QUALITY, REFLECTION, HORIZON & SCALE
LESSON 7 PLENARY As a class, let us consider the following questions?A. Why do you think designers still render and sketch by hand when computers are available?B. How can colour have more impact than black and white (or grayscale)? C. What helps to emphasise a particular feature of a product? D. What can make a rendered image look confusing to the viewer?
Summary Learning objective: Learn to graphically communicate products realistically. Apply tone, shading and shadow and learn how to use these with great effect. • Today you have: • Learnt about shadow, tone shading and rendering with colours and in black and white. • Practiced with great effect these techniques to represent a realistic product. • Developed your communication skills focused on Hexbugs.