Download
1 / 42
420 likes | 427 Vues
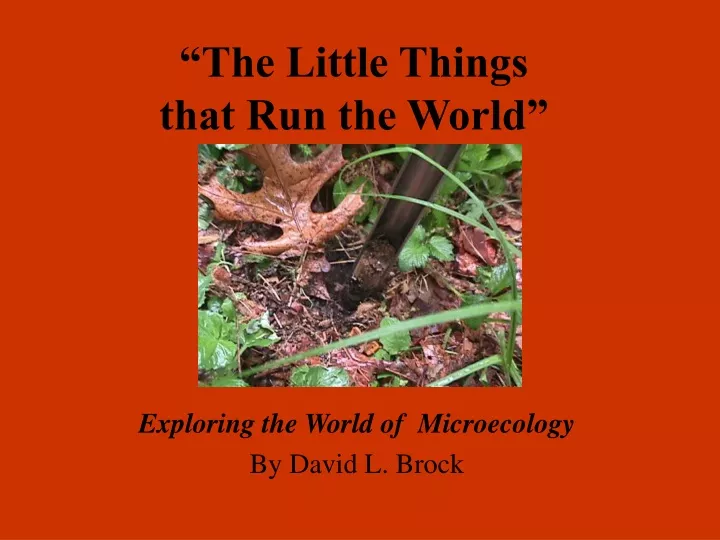
“The Little Things that Run the World”. Exploring the World of Microecology By David L. Brock. Extract, Dilute, Test, Identify. Sample Collecting use soil cylinders 10-15 cm deep; keep in fresh plastic bags (don’t reuse to avoid contamination)

E N D
“The Little Thingsthat Run the World” Exploring the World of Microecology By David L. Brock
Sample Collecting • use soil cylinders 10-15 cm deep; keep in fresh plastic bags (don’t reuse to avoid contamination) • should collect min. of 3 samples from each location • make sure to collect all samples on the same day & time • remember: soil is still “alive” in the plastic bag
Step 1: Use Twisting Action to embed soil core sampler to 1st Mark
Step 4: place soil core sample in clean, plastic storage bag for transport to the lab
Chemical Testing • goggles & gloves! • always test at same time you sample microbe populations • pH, calcium, nitrate, & phosphate show nice relationships with protozoa as well as bacteria • active iron, aluminum, & manganese provide a good challenge for your better students
Step 1: find all the necessary chemicals for your specific test and remove from the kit
Step 2: add soil sample and extraction fluid(s) to testing tube(s)
Step 3: shake vigorously for required time (depends on the test)
Step 5: apply appropriate indicator to extract from suspension liquid
Step 6: compare color changes in sample to known values on the indicator chart
Serial Dilutions • use for bacteria, yeast, and mold counts in cfu/cm3; formula = # of colonies • 102 • 10 |dilution factor| • be sure to use sterile water (boiled & cooled works perfectly fine) • can reuse dilution tubes between samples but clean thoroughly • Uses an easy “low-tech” method involving inexpensive, re-usable materials
Step 1: use a microcentrifuge tube to create a 1/2 cc soil scoop
Step 2: cut 3M Petrifilm plates into thirds (or use alternative media of your choice)
Step 3: collect a 1/2 cc sample of soil with the scoop and place in a 15 ml transformation tube
Step 4: add 5ml of sterile water to the transformation tube containing the 1/2 cc soil sample using a new clean pippette; cap & shake vigorously
Step 5: in a 2nd culture tube use the “Sterile Water” pipette from step 4 to fill the tube with 4.5 ml of sterile water. Step 6: remove 0.5 ml from soil tube with new pipette and place in 2nd tube. Step 7: Cap the 2nd tube containing the dilution and shake vigorously.
Step 8: Now empty the contents of the original soil tube and rinse THOROUGHLY (no need to wash at this stage). Step 9: Add 4.5 ml of sterile water to the cleaned tube and transfer 0.5 ml of the solution from second tube to this “third” tube.
Step 10: Repeat steps 8 & 9 twice more using previous dilution each time.
Step 11: use a clean, new pipette to place 100 µl of the dilution being studied onto the plate and press down with your finger to disperse the liquid
Step 13: examine each plate from a dilution series to find the ones with between 5 & 30 colonies; count the colonies on only those plates & use the formula to calculate the density of bacteria in the original cc of each soil sample
Protozoa Extraction • be sure to use distilled water and not tap water; but it does not need to be sterile • filter the Uhlig run-off a second time for improved viewing • methyl green is the preferred stain • to quantify: [(# per field of view at 40X) • (total ml of water used) • 747] (grams of sifted soil ) = # of protozoa per gram of soil
Step 1: collect and label clean petri dishes for each soil sample
Step 2b: then put dried soil into a small cup and cover with a 1 mm2 nylon mesh; sift 9-10 g into a clean petri dish
Step 4: allow sample(s) to sit for 7 hours at room temperature
Step 5: make a modified Uhlig ciliate sandy sediment separator(s) out of plastic cups & 2 sheets of nylon bridal veil
Step 6: add 30 ml of distilled water to the bottom of a 100x15 mm petri dish
Step 7: place Uhlig extractor into petri dish & scoop the rehydrated soil sample into the extractor. Allow to filter for 24 hrs at room temp.
Step 8: filter the sample a second time using qualitative filter paper
Step 9a: prepare microscope slides for viewing from the second filtrate
Step 9b: using a capillary tube, add 7 ul of methyl green dye to a microscope slide (1 ul = 1 drop from the tube)
Step 9c: add 18 ul of the filtrate using a graduated Beral-type pipette (the first demarcation) and cover with an 18 x 18 mm2 cover slip
Step 10: examine slide(s) for protozoa at 40X power and use formula to determine estimate of population density per gram of soil (use 100X for qualitative analysis)
Identifying • no real standardized keys for soil microbe identification; so consider having students develop their own system • for most soil microbes, shape and colony color are the most objective method for identifying them • students need prior practice with gram staining for it to be effective during research like this • not a real issue if simply looking at quantities of microbes; only really important for biodiversity questions
Acknowlegements • Kate Brockmeyer, Katie Loya, & Mariel Torres • Institute for Ecosystem Studies • ReliaStar/Northern Life “Unsung Heroes” Program • Toshiba America Foundation • Human Capital Development, Inc • Paul F-Brandwein Institute • National Science Foundation • Gustav Ohaus Awards • Captain Planet Foundation, Inc. • Waksman Foundation for Microbiology • The Josowitz Family • Flinn Scientific • SeaWorld/Busch Gardens/Fujifilm Environmental Excellence Awards