Download
1 / 8
160 likes | 1.12k Vues
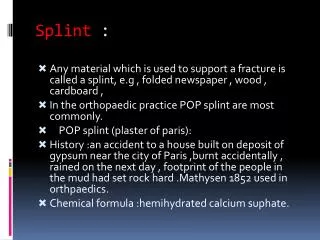
Kendrick Traction Splint. Medicare EMS Ltd. Traction Splinting. Traction splinting is primarily used to reduce pain, minimise blood loss, realign fractures, minimise neurological and vascular complications

E N D
Kendrick Traction Splint Medicare EMS Ltd
Traction Splinting • Traction splinting is primarily used to reduce pain, minimise blood loss, realign fractures, minimise neurological and vascular complications • Medicare EMS Ltd have chosen the Kendrick Traction Splint to be used to splint a limb in need of traction • Traction splints are commonly used for shaft fracture of long bones such as the femur
Traction Splinting • When long bones are broken the muscles around the bone contract pulling the bones apart resulting in addition injury to the surrounding tissue, pain and blood loss • The aim of a traction splint is to realign the bone and thus reduce the risk of further complication and injury
KTD • Apply ankle hitch tightly around the leg, slightly above the ankle bone • Tighten the stirrup by pulling the green strap • Apply the upper thigh system by sliding the male buckle under the knee and using a see-saw motion position in the crotch area
KTD • Straighten out the traction pole and ensure each joint is securely seated • Place the pole along side the limb and adjust so that one section of the tubing extends below the foot • Set the pole into the fixtures provided
KTD • Secure elastic strap provided around the knee • Place yellow tab over dart end • Apply traction by pulling the red tab • Patient comfort will be your primary guide
KTD • Finish packaging by applying upper thigh and lower ankle elastic straps • Continue with management and packaging of patient