Download
1 / 154
1.54k likes | 1.74k Vues
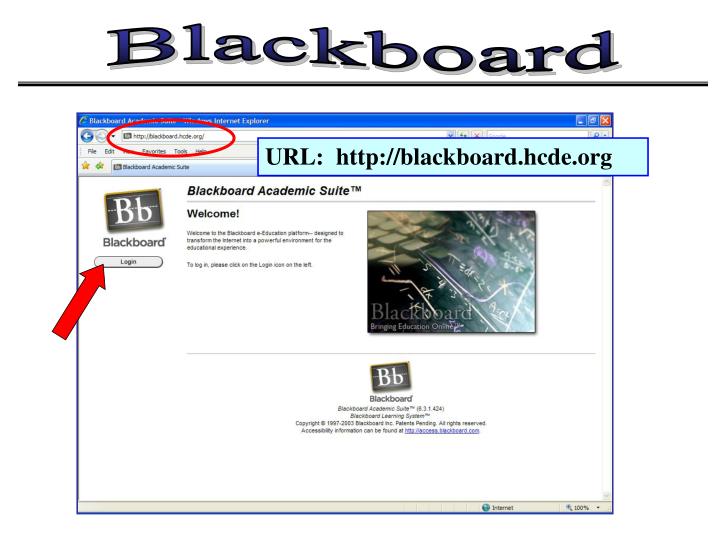
Blackboard. URL: http://blackboard.hcde.org. Your username and password will be emailed to you. The student’s user name is his/her email address. The student’s password is his/her birth date in the format ‘mmddyyyy’. "My Home" Screen. Click on the name of the course.

E N D
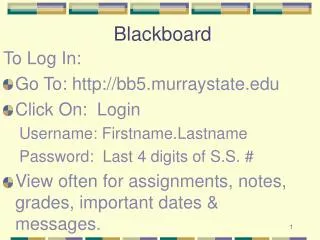
Blackboard URL: http://blackboard.hcde.org
The student’s user name is his/her email address The student’s password is his/her birth date in the format ‘mmddyyyy’
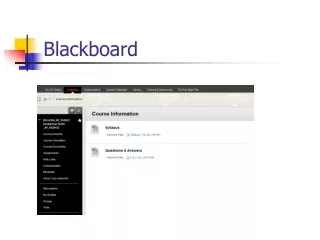
"My Home" Screen... Click on the name of the course.
"Course Home" Screen... Within this area will be announcements that you generate!
This Control Panel link takes you to your instructor screen. You will use it very often!
You will need to get your classroom set up before the first day of class... Let’s go over what you need to do before students start…
Creating Your Profile On the first day of school, you usually open up your class by introducing yourself. You want your students to get a feel for your personality and your interests. You want them to feel comfortable in your classroom. Your profile introduces you to your students!
To begin creating your profile, from your Course Home page, you will choose the Control Panel link.
Posting Your Contact Information Your students need to know when and how they can contact you. You should be “in your office” for 10 hours a week during the summer session. If you will not be in during your regular office hours, notify your students.
Select Yes here… Attach your picture… And submit!
Posting a Welcome Announcement You want to welcome students on their first day in your class! Your welcome announcement will be the first thing they see when they “walk in the door”
To post an announcement, from your Control Panel screen, click on the Announcements link.
Fill out the subject line, compose the message, add pictures, complete the options section and click Submit at the bottom!
Many “bells and whistles” can be added to the announcements if you can add a small amount of html. There are many templates available for this at http://www.w3schools.com/HTML/html_examples.asp This link is available on the Wiki and the Google group.
Now, when your students “walk through your door” and go to their Course Home screen, they will see your welcome announcement!
Assignment: • Login • Draft your profile • Draft your welcome announcement Your Turn to Work! URL: http://blackboard.hcde.org 10 minutes
Questions??? Confused? Ask us ANYTHING!
Developing a Pacing Guide You will need to set up a pacing guide in order to give the students a map of due dates for all assignments. The pacing guide is a suggested schedule for the students to complete all work within the allotted time frame of the course. There is a wink tutorial on how to create an Excel pacing guide at the wiki.
This pacing guide should include specific due dates (Week # / Day # for HMP) for all discussion boards, assignments, quizzes, exams, etc. Do not forget to allow study time for a final exam or Gateway! After creating your pacing guide (in Word or Excel), you will need to post it under the Course Information link. In addition, we recommend you post an announcement with instructions on how to find the pacing guide and email a copy to your students and parents!
Once you have crafted your guide, select the Course Information link.
After selecting the Course Information link, click on this icon to add your pacing guide
Enter the name of your document [i.e. “Your Pacing Guide (with due dates)” ] and any additional information in the text box…
Select Browse to attach your document… Complete desired options and then click on Submit!
Now, when your students select the Course Information link, they will see the pacing guide!
Setting up your Gradebook To access your gradebook, from the Control Panel screen, choose Gradebook
This is your Gradebook. You may or may not have students enrolled at the time you set it up. First, notice that all the weights default to 0% … You will need to fix that!
Our weighing system is driven by the categories of assignments. Your gradebook needs to be set to the following: 40% - Daily assignments 40% - Tests/Exams 20% - Final exam
Setting the values for exams and the final exam is no problem… Setting the values for the daily category is a bit more tricky!
Look through the categories and choose the ones that you want to use as daily grades… Example: In Algebra 1, I may want to use “Assignment” and “Quiz” to make up my Daily grade…
Now, I have a total of 40% for my Daily grade, so I have to divide up that 40% between the categories I choose… I want quizzes to count more than assignments, so I am going to assign 15% to assignments and 25% to quizzes (which totals 40%).
When you enter all your values, be sure to scroll to the bottom of the page and click Submit!
Go back into your Gradebook and make sure the weights are now correct for ALL items… Here, you find the category, the possible points, and the weight; this one is correct! Wait! This one is a pretest and it is coded as an exam. I need to change it because I do not want it to count against the student’s grade! The weight on this one is 0 because it is a survey…that’s okay!
To change a gradebook item’s properties… Click on the title of the assignment…
I used the drop down box to select “Other” for the category. I did not weight “Other” when I set up the grade book, so it will be a “0” for weight now! Click Submit to save changes.
You can also change the way the grade is displayed here and click Submit.
Let’s do another one… Click on the title of the assignment…
This survey is not weighted, so I want it to display as a check mark when the student completes it. From the drop down box, I choose “Complete/Incomplete” and click Submit.
Grading Assignments Assignments that are not computer-graded must be teacher-graded within a prescribed time frame after the student submits the completed work. (i.e. discussion boards, typed papers, essay questions, emailed assignments, etc.) During fall and spring semesters, assignments should be graded (with constructive, detailed feedback…not “Good Job”) within three days. During summer sessions, assignments should be graded within one day.
For most assignments, you will know the student has submitted the work by looking in your gradebook… An exclamation mark shows in the grade’s location! Click on the exclamation mark to retrieve the assignment and enter a grade.
You will see this screen after clicking on the exclamation mark… Select View...
Retrieve the document for grading here Enter points earned here
Enter constructive, detailed feedback here Click Submit when finished!
For discussion boards or other assignments that do not put the exclamation mark into the gradebook… Click the = to add the student’s grade
Clearing Locks... If the student opens up a quiz, exam, or assignment BEFORE they are ready to take it... He/she will be locked out and will not be able to re-open it!
When a student is locked out a an assignment, you will see a padlock in the grade’s location. Be careful! A padlock also means “In progress”… Do not clear a lock unless you are sure the student is not currently working on the assignment! When you are sure the student is locked out, click on the padlock…