Download
1 / 20
200 likes | 326 Vues
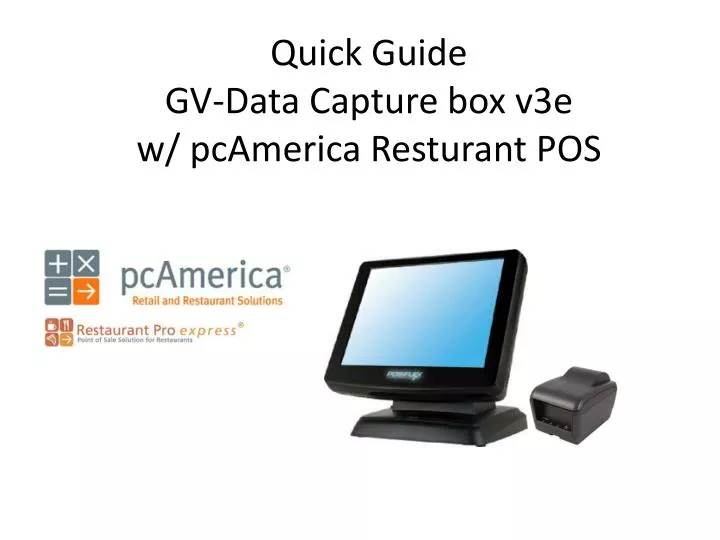
Quick Guide GV-Data Capture box v3e w/ pcAmerica Resturant POS. Access the underside of the POS monitor or back of PC: Attach standard serial cable (RS-232) to available COM port. Opposite end of cable plugs into GV-Data Capture Box v3e Note:

E N D
Access the underside of the POS monitor or back of PC: Attach standard serial cable (RS-232) to available COM port. Opposite end of cable plugs into GV-Data Capture Box v3e Note: Recommend running Hyperterminal test first with Null Modem Cable
Thermal Printer: • Double check the dip switch positions are in the correct position • Connection Type • Baud Rate • Note: • I would recommend to set the serial baud rate to either 19200bps or 9600bps, so that the text overlay don’t scroll to fast on the screen
GV-Data Capture Box v3e Front: Attach serial cable (RS-232) to the GV-Data Capture Box v3e and opposite side to the thermal printer Side: Turn the switch to the correct number that matches the baud rate Also plug RJ45 cable into the switch Back: Change dip switch position of SW1,SW2, and SW3 to match the type of cable used
POS: Device Manager: Expand > Ports (COM & LPT) Right click: Communications Port (COM#) click: Properties Note: Serial cable attachment to the COM# Usually located at the back of the POS or under the monitor Click: Port settings (tab) Bits per second: 9600 Note: The “Bits per second” need to be identical to the GV-Data Capture Box v3e (SW4) and thermal receipt printer
Click Start > Devices and Printers • Click: Add a printer Add Printer: Click > Add a local printer Add Printer: Select: Use an existing port: Click and select: Com#: (Serial Port) Note: Matching Device Manager and POS COM#
Add Printer: Select option below Manufacturer: Generic Printers: Generic / Text Only Click “Next” till “Finish” Note: If data capture box already added to DVR/NVR, then you can “Print a test page” that should print to receipt printer and DVR/NVR
Note: Recommend “Set as default printer”, if not already defaulted
POS Application: Restaurants Pro Express Enter Cashier ID/PW Note: Default - 01/admin
Restaurants Pro Express: • Click on Options • Setup • Friendly Printer Setup
Printer Setup: Select printer type: Either Default or Generic / Text Only Save & Exit
DVR/NVR side: • Network and Sharing Center: • Right click: Local Area Connection • Properties • Select: Internet Protocol Version 4 • Properties • Internet Protocol Version 4 Prop. • IP: 192.168.0.50 • Subnet Mask: 255.255.255.0 • Default Gateway: 192.168.0.1 • Preferred DNS: 192.168.0.1 • or • Customer network scheme • Note: Data Capture box default IP address is 192.168.0.100
Change the network information to fit customer’s network scheme Click submit
POS Application: Restaurant Pro express • Test a transaction: • Select: • Any table • Any Party size • Any Food • Click on Pay
Select • Cash (whole amount) • Popup screen showing change available • Press “OK” • Transaction • Receipt thermal printer • DVR/NVR side (live image) • (watch video) • Video: • Forgot to choose different text color, white hard to see.