Download
1 / 22
230 likes | 410 Vues
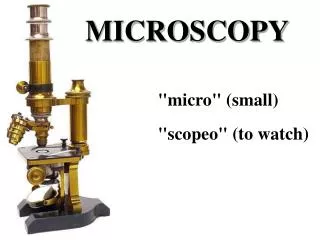
Microscopy. Tools of the Trade. Microscopy Skills. Field Of View Low Power High Power Measurement: 1500 um Measurement: 375 um Magnification: 100X Magnification: 430X. Microscopy Skills. Part # 1 Eye Piece

E N D
Microscopy Skills Field Of View Low Power High Power Measurement: 1500 um Measurement: 375 um Magnification: 100X Magnification: 430X
Part # 1 • Eye Piece • Lens that magnifies 10X – What you look through.
Part # 2 • Course Adjustment • The inner knob that allows you to move the eye piece and focus
Part # 3 • Fine Adjustment • Fine tunes your focus – Never move this when in high power.
Part # 4 • Oil Immersion Lens • You do not need to know, but it is a lens on your microscope
Part # 5 • Arm • Used to carry the microscope and bend the microscope back
Part # 6 • Hinge • Allows you to bend the microscope back
Part #7 • Body Tube • Connects the eye piece to the objectives
Part #8 • Revolving Nose Piece • 2-3 objectives and allow them to rotate
Part # 9 • High Power Objective • 40X or 43X magnification…you see things 400 or 430 times larger
Part # 10 • Low Power Objective • 10X magnification… • you see things 100 times large
Part # 11 • Stage Clips • Holds slides in place
Part # 12 • Stage • Supports the slide and allows light through
Part # 13 • Diaphragm • Controls the amount of light that goes through the stage
Part # 14 • Light* • or Mirror • Directs light through specimen in order to see it
Part # 15 • Base • Supports the entire microscope
Eye piece Course adjustment Fine adjustment Oil Immersion lens Arm Hinge Body tube Nose piece High power objective Lower power objective Stage clips Stage Diaphragm Light* / mirror Base
Preparing a Wet Mount Slide • Using a water dropper, place 1 drop of water on the center of a clean slide. • With a pare of forceps, place the sample onto the drop of water. • Carefully take a clean coverslip and place on the edge of the drop. Let the cover fall gently on the drop.