Download
1 / 36
360 likes | 472 Vues
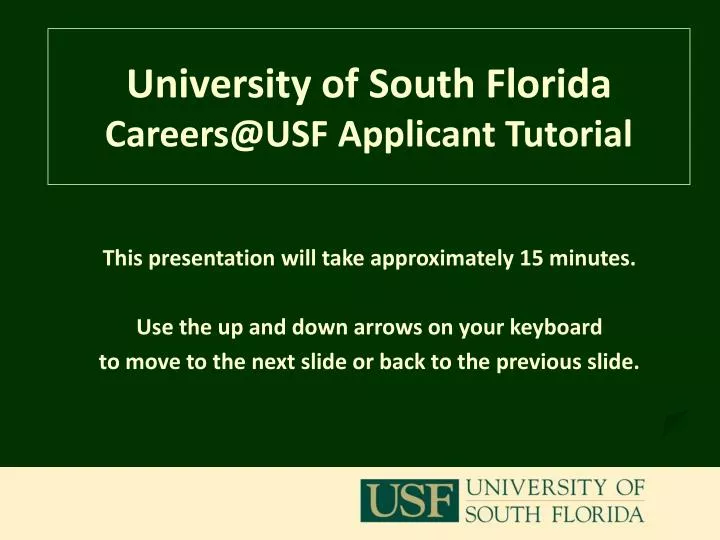
University of South Florida Careers@USF Applicant Tutorial. This presentation will take approximately 15 minutes. Use the up and down arrows on your keyboard to move to the next slide or back to the previous slide. Helpful Hints When Using Careers@USF:

E N D
University of South Florida Careers@USF Applicant Tutorial This presentation will take approximately 15 minutes. Use the up and down arrows on your keyboard to move to the next slide or back to the previous slide.
Helpful Hints When Using Careers@USF: • Do not use your browser's "Back", "Forward" or "Refresh" buttons. Please use the navigational buttons within the site. • To protect the security of your data, the system will log you out if inactive for 60 minutes.
Items To Gather Before Beginning Your Application: • Educational history information and dates • Work history information and dates • Resume, CV and Cover letter (all in electronic format) as required
STEP 1 – Creating Your Login ID Click Create Application
Creating Your Login ID (cont.) Choose the appropriate application for the position you are interested in. Then click GO.
Creating Your Login ID (cont.) Creating your Login ID (cont.) Create a User Name and password (NOTE: passwords are case sensitive) Then, click Continue to go to the next page.
Important Note: Don’t forget to write down your user name and password. You will need it to check the status of your application, or to apply for positions in the future.
Creating Your Login ID (cont.) Select a security question and type your answer. This allows you to retrieve your login information if needed. Click Save and Continue to go to the next page.
Creating Your Application Complete each page , then click SAVE AND CONTINUE… NOTE: Required information will have an asterisk (*) next to it. If you must stop before the application is completed, click SAVE AND STAY ON THIS PAGE, then click EXIT. You may continue the application by logging in again.
Voluntary Information As part of USF’s commitment to equal employment opportunity, we ask for demographic information. This information is voluntary and confidential to the Diversity and Equal Opportunity office. If you choose not to disclose this information you may bypass this section by clicking Save and Continue.
Creating Your Application – Education On this page list your educational history. To begin, click Add New Entry.
Creating Your Application – Education (cont.) After completing this page, click Add Entry. Repeat these steps until all desired data has been entered.
Creating Your Application - Employment To list your work experience, click Add New Entry .
Creating Your Application - Employment Enter your information, then click Add Entry at the bottom of the page. Repeat these steps to add additional employment experience.
Creating Your Application - Employment Once you have finished entering your Employment History, click Save and Continue to Next. Continue with the remaining pages of the application.
The Online ‘Consent’ Form After completing all pages of the application, you can view a summary of what you’ve entered. Click on Edit My Information to make changes or View General Application for Employment to print a copy. Click Continue
Certifying Your Application Click Confirm to certify that your answers are correct.
Search Postings You will be taken to the Application Status page. You are now ready to search and apply for open positions. Click on the Home link.
Search Postings Choose the job category in which you are interested. For example, Staff.
Section 2: Applying for a Position Review the job postings and click View to see Position details.
Applying For A Position (cont.) To apply for this position, click here.
Applying For A Position (cont.) You can view and edit your application. When ready, click Continue With This Data.
Supplemental Questions Some postings will have supplemental questions. After completing the questions, scroll down and click the check box to “certify” that your answers are “true and complete” and Submit your answers.
Attaching Your Document You may attach a resume, cover letter, and/or other document to your application. NOTE: An asterisk (*) indicates that the document is required. Click Attach next to the relevant Document Type.
Attaching Your Document (cont.) Click Browse to search your computer to locate your document. Or, copy and paste the text of your document here. Note that using this Paste box will not preserve the formatting of your documents (fonts, etc.)
Attaching Your Document (cont.) If you clicked Browse, a screen opens and you can search for your document. For example - Double click on My 2GB (E:) to search a jump drive.
Attaching Your Document (cont.) Click on your document Then click Open
Attaching Your Document (cont.) Confirm your attachment by clicking Attach.
Attaching Your Document (cont.) Click Confirm Attaching Documents
Attaching Your Document (cont.) To attach additional documents, click another Attach link. Once you have finished attaching your documents, click on Finished Attaching Documents.
Confirm Completion of Attaching Documents Click Yes to confirm that you are finished attaching documents. Note: You will not be allowed to attach more documents once you click Yes.
Completing Your Application CONGRATULATIONS! You’ve just applied for a position. Write down your confirmation number and then click OK.
Managing Your Applications You can see your status and review your applications for each position on the Application Status screen.
Managing Your Applications (cont.) You can edit your application prior to applying for other postings by clicking on Manage Applications. Note: You will not be able to modify an existing application once it has been submitted for a position.
Returning to Careers@USF To login when you return, click on Login. The Login screen will appear and you will enter your existing User Name and Password. If you need additional assistance, please contact the Human Resources Office at 813/974-2970. If you forget your User Name or Password, click here.
Thank you for completing this tutorial. We don’t track the completion of this training in GEMS as we assume that if you sign up for a class, you have completed this tutorial.