Download
1 / 23
230 likes | 407 Vues
Views. Views are organized on a stack We can push a View onto the stack We can pop a View from the stack. Creating Views. In storyboard (“Scene”) Use a nib file associated with a UIViewController (check the box when creating a UIViewController subclass) Subclass UIView (later).

E N D
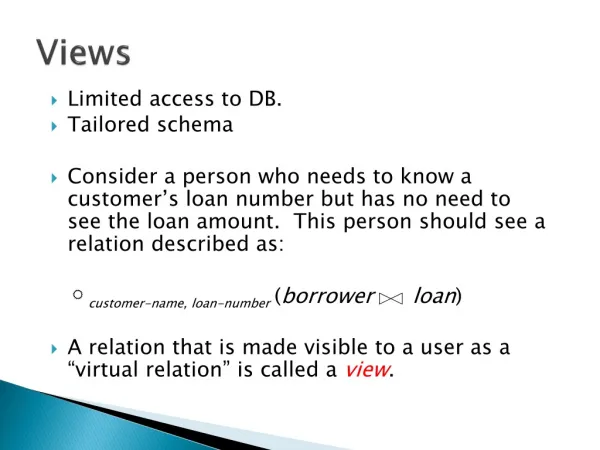
Views • Views are organized on a stack • We can push a View onto the stack • We can pop a View from the stack
Creating Views • In storyboard (“Scene”) • Use a nib file associated with a UIViewController (check the box when creating a UIViewController subclass) • Subclass UIView (later)
Going from one View to another • Create segue (in storyboard or by code) • Go to scene in the storyboard (identified by an “identifier”) by code • Go to a View defined in a nib file by code
Multiple Views • Start with a single view project • Add scenes in storyboard • Go from one scene to another by segue or by code • Go to a view associated to a nib file by code • Go back to previous view
Adding a scene to the storyboard • Create a new UIViewController subclass • Find a View Controller in library • Drag it to the storyboard • Under the scene, click on the View Controller icon • In Identity Inspector, choose the custom class that we want to associate to the scene
Creating a segue • Place a button from the “origin” scene • Control drag to “destination” scene • segue is created: it is a configurable object • Click on segue, click on Attributes Inspector, choose Transition
Going back • Place a button in 2nd scene • Inside View Controller class managing the scene, create a method (IBAction), connect button and method • Use dismissViewControllerAnimated:completion: to pop current view off the stack and go back to the previous view
Popping a view, i.e.Going back to the previous view • 1st parameter is a BOOL (YES animated, same as coming in), 2nd parameter is a block (later) [self dismissViewControllerAnimated:YES completion: NULL]; // same animation as coming in
Going to another scene by code • Add a new View Controller (3), add a new scene, add a button to the current scene and a method to the current View Controller (2), connect the button to the method • In method, • Create a View Controller (3) • Go to scene associated with it
Going to another scene by code • There is no existing direct connection between a ViewController class and a scene in the storyboard • We can assign an id to a storyboard scene to connect them • Click on View Controller icon under scene, click on Identity inspector, assign storyboard id (for example cs330vc3)
Going to another scene by code • To create a View Controller managing a scene • ViewController3 *vc3 = [self.storyboard instantiateControllerWithIdentifier: @”cs330vc3”];
Going to another scene by code • We can also do: • UIStoryboard *sb = [UIStoryboard storyboardWithName: @”Main_iPhone” bundle: nil]; • ViewController3 *vc3 = [sb instantiateControllerWithIdentifier: @”cs330vc3”];
Pushing a View • In UIViewController, use method • - (void) presentViewController: (UIViewController *) viewControllerToPresentanimated: (BOOL) flagcompletion: (void (^)(void)) completion • 3 parameters
Pushing a View • viewControllerToPresent the view controller being presented (that controls the UIView to show) • flagYES animated, NO Not animated • Completion a completion handler (block - called after viewDidAppear) or NULL
Going to another scene by code • Now push View to stack • [self presentViewController: vc3 animated: YES completion: NULL];
Pushing a View • The animation is defined in the modalTransitionStyle property of the presented UIViewController • There is an enum, UIModalTransitionStyle, that has constant values that can be used for the modalTransitionStyle property (that has type UIModalTransitionStyle) • explore several of them
Animating a Transition • Use property or setModalTransitionStyle method • [vc3 setModalTransitionStyle: UIModalTransitionStylePartialCurl]; • // or use another transition
Pushing a View using a nib • Create a new View Controller (4) class, check with xib file • In the previous View Controller (3) class, have a method connected to a button • We will go to the new View by code
Pushing a view // Create a ViewController4 ViewController4 *vc4 = [[ViewController4 alloc] initWithNibName:@”ViewController4” bundle: nil]; // set up the transition style vc4.modalTransitionStyle = UIModalTransitionStyleFlipHorizontal;
Pushing a View // Move to the next view [self presentViewController: vc4 viewControllerToPresentanimated: YEScompletion: NULL];
Passing Data • We may be interested in having several sharing the same data, or passing data to one another • We can pass data after we instantiate a view, and before calling presentViewController
Passing Data • An easy way to have an object of the same class in each view, and pass it every time • If we have coded a Complex class, we can put a Complex instance variable inside each UIViewController (z1 and z2), Page1VC and Page2VC
Passing Data • Inside Page1VC, after we instantiate page2VC, a Page2VC object reference [page2VC setComplex : z1]; // inside Page2VC class, we have the mutator: -(void) setComplex : (Complex *) z { z2 = z; }