Download
1 / 31
310 likes | 388 Vues
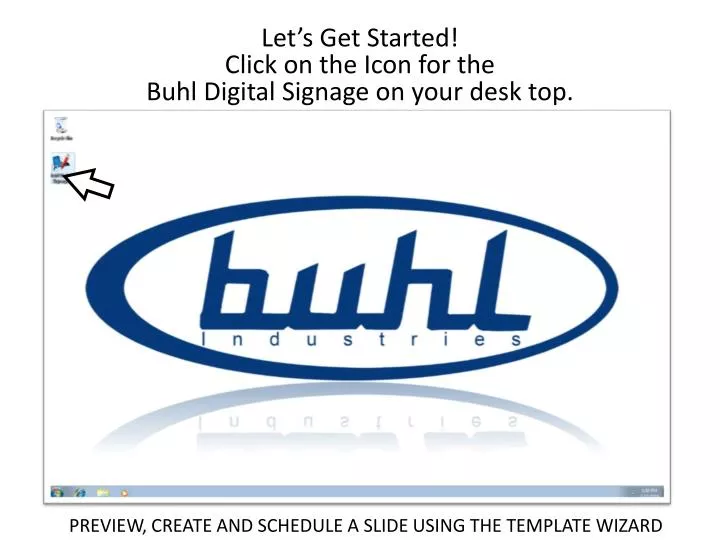
Let’s Get Started! Click on the Icon for the Buhl Digital Signage on your desk top. PREVIEW, CREATE AND SCHEDULE A SLIDE USING THE TEMPLATE WIZARD. The Buhl Digital Signage Manager will appear on your desktop. To preview available templates, click on the TEMPLATES icon.

E N D
Let’s Get Started! Click on the Icon for the Buhl Digital Signage on your desk top. PREVIEW, CREATE AND SCHEDULE A SLIDE USING THE TEMPLATE WIZARD
The Buhl Digital Signage Manager will appear on your desktop.
To preview available templates, click on the TEMPLATES icon.
Choose a Template to preview by clicking on the VIEW SAMPLE button next to the template description.
The Add Content Wizard will open. Click the NEXT button to continue.
Choose your slide LAYOUT. Note – only the 1AH is available on the Buhl FX 1000 and 2000 models.
To enter in additional image blocks click NEXT or click FINISH to complete the slide.
To schedule your a slide in a slide show, Click the PLAYLIST SET UP icon.
Then click the blue bar CLICK HERE TO ADD CONTENT TO PLAYLIST
Enter TIMES of day you want your slide to play.Then click NEXT.
Enter DURATION you want your slide to play. Enter the PLAYLIST NUMBER you want.Then click NEXT.
Your show will automatically begin. Remember to END yourslide show while it is playing, just press ALT and F4.Need more tech support?Call 800-631-0868 x 1043