Download

1 / 7
70 likes | 140 Vues
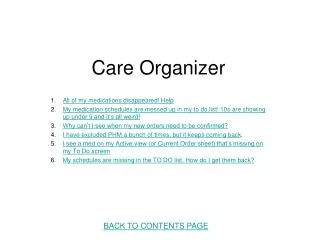
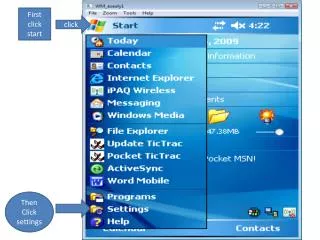
Configuring your Care Organizer Screen before GO-LIVE. From Care Organizer, Click View, then Configure. After selecting Configure in the previous screen, you should get this box.

E N D
Configuring your Care Organizer Screen before GO-LIVE From Care Organizer, Click View, then Configure
After selecting Configure in the previous screen, you should get this box. 1.Click in the drop down box and select Primary Nurse. This is very important to do this step, your assignment may not take if you don’t do this step. 2. Scroll down using the scroll bar until you find PHM and RES. When you find PHM, click on PHM and click Add. Do the same thing for RES. 3. Clicking Add for both PHM and RES shoulld have put both in the Excluded Groups. This will exclude all pending pharmacy orders that you don’t need to see. 4. Once finished, click OK. Your CO Screen is now configured.
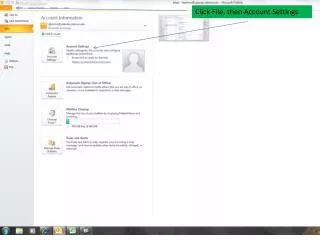
Configuring Create Assignment before GO-LIVE Click on Create Assignment
1. Click on drop down under provider type, and select RN 2. Click on drop down under Care Relationship, and select Primary Nurse 3. After selecting Primary Nurse this box will appear, select days or nights. Select OK. Remember, the date/time is when your assignment begins and ends. Often we begin or end our shift before the regular time of 0700/1900 which is the default for Create Assignment 4. Notice it populated the date and time. You will want to change the times for the shift. 5. ALWAYS CHANGE THE END TIME FIRST. For days change to 1930, for nights change to 0730. Double click in time box and change 6. After changing the end time, change the start time. Start time for days should be 0630, and for nights it would be 1830.
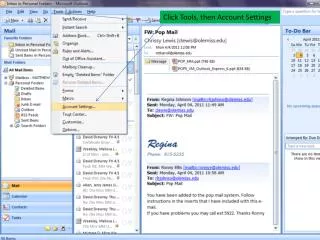
7. For your patient department, click in the drop down and choose your floor
8. Final Step: Click on File, then click on Save Configuration. Now every time you log into Create Assignment, your start and end times will be saved, along with the patient department. 9. Click Exit to leave create assingment.