Download
1 / 17
170 likes | 418 Vues
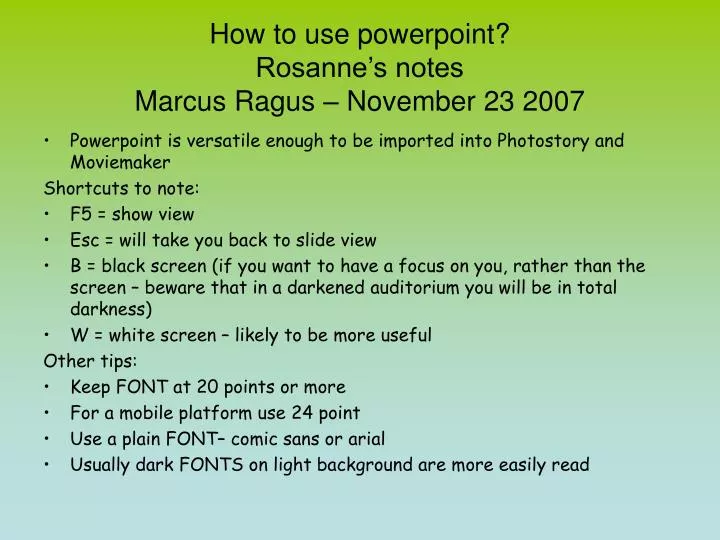
How to use powerpoint? Rosanne’s notes Marcus Ragus – November 23 2007. Powerpoint is versatile enough to be imported into Photostory and Moviemaker Shortcuts to note: F5 = show view Esc = will take you back to slide view

E N D
How to use powerpoint? Rosanne’s notesMarcus Ragus – November 23 2007 • Powerpoint is versatile enough to be imported into Photostory and Moviemaker Shortcuts to note: • F5 = show view • Esc = will take you back to slide view • B = black screen (if you want to have a focus on you, rather than the screen – beware that in a darkened auditorium you will be in total darkness) • W = white screen – likely to be more useful Other tips: • Keep FONT at 20 points or more • For a mobile platform use 24 point • Use a plain FONT– comic sans or arial • Usually dark FONTS on light background are more easily read
Design of powerpoints! • Set up from a menu • Use a branch design, rather than one long list of slides and makes powerpoint easier to manage and load • Use action buttons to navigate Action buttons – can be set up initially or create a powerpoint that has an array of sample buttons on pages and they can be copied and pasted directly into the new powerpoint and will work in the same manner (Can be moved using arrow keys)
PC tips Click to edit in the text boxes Text boxes can be drawn out larger to include full screen. This makes it more visible for viewing on a pocket PC. It will give you 20% more space. From the view pane-> choose Master->slide master (any changes you make here will show up on every slide, so it is handy to use for initial setup – i.e. same colour background right through. Right clicking outside the text box will lead to the ‘background menu’ ->choose fill effects-> choose your colour/pattern/shading, etc. then -> apply Click to edit in the text boxes More tips!
Action Buttons • Go to auto shapes ->action shapes • This will allow action button to be inserted and re-sized into the slide • Right clicking will bring up action settings • Hyperlink to whatever you choice may be, i.e first slide • * use can choose from ‘mouse over’ or ‘mouse click’ • Action settings can be assigned to images a well • Sounds can be assigned under action settings as well • Be aware of over-use of animations or transitions – should only be used to demonstrate – keep them simple and similar
Standard hyperlinking and hotspots! • Standard hyperlinking • Hot spots! – choose a shape – oval – place it over a part of an image. Right click and format auto shape, go to colours -> no fill, lines -> no lines to make it transparent • Right click on the auto shape and choose action buttons and to create a link, create hyperlink There is a visual ‘hot spot’ on the thorax, transparent and with no lines
Congratulations! You have just linked from the previous page • This makes your whole resource come to life in a self paced powerpoint for your learners and adds interest • Right click to create hyperlink from an action button • See screen dump next page on how to hyperlink • You can also create a screen tip that will show up with mouse over
Pointer options in slide show Right click in the slide view ->choose pointer options ->felt tip, highlighter, etc to be able to write on the screen
Formatting pictures Images can also be placed slightly off the page for effect! Best to format picture in an external based program like microsoft office picture manager – right click on it will display image formats to read – use the defaults but also tick TIFF to give you more saving options
In picture manager, edit picture ->re-size picture->compress picture->save as and rename->right click and copy>paste into powerpoint.
Highlight picture->Go to format picture, choose the ‘set transparent colour icon and click inside the image. Holding Ctrl + moving arrows at the same time will move the pictures 1 pixel at a time
You must save your powerpoint as a master initially, and then save as other versions, html, jpeg, etc which allows it to be more versatile for security save as an ‘web page’ and it cannot be changed as easily, can still be used and opened up when some computers don’t have powerpoint on them and can be uploaded to an LMS more easily for an icon that will go straight to a show, then choose save as ‘powerpoint show’ or just save as ‘presentation’ on your own computer When opening an existing powerpoint .pps, remove the ‘s’ and replace with ‘t’ then it can be edited. Save as a design template or .pot and you can then use it again and again, but it will still be kept as a true powerpoint Choose gif and jpeg as standard image formats, then those images can be imported to photostory or moviemaker. Jpeg captures every slide and puts it within a folder. Saving your work
Additional notes: • ‘Snag it’ = best program to capture screen or use camtasia or camstudio • For editing existing powerpoints (like those you get from other people that you might like to use) remove the ‘s’ from .pps, and replace with a ‘t’ • Need windows mobile 5 & windows media player 10 and above to play photostory on a pocket PC – see Marcus’s notes under moviemaker • www.conduits.com – add ons for pocket PCs, audio etc • For video importing to moviemaker it must be a .wmv file • See frankie’s delicious site for ‘free image downloading’ sites
Movie Maker • Should be able to download directly from the video camera to the movie maker program – don’t forget to set and save as .wmv file • Go to edit movie box