Download
1 / 67
670 likes | 680 Vues
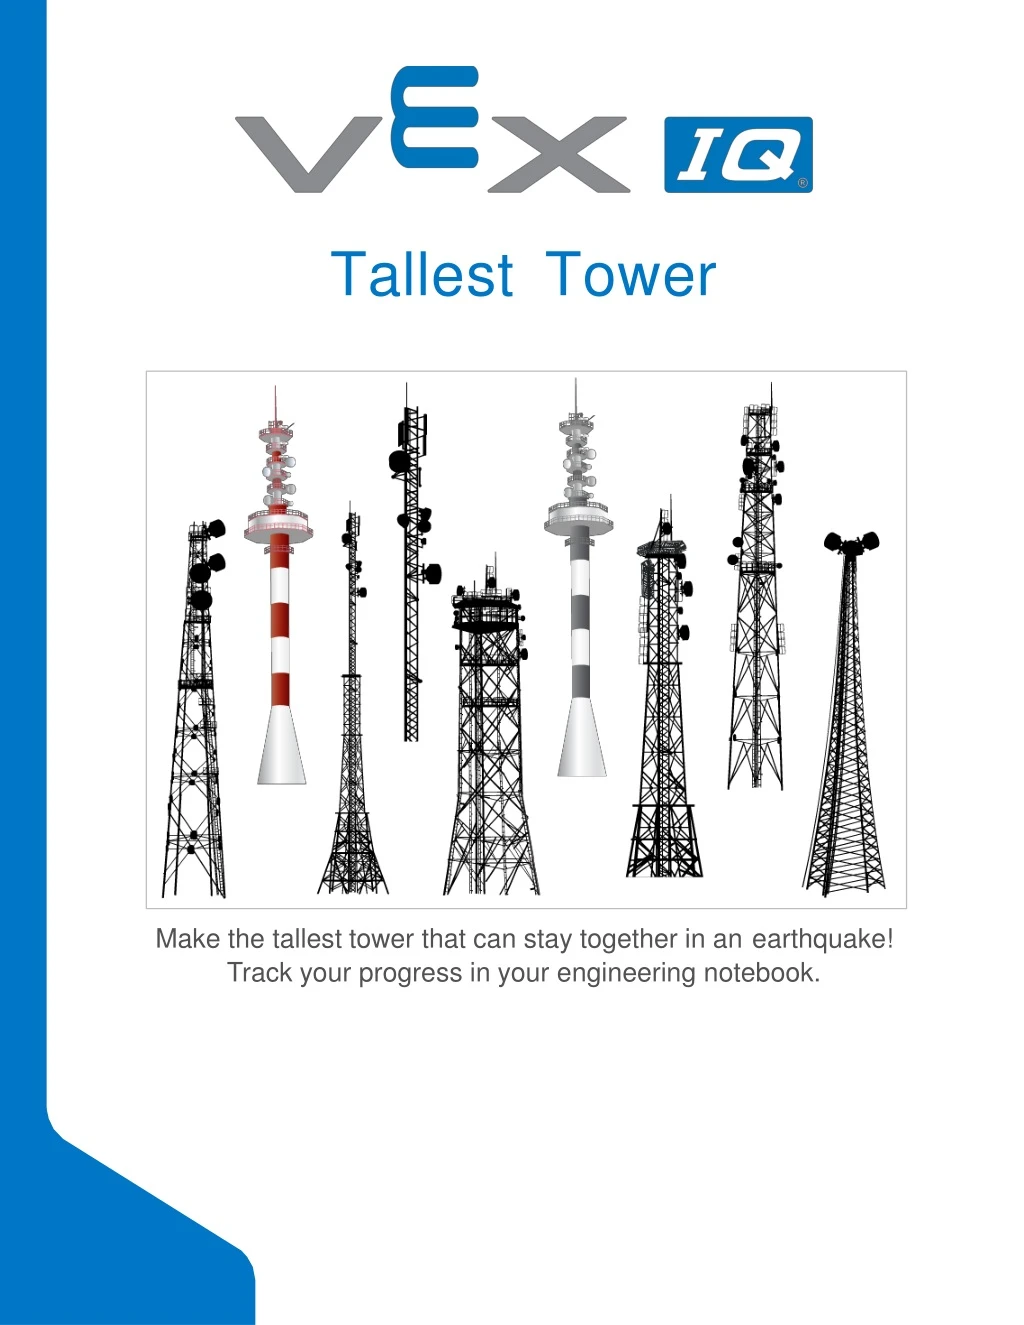
Tall e s t To w er. Make the tallest tower that can stay together in an earthquake! Track your progress in your engineering notebook. Discover new hands-on builds and programming opportunities to further your understanding of a subject matter. The Completed Look of the Build.

E N D
TallestTower Make the tallest tower that can stay together in anearthquake! Track your progress in your engineeringnotebook.
Discover new hands-on builds and programming opportunities to further your understanding of a subjectmatter.
The Completed Look of the Build Completed EarthquakePlatform The Earthquake Platform simulates an earthquake for your tower. You will place your tower on top of this platform to test itsdurability.
Count all pieces before starting your build and have them readilyavailable.
Make sure to attach the Smart Motor to the 2x Wide 1x2 Offset Corner Connector at the bottom two holes of the motor. Connect the motor with the port facing up so that the Smart Cable can be attachedlater. When adding the 4x Pitch Shaft, twist the pitch shaft to check for tension while turning. If it spins freely, it is not properly inserted into themotor.
Make sure to attach the 60 Tooth Gear to the 4x Pitch Shaft at the center of the gear to avoid uneventurning. It may be easier to insert the 1x1 Connector Pin into the 1x3 Shaft Lock Plate before inserting it on to the 8x Pitch Shaft.
Make sure to push on the 3x4 Tee Beam until the 1x1 Connector Pin locks into place in the TeeBeam. Push the Rubber Shaft Collar firmly so that it is up against the TeeBeam.
Insert the shorter side of the 1x2 Connector Pins into the 1x8 and 1x10 Beams. Make sure to note that the 1x2 Connector Pin is inserted into the second hole of the 1x10 Beam and not the end. Make sure to insert the 1x2 Connector Pins into the fourth and fifth hole of the 1x8 Beam and not in the hole directly in the center of the Beam.
Make sure to push all the way down on the 30 Degree Angle Beams so that they are touching the 1x8 and 1x10 Beams. Note that the gear is behind the 1x2 ConnectorPins.
It is best to insert the Smart Radio before inserting the charged RobotBattery. Be sure that the Smart Cable is properly inserted into the Smart Motor and into Port 1 on the RobotBrain.
Steps 14-16, Be sure that all pins are securely pushed intobeams.
Exploration • Now that you've finished the build, test what it does. Play with your build and then answer these questions in your engineeringnotebook. • How do you think the Earthquake Platform will simulate anearthquake? • Are there any parts of the Earthquake Platform that you think are weak or could be reinforcedbetter? • What other applications could a build like this be usedfor?
Test your build, observe how it functions, and fuel your logic and reasoning skills through imaginative, creativeplay.
15-Minute Tower Build 1. Building the TallestTower A tower on the Earthquake Platform Build the tallest tower that you can in 15 minutes. It will be the first version of yourtower.
2. Reflecting on the Design of YourTower A tower on the Earthquake Platform Now that you have built the initial version of your tower, take a step back and reflect on your design. Consider all of the parts of your tower's design and how they worktogether.
3. Writing in your EngineeringNotebook EngineeringNotebook • The Recorder will document the progress of the design in the engineering notebook. Take a moment to write the following in the engineeringnotebook: • Today'sdate • The name of your project (for example, "TallestTower") • Names of everyone who worked on the project (you, teammates,etc) • A one or two line description of what youbuilt • Two or three things you like about yourdesign • Two or three things that you don't like about your design • Two or three things you would improve on your design if you had moretime
Reinforcing or Bracing Structures Examples of how steel structures use reinforcement forstability Reinforcing Your Design Steel structures like the ones pictured have several connections between the main structure. This allows the design to be strengthened and creates more stability. If the main structures were only connected in one area, then it will be at risk for failure if that one connectionfails.
This is why you will find structures like buildings, bridges, and homes have several braces to reinforce their structure.
Iterative Design The big, bad wolf tries to blow down the three little pigs'houses. Improving YourDesign In the children's story The Three Little Pigs, the pigs build houses to protect themselves from a wolf. Each pig uses a different material to build their house: straw, sticks, and bricks. The wolf tries to blow down the houses with his powerfulbreath. The house made of straw gets blown down immediately. It is not strong enough to withstand the wolf's breath. The house made of sticks is a little stronger, but also falls down. The brick house withstands the wolf's power, and the wolf givesup. To make sure your building is as strong and sturdy as you want, you should try multiple different designs. Test your first design and see what works and what doesn't. Write down your ideas, then make some changes that you think might improve the design. Testagain
and see what happens. This process is called iterative design. After several versions (iterations) of your design, you will find out what ideas work better, and what toavoid.
Round2:ImproveYourDesign 4. Improving YourTower A tower on the Earthquake Platform Take 15 minutes and improve your tower to be as tall and strong aspossible.
5. Recording YourFindings EngineeringNotebook • Now that you have made improvements to your design and built your new tower, the Recorder should take a moment to add the following to the engineeringnotebook: • Today'sdate • A one or two line description of the improvements youmade • Two or three things you like about yourdesign • Two or three things that you don't like about your design • Two or three things you would improve on your design if you had moretime
Become a 21st century problem solver by applying the core skills and concepts you learned to other problems.
How Skyscrapers Are Made The different shapes of skyscrapers in a city make a uniqueskyline Strength and Shape areImportant Seeing buildings tall enough to pierce through the clouds is awe-inspiring. As technology improves, humans build skyscrapers that are even taller thanbefore. Building tall buildings means overcoming gravity. Early humans used very heavy materials like stone to make strong buildings. Stone buildings cannot be skyscrapers though, because the structure cannot support that much weight. Inventions like steel and concrete, and techniques for using them together in building foundations allow buildings to reach skyscraperheights. The shape of the building also matters. In the picture, you can see that the buildings are never wider at the top than at the bottom. A building's base needs to support the weight and also stay balanced. Natural events such as wind and earthquakes could cause the building to sway. Buildings with a wider top than their base could topple over! They must be strong and also stable to stand upright for a longtime.
SanFranciscoandSeismic Isolators San Francisco, in the United States ofAmerica
Normal buildings are not designed to withstand shaking. Adding seismic isolation makes them sturdier in an earthquake. Seismic isolation helps prevent majorcatastrophes! Conventional buildings are constructed with the foundation laid right into the ground. Buildings built this way will shake with the earth if an earthquake occurs there. This would cause extensive damage due to the severe shakingmotion. Seismic isolation (or base isolation) is when the building is built on top of pads or flexible bearings. When the building is built this way, the building structure is resting away from the ground. This allows the entire building to move in a slow horizontal motion during earthquakes. Reducing the shaking makes the building safer and sturdier in anearthquake. Many cities in the world commonly have earthquakes, such as San Francisco. Builders there design buildings to use base isolators to make them safer. Even though this costs more money to do, the added safety is worth thecost.
DesigningStableRobotsfor Competitions Stability is a valuable component of robotdesign • The importance of stability with competitionrobots • Competition robots are moving objects that must have the ability to extend, lift, and move quickly without tipping over. According to the rules, teams are not allowed to touch their robot after a match begins, so it is important to consider stability when designing a competition robot. If the robot tips over and is unable to right itself again, the team has likely lost the match. • Teams need to consider the features of their robots that are related to theirstability: • Center ofgravity • Wheelplacement
Traction • Speed • Strength • Height • Width • It is good practice to map out a plan and sketch your design in an engineering notebook prior to building your robot as it is likely that many iterations will be needed to find the design that works best.
Is there a more efficient way to come to the same conclusion? Take what you’ve learned and try to improveit.
PreparefortheTowerStrength Challenge The EarthquakePlatform Running your EarthquakePlatform This challenge will require you to run the Earthquake Platform. The Earthquake Platform uses the Device Info feature of your VEX IQ Robot Brain to activate and deactivate the motor. No programming isneeded!
Set up the Earthquake Platform 6. Connecting the EarthquakePlatform The Builder should check that the Earthquake Platform is ready with a charged battery and that the Smart Motor is properly connected to Port 1 on the VEX IQ RobotBrain. 7. Powering on your RobotBrain A powered off Robot Brainscreen
The Tester can now operate the Robot Brain and press the Check button to power on the RobotBrain. 8. Opening the Settingsmenu The top-level Settingsmenu Press the X button until you arrive at the Settingsmenu. 9. Opening the Device Infomenu The Device Infooption
Use the arrow buttons to navigate down to the 'Device Info' selection on the Settings menu and press the Checkbutton. 10. Viewing a Connected Smart Device The Device Menu for Port 1 with a Smart Motorconnected You can use the up and down arrows to navigate through the Smart Devices that you have connected.
11. Activating theMotor The Device Menu for Port 1 with a Smart Motorconnected The Tester should press the Check button again to activate the motor. Press X to stop it at any time, and press the Check button again to restartit.
Tower Strength Challenge An example of a tower on top of the EarthquakePlatform • Test YourStrength! • The Tower Strength Challenge will have you test the stability of your tower to see if it can withstand the shaking while placed on top of the EarthquakePlatform. • All group members should check that the tower meets thesestandards: • Must be able to withstand a simulated earthquake that lasts 30seconds. • Should use parts from your kit only (no glue, paper,etc.). • Should stand on its own (nohands!). • Should be as tall ispossible! • The Tower StrengthChallenge: • The Builder should check that the Earthquake Platform isready. • The Tester should place the tower on the platform and make the platformshake.
The Recorder should time how long the tower remains standing and intact and record the time and other observations in the engineeringnotebook. • Additional Challenge: Create a tower that can hold four wheels with tires at the top while withstanding a simulated earthquake for 30seconds.
ImproveandTinkerwithYour Build • Now that you have completed the Tower Strength Challenge, answer the following questions in your engineering notebook. If you are working in groups, have the Recorder document your group's answers. • What part of the tower seemed to be the strongest during the challenge? What part failed or seemed weak? Why do you think those parts werestrong/weak? • Now that you have considered the tower's strengths and weaknesses, rebuild and improve the tower so that it would perform better if you were to repeat the Tower Strength Challenge. What steps will you follow to change the build? Explain with details and/or sketches. • Run the Tower Challenge again with the new build. Did your changes make the build more structurally sound? Explain theresults.
Understand the core concepts and how to apply them to differentsituations. This review process will fuel motivation tolearn.
Review • Structures were only able to be so tall until the inventionof... • Rubber • Steel • Glue • Brackets • Due to the number of earthquakes that happen in San Francisco, many of the buildings use the following to reducedamage: • Rubber-CoatedSteel • SeismicWindows • MinimalistDesign • SeismicIsolators • Reinforcing yourstructure... • Creates strongerconnections. • Increases stability of a structure. • Creates additional connections in case of onefailing. • All of the answers are correct. • Iterative Design iswhen... • You try to make a designonce. • You plan the different versions you are going tocreate. • You create, test, and revise your design several times. • None of these answers iscorrect. • True or False: Skyscrapers typically are made so that the top is wider than the base to ensurestability.
False • True
Brain LED Status Robot Brain LEDstates The Robot Brain LED can appear in four differentstates: • Blinking Red — The battery is low but the Robot Brain has a connection to a radiolink. • Solid Red — The battery is low and the Robot Brain does not have a connection to a radio link. • Solid Green — The Robot Brain is ON, the battery has a charge, but the Robot Brain does not have a connection to a radio link. It is currently searching for one. • Blinking Green — The Robot Brain is ON, the battery has a charge, and the Robot Brain has a connection to a radiolink.
Brain Overview Overview of the Robot Brain and its buttons andports • How to use the RobotBrain • Power • To turn ON the Robot Brain, press the Check button. • To turn OFF the Robot Brain, press and hold the X Button until the Robot Brain powers down. • Navigation • After the Robot Brain is ON, you can navigate through the interface using the following buttons:
Up Button - Moves your menu selectionup • Down Button - Moves your menu selectiondown • Check Button - Enters or selects the highlighteditem • X Button - Returns to the previous screen or cancels currentoperation • Radio Slot • The Radio Slot is used to hold a Radio to enable wireless communication between the Robot Brain and the VEXController. • SmartPorts • The Smart Ports act as inputs or outputs and can be used with VEX IQ Smart Devices to control motors, or get readings fromsensors. • TetherPort • The Tether Port allows you to connect your VEX Controller directly to the RobotBrain. • Download Port • The Download Port allows you to connect the Robot Brain to yourcomputer.
Disconnecting a Smart Device In this section you will learn how to disconnect a SmartDevice. Hardware/SoftwareRequired: 1. Disconnecting a SmartDevice Connecting a Smart Cable to a SmartMotor To disconnect a Smart Device, push down on the Smart Cable tab while gently pulling out on the SmartCable.
Conclusion: Now you know how to disconnect your Smart Devices from any of the 12 ports on the Robot Brain.
IdentifyingAngleBeams How to Identify the Different Angles of theAngled Beams There are four different types of beams that have a bend at an angle: 30o Angle Beams, 45o Angle Beams, 60o Angle Beams, and Right Angle (90o) Beams. There are also three types of Right Angle Beams: 3x5, 2x3, and Offset. The best way to tell which angles are which is to stack the beams on top of each other. Then you can compare how they look. You can also use a protractor to measure the angle of the beam.