Download
1 / 19
300 likes | 2.05k Vues
DIABETIC FOOT ASSESSMENT. Anita Stuart and Emma Toms. Chapter 23. Introduction. This presentation walks you through the process of conducting a diabetic foot assessment and examining the results. Part 1 – Vascular & Doppler Assessments Part 2 – SCRT & ABPI Measurements and Results

E N D
DIABETIC FOOT ASSESSMENT Anita Stuart and Emma Toms Chapter 23
Introduction • This presentation walks you through the process of conducting a diabetic foot assessment and examining the results. • Part 1 – Vascular & Doppler Assessments • Part 2 – SCRT & ABPI Measurements and Results • Part 3 – Sensory Neuropathy Tests and Other Neuropathy Tests
Vascular Assessment Palpate Dorsalis Pedis and the Posterior Tibial pulse. Apply ultrasound coupling gel to the areas where the pulses were palpable. Place the Doppler probe firmly onto the skin. Hold the probe at +/- 45°. Record the loudest and clearest sound.
Doppler Assessment Left foot, the Dorsalis Pedis artery.
Results Triphasic wave form sound – systolic, diastolic and the elastic vessel wall recoil. Biphasic sound – the recoil sound is lost. Monophasic sound – Peripheral Vascular Disease noted.
Subcapillary Plexus Refill Time [SCRT] Apply pressure on the apex of the Hallux. Hold firmly for a couple of seconds. Release the pressure. Note the time in which the colour of the toe returns to normal. Under 3 seconds – normal, over 4 seconds the cutaneous circulation is compromised.
Ankle-Brachial Pressure Index [ABPI] Measure the brachial pressure using a correctly size cuff.
Ankle-Brachial Pressure Index [ABPI] Measure the ankle pressure in the Posterior Tibial [TP] and the Dorsalis Pedis arteries [DP].
Ankle-Brachial Pressure Index [ABPI] Use the highest reading (i.e. TP or DP) and the highest brachial reading. Divide the ankle over the brachial pressure to obtain ABPI number or use ABPI chart.
ABPI - Results >1.3 - Possible calcification of arteries. 1 - 1.2 – Normal. 0.5 – 1 - Upper limit – minor disease. - Midrange-significant, symptomatic disease [sign-intermittent claudication]. - Lower limit severe ischaemia [signs- intermittent claudication and rest pain]. - < 0.5 – Critical limb ischaemia.
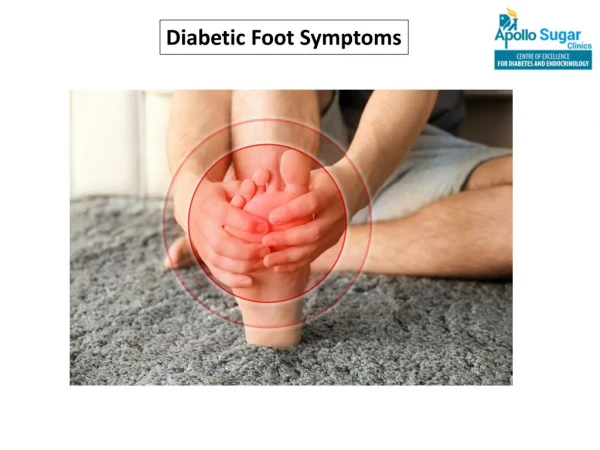
Neurological Assessment Sensory neuropathy – signs and symptoms [s/s]: burning, tingling, painful or numb feet. Motor neuropathy s/s: loss of proprioception, history of falls, pes cavus [high arched foot], clawed toes etc. Autonomic neuropathy s/s: reduced sweating, dry feet, bounding pedal pulses, impotence, incontinence etc.
Sensory Neuropathy Tests 10 g Semmes-Weinstein monofilament test: ask patient [pt] to shut their eyes, apply pressure until the filament buckles, release the pressure, ask patient if/where they felt it? Use 5-10 different sites on both feet.
Vibration test using a neurothesiometer. Use bony prominences of the foot (i.e. apex of the Hallux, 1st MPTJ, medial malleolus). It gives a quantative data for each test which can be recorded to observe the progression of neuropathy. Readings over 25 V indicate neuropathy.
Vibration test using a 128MHz tuning fork: ask pt to shut their eyes, vibrate the fork and ask the patient what they feel – they should feel vibration/‘buzzing’ in the tested area, not above it. Ask them when the sensation stops and record the results.
Neuropathy - Other Tests Sharp/blunt test - use a neurotip. Temperature test – use a thermatip or one cold and one warm test tube. Light touch – use a tissue or cotton wool. Proprioception – dorsiflexion/plantarflexion of the Hallux.