Download
1 / 20
200 likes | 202 Vues
Learn about the functional model of a BalloonSat, its parts, design limitations, tools and materials needed for construction, design considerations, and tips for cutting and shaping Styrofoam.

E N D
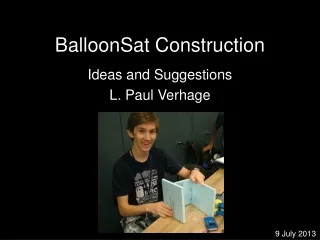
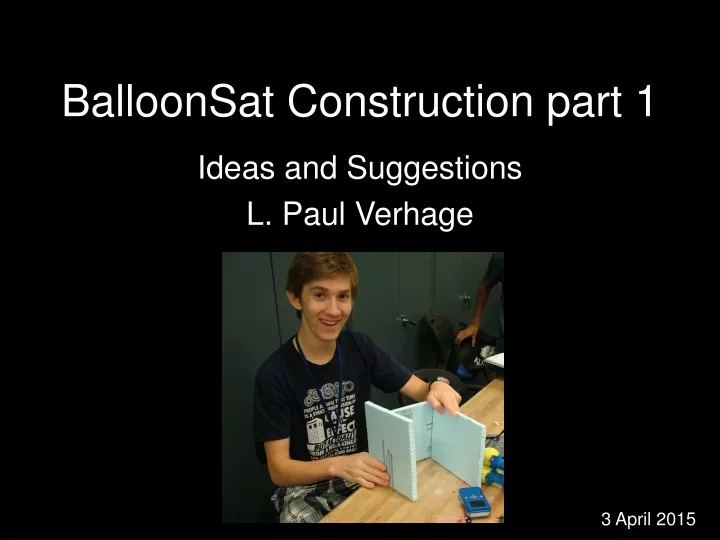
BalloonSat Construction part 1 Ideas and Suggestions L. Paul Verhage 3 April 2015
What is a BalloonSat? • Functional Model of a Satellite • Carried by Weather Balloon into Near Space (> 60,000 Feet) • Carries Experiments (active and/or passive) • Collects and Returns Data • Designed for Launch and Descent Conditions • Exposed to the Near Space Environment
Parts of a BalloonSat Airframe Avionics
Possible Design Limitations • Maximum Weight • Experiment Requirements • Minimum Amount of Data and Frequency of Data Collection • Available Design and Build Time • Maximum Dimensions
Tools • Exacto Knife • Metal Straight Edge • Right Angle (Triangle or T-Square) • Ball Point Pen • Felt-tip Marker • Hot Glue Gun and Glue Sticks • Files/Emory Board • Circle Template • Screwdriver/pliers • Hot Knife
Materials • Styrofoam (various thicknesses) • Plastic Tubes • Plastic Lids • Tape • Rubber Bands • Nuts, Bolts, and Washers
Some Design Considerations • Sufficient volume for datalogger and experiments • Securely attach components to airframe • Multiple plastic tubes for tether lines • Easy access to interior through hatch(es) • Hatch placement on the side of the airframe, not the top where tethers are located
More Design Considerations • Minimize airframe openings to minimize cold air infiltration • Minimize bolt hole diameter and use washer and nylock • No window over camera opening • Must function during all phases of the mission • Quick and simple hatch closure that uses rubber bands • Cameras do not time-out and switch off
Keep in Mind • Be aware of design specifications • Paper design before cutting • Measure twice, cut once • Watch glue temperature, don’t melt Styrofoam • Styrofoam has thickness • Let function determine shape of BalloonSat
Physical Layout • Connect and position the components, then measure dimensions
Styrofoam has Thickness • Take Styrofoam thickness into account when designing the airframe
Use a Sharp Exacto Knife Rough Edge vs Smooth Edge
Use a Metal Straight Edge • Wood and plastic rulers get nicked and the lines aren’t as straight
Files and Emery Board • Smoothes and shapes • Don’t inhale Styrofoam dust
Cutting Slots • Cut two parallel lines then chip out and file flat • File out using edge of file
Embed Tubes • Embed and glue into place for strength • Interior slots for tether tubes and exterior slots for hatches
Extend Tether Tube to Airframe Faces • Tubes protect Styrofoam from being cut by tether
Use Four Tether Tubes • BalloonSats spin less when they have more than one tether line
Include Battery Box • Confine battery so it doesn’t bounce into items inside the BalloonSat • Add block of foam rubber inside battery box to fill empty volume and absorb motion