Download
1 / 2
50 likes | 205 Vues
Name _____________________Partner ____________________. Regions of Texas project Due: __________________.

E N D
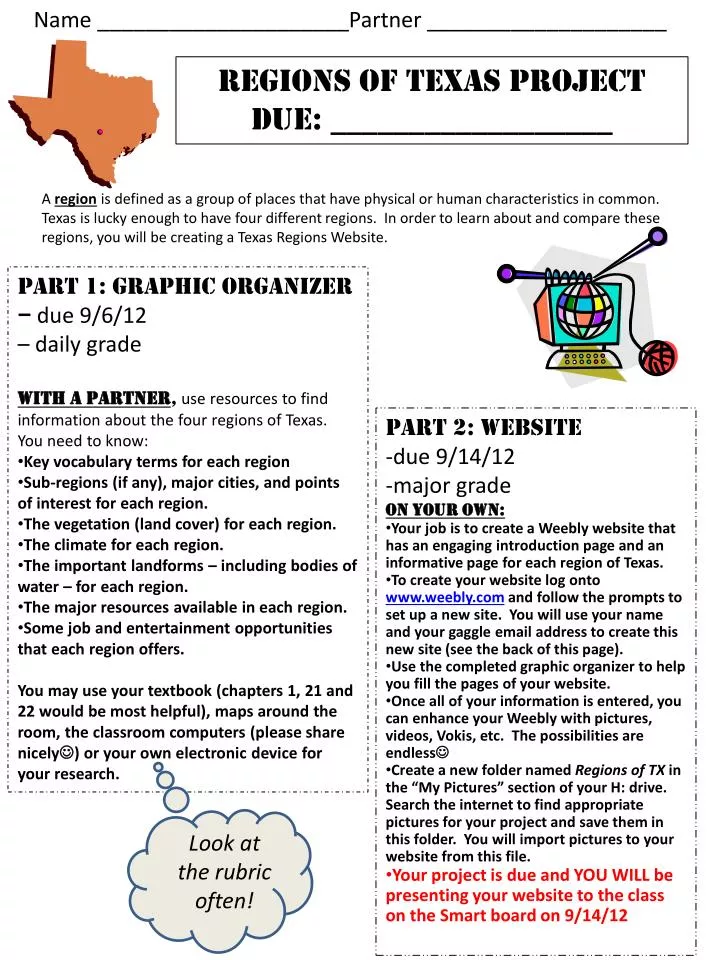
Name _____________________Partner ____________________ Regions of Texas project Due: __________________ A region is defined as a group of places that have physical or human characteristics in common. Texas is lucky enough to have four different regions. In order to learn about and compare these regions, you will be creating a Texas Regions Website. • Part 1: graphic organizer • – due 9/6/12 • – daily grade • With a partner, use resources to find information about the four regions of Texas. You need to know: • Key vocabulary terms for each region • Sub-regions (if any), major cities, and points of interest for each region. • The vegetation (land cover) for each region. • The climate for each region. • The important landforms – including bodies of water – for each region. • The major resources available in each region. • Some job and entertainment opportunities that each region offers. • You may use your textbook (chapters 1, 21 and 22 would be most helpful), maps around the room, the classroom computers (please share nicely) or your own electronic device for your research. • Part 2: website • -due 9/14/12 • -major grade • On your own: • Your job is to create a Weebly website that has an engaging introduction page and an informative page for each region of Texas. • To create your website log onto www.weebly.com and follow the prompts to set up a new site. You will use your name and your gaggle email address to create this new site (see the back of this page). • Use the completed graphic organizer to help you fill the pages of your website. • Once all of your information is entered, you can enhance your Weebly with pictures, videos, Vokis, etc. The possibilities are endless • Create a new folder named Regions of TX in the “My Pictures” section of your H: drive. Search the internet to find appropriate pictures for your project and save them in this folder. You will import pictures to your website from this file. • Your project is due and YOU WILL be presenting your website to the class on the Smart board on 9/14/12 Look at the rubric often!
GETTING STARTED WITH WEEBLY • Log on to www.weebly.com • Type in your name, gaggle account and create a password that you will remember. • Enter a title for your website. • The type of site is education. • The category is class project. • Click Continue. • Click the first option – use sub domain of weebly.com • Create your web address by using your firstlast name. Ex.Kathleenflynn.weebly.com • Click continue. You • Weebly.com • BUILDING YOUR WEEBLY SITE • PART 1: ELEMENTS TAB • In the upper left corner, you will find the Weebly editor logo. Directly under that there are 4 folders of options. These folders contain elements that you can click and drag onto the page you are working on. (example: If you only want text, then click the text icon and drag it to your page. If you want a picture with your text, then click the picture and text icon and drag it to the page.) • Browse the different folders for options of what you can put on your page. • ***A pointer that took me a while to figure out • - if you want multiple columns, or multiple rows of things on one page, then drag those icons to the page first before you put elements onto the page. • In other words, create the page layout before you add elements to the page. • PART 2: DESIGN TAB • The design tab has three folders of options under the Weebly editor logo. • The favorites folder allows you to browse and choose previously created themes. • The design options folder allows you to customize your look. • The all themes tab combines the first two and puts the themes into categories. • PART 3: PAGES TAB • This tab allows you to add & remove pages to/from your website. • You can also add a blog here if you would like. • You can keep track of your pages, arrange their order and edit them here. • PART 4: EDITORS AND SETTINGS TABS • I really do not see much use for these two tabs • – at least as far as this project is concerned. • Feel free to browse them if you would like. Save your work… Before you close --- click the PUBLISH button In the Top/right Corner.