Download
1 / 20
220 likes | 347 Vues
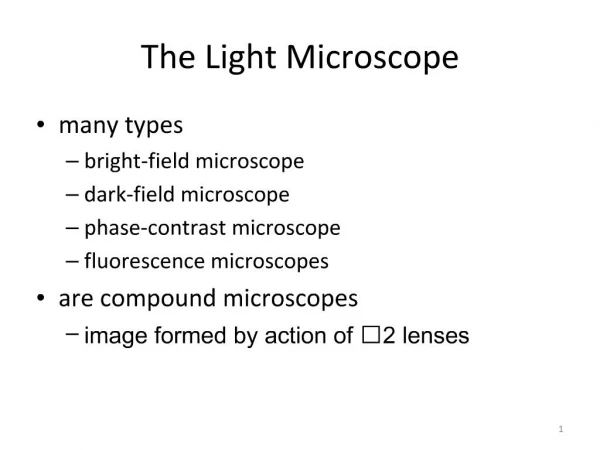
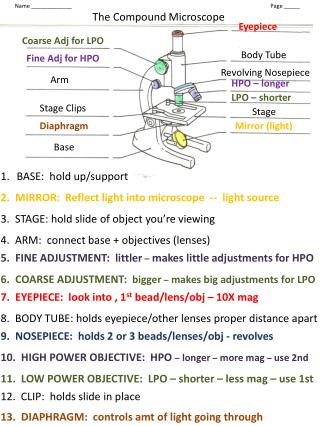
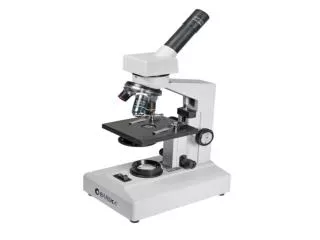
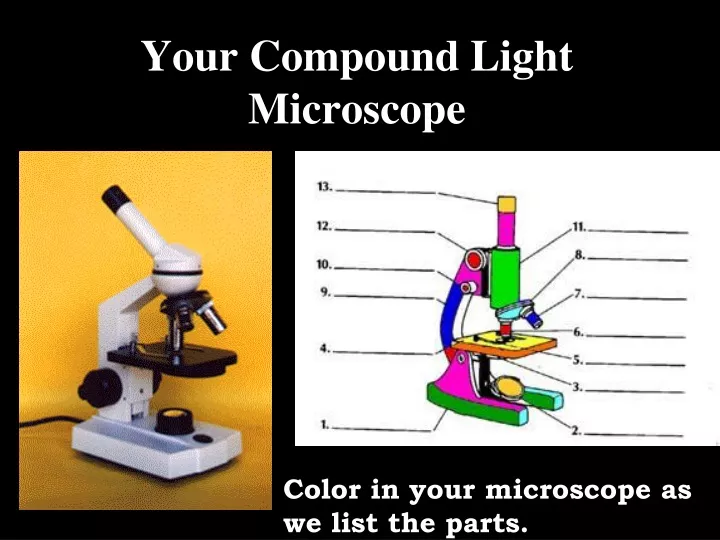
Your Compound Light Microscope. Color in your microscope as we list the parts. #9 EYEPIECE. #2 REVOVING NOSEPIECE. #3 Low power or scanning lens Medium power objective High power objective. #11 STAGE. #6 Stage clips. #8 SUBSTAGE ILLUMINATOR. #7. DISC DIAPHRAGM.

E N D
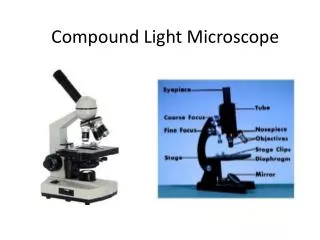
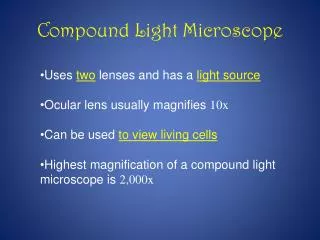
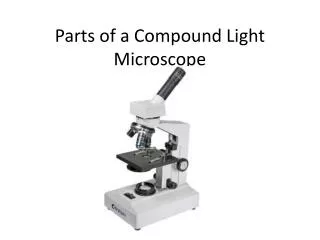
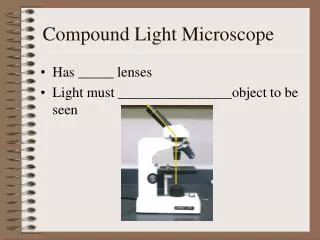
Your Compound Light Microscope Color in your microscope as we list the parts.
#9 EYEPIECE
#2 REVOVING NOSEPIECE #3 Low power or scanning lens • Medium power objective • High power objective #11 STAGE #6 Stage clips
#8 SUBSTAGE ILLUMINATOR
#7 DISC DIAPHRAGM
#1EYEPIECE TUBE #15 MONOCULAR HEAD #10 ARM #17 TENSION CONTROL RING #16 STAGE SAFETY STOP SCREW #12 COARSE ADJUSTMENT #18 0N-OFF SWITCH #13 FINE ADJUSTMENT #14 BASE
Nine Procedures for putting away the Light Compound Microscope! WARNING!!! Failure to follow the above guidelines will result in advancement on the disciplinary plan!!
Turn stage all the way DOWN. Do NOT force the adjustment knobs. Stop turning when you feel resistance!
6. Wrap the cord snugly around the base of the arm and substage illuminator.
Wait for inspection and THEN place dust cover on microscope. Make sure it goes all the way down!
9. Place micro-scope on shelf in proper place with the HEEL facing you!!