Download
1 / 26
260 likes | 392 Vues
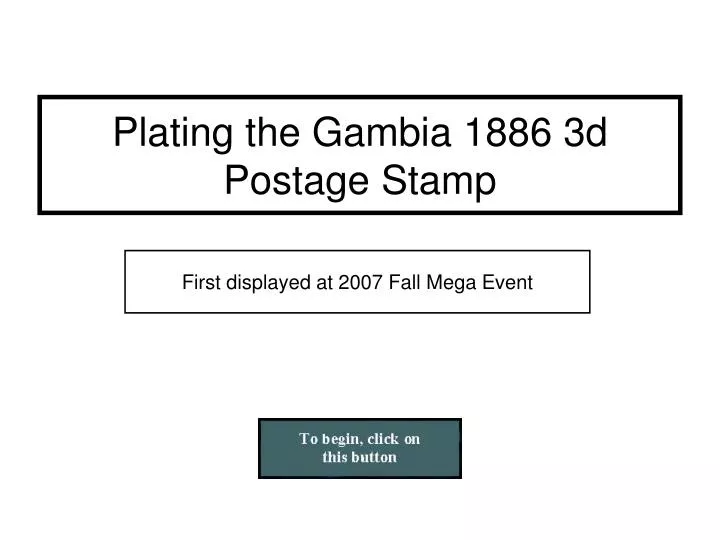
Plating the Gambia 1886 3d Postage Stamp. 1. Introduction. 2. History. 3. Markers. Position 01. Red circle : spur on bottom right leg of “N” Teal circle : small nick inside of outer frame Teal circle : spurs on side of bottom ornament

E N D
Position 01 • Red circle: spur on bottom right leg of “N” • Teal circle: small nick inside of outer frame • Teal circle: spurs on side of bottom ornament • Teal circle dot under bottom scroll (2nd - 4th printings) Click here to see stamp without colored circles. Click here to see descriptions.
Position 02 • Red circle: blob in white frame above “M” • Teal circle: small nick in outside edge of outer frame • Brown circle: dot on inner side, left leg of “N” (2nd -5th printing) Click here to see stamp without colored circles. Click here to see descriptions.
Position 03 • Red circle: dot in frame above “G” • Teal circle: nick in outer edge of outer frame • Brown circle: dot above top scroll Click here to see stamp without colored circles. Click here to see descriptions.
Position 04 • Red circle: dot over “H” • Teal circle: small nick outside of outer frame below “T” • Brown circle: line connecting scroll and ornament Click here to see stamp without colored circles. Click here to see descriptions.
Position 05 • Red circle: dot between “G” and “A” • Teal circle: spur on frame above “T” • Brown circle: dot in frame over “R” and “E” Click here to see stamp without colored circles. Click here to see descriptions.
Dot on frame below and left of “T” (2nd-5th printings) Dot between “B” and “I” In “GAMBIA” (3rd-4th printings) Bulge in white frame above and in front of “G” Position 06 Colored squares on the stamp enclose Markers. To see any Marker enlarged click in its square.
Dot inside white frame next to ornament (3rd-4th printings) Bulge in white frame above “R” Dot on frame below first “A” in “GAMBIA” Position 07 Colored squares on the stamp enclose Markers. To see any Marker enlarged click in its square
Break in colored outer frame, left, top of “T” Two dots below white frame, centered above “E E” Dot under white frame above tip of ornament Position 08 Colored squares on the stamp enclose Markers. To see any Marker enlarged click in its square.
Line from top of second “A” in “GAMBIA” to white frame above Bulge in scroll, just left of the scroll’s bottom Line from circle almost to the frame above it Position 09 Colored squares on the stamp enclose Markers. To see any Marker enlarged click in its square.
Dot below ornament and just right of white frame Dot on top of left transept of “T” Dot in outer colored frame, above and right of “M” Position 10 Colored squares on the stamp enclose Markers. To see any Marker enlarged click in its square.
Position 11 Click on any Marker Description below and a circle will surround that Marker on the stamp Dot just above Queen’s head, left of bun. (Red circle) Dot in frame above scroll,. below “G” (Teal circle) Nick outside outer frame, right center of bun (Brown circle)
Position 12 Click on any Marker Description below and a circle will surround that Marker on the stamp Two dots under upper left decoration (Red circle) Line from lower left ornament down to frame (Teal circle) Dot on middle transept last “E” in “PENCE” (3rd-5th printings) (Brown circle)
Position 13 Click on any Marker Description below and a circle will surround that Marker on the stamp Dot inside white circle, left of Queen’s nose (Red circle) Dot under white frame above and right of 2nd “A” (Teal circle) Dots between “G” and “A”, and on frame below “G” (Brown circle)
Position 14 Click on any Marker Description below and a circle will surround that Marker on the stamp Spur on top of upper right ornament (Red circle) Break in outer frame, left of lower left ornament (Teal circle) Break in outer frame, left of lower right corner (4th- 5th printings) (Brown circle)
Position 15 Click on any Marker Description below and a circle will surround that Marker on the stamp Dot before “G” in “GAMBIA” (Red circle) Dot right of upper scroll, lower right decoration (Teal circle) Dot between “P” and “E” (1st-4th printings) (Brown circle)
I. Spur on “N 3. Dot in the frame above “G” None of the above Case 1 of 5 Correct There is a Blob over “M”. So the stamp was printed in Position 2. Click the Button below for the next case. The stamp was printed in Position 2. Note the Blob over “M” Click the Button below for the next case. What is the position of this stamp? Click on one of the four answers below. 2. Blob over “M” Correct The stamp was printed in Position 2. Note the Blob over “M” Click the Button below For the next stamp.
5. Dot on frame above “T” 6. Dot on frame under & r. of “T” None of the above Case 2 of 5 The stamp was printed in Position 4. Note the dot in the frame over “H”. Click the Button below For the next stamp. Correct There is a dot in the frame over “H”. So the stamp was printed in Position 4. Click the Button below for the next case. What is the position of this stamp? Click on one of the four answers below. 4. Dot under frame over “H”
7. Dot on frame below “A” 8. Spur under frame above “EE” 9. Bulge in bottom scroll lower l. Case 3 of 5 Correct The stamp was not printed in one of the three listed positions. It was printed in position 5. Note the dot between “G” and “A” Click the Button below for the next case. It is not one of the listed positions. The stamp was printed in Position 5. Note the dot between “G” and “A”. . Click the Button below for the next case. What is the position of this stamp? Click on one of the four answers below. None of the above
10, Dot in outer frame above “M” 11. Dot above Queen’s hair None of the above Case 4 of 5 Correct There are two dots below the upper left decoration. So the stamp was printed in Position 12. Click the button below for the next case. The stamp was printed in Position 12. Note the two dots below the upper left decoration. Click the button below for the next case. What is the position of this stamp? Click on one of the four answers below. 12.Two dots under upper left deco.
13. Dot over upper left decoration 15. Dot right of lower right deco. None of the above Case 5 of 5 The stamp was printed in Position 14. Note the spur above the upper right ornament This was the last example. The Exit button is in the lower right corner. Correct There is a spur above the upper right ornament. So the stamp was printed in Position 14. This was the last example. The Exit button is in the lower right corner. What is the position of this stamp? Click on one of the four answers below. 14. Spur top upper right ornament This ends the Study. Click Exit or a Section Button in the right corner.
Exit • Thank you for viewing this study. We hope you found it of interest. • To exit press the Escape key on the computer keyboard. • To return to the study click on one of the Section buttons on the lower right hand side of this page.