Download
1 / 35
1.05k likes | 3.22k Vues
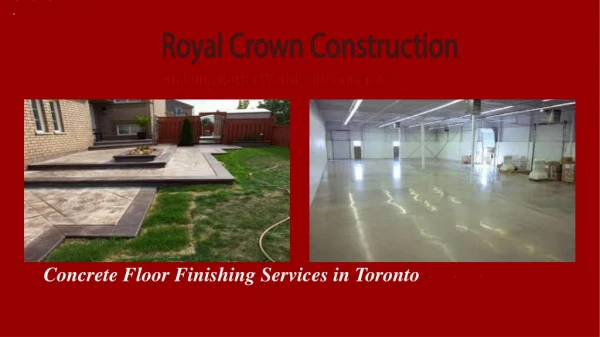
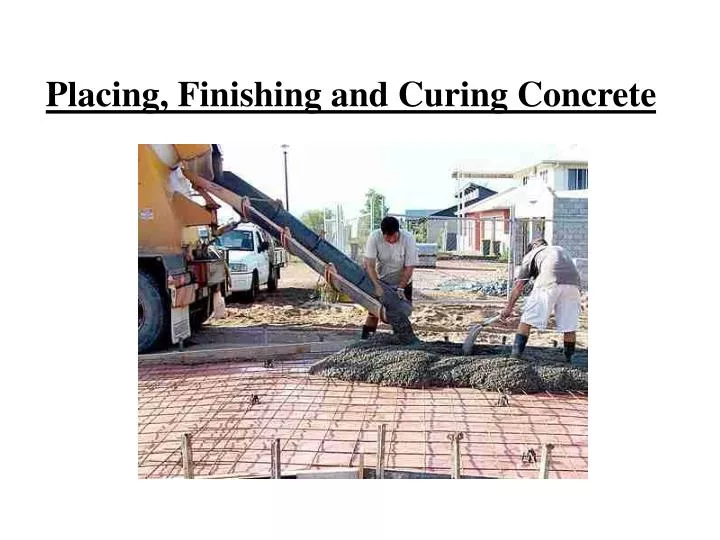
Placing, Finishing and Curing Concrete. Place concrete as close to it’s final position as possible. Get truck or wheelbarrows as close as possible to the pouring site. I. Pre-Pour Guidelines. Square Point Shovels – are used to move materials and to fill in corners and low spots.

E N D
Place concrete as close to it’s final position as possible. Get truck or wheelbarrows as close as possible to the pouring site. I. Pre-Pour Guidelines
Square Point Shovels – are used to move materials and to fill in corners and low spots. b. Wheelbarrows – are used to move materials where the truck and chute cannot reach. Pre-Pour GuidelinesTools and Equipment
Start placing concrete in a corner and work away from it. Use a shovel to spread concrete. Do Not use a garden rake or hoe because they separate the coarse aggregate. Pre-Pour GuidelinesPouring and Spreading
Dump each succeeding load against the previous one; do not dump in separate piles and rake them together. The level of concrete should be higher than the forms. This will allow for settling, tamping, and screeding. I. Pre-Pour GuidelinesPouring and Spreading Cont.
Tamping is a means of pushing the coarse aggregates down from the surface and bringing the fine aggregates to the top. Be careful not to tamp too much! II. Tamping - Process
At this time, run a shovel along the inside of the forms; this will help to push back the coarse aggregates from the edges. Use a hammer to tap along the forms to help vibrate the fine aggregates to the outside surface and fill in the voids. II. Tamping – Process Cont.
Hand Tamp (Turkey’s Foot) – This is a hand held devise made with a rectangular piece of expanded metal which is operated while standing in the wet concrete. The expanded metal is sized to push down the coarse aggregate and allow fine aggregates to come up towards the surface. II. Tamping – Tools and Equipment
Roller Tamp (Jitterbug)- This devise has two rollers made of expanded metal; as it is rolled across the surface the gravel is pushed down. The roller type is operated from the outside edge of the slab and comes with extension handles to reach across larger distances. II.Tamping – Tools and Equipment
Screeding removes the excess concrete and fills in the low spots in the forms. Brings the surface of the concrete even with the top edge of the forms. Screeding (Striking off)Process
Place a board across the edges of the form; and move it back and forth in a sawing motion. It is slowly advanced along the slag. Make sure there is a surplus of concrete against the front face of the screed board to fill in low spots. III. Screeding (Striking off)Process Cont.
Screed Board (straight edge) – A straight 2” X 4” or 2” X 6” plank. Note: it is recommended that this board be purchased the day before or the morning of the pour in order to insure a straight (un-warped) piece of lumber. III. Screeding (Striking off)Tools and Equipment
Power Screed – a devise that strikes off and compacts the the concrete which is used for large jobs / pours. III. Screeding (Striking off)Tools and Equipment Cont.
The floating process brings the fine aggregates and cement paste (cream) to the surface, which allows for further finishing. It also embeds the coarse aggregates just below the surface. IV. Floating - Process
Additionally, it aids in leveling ridges and filling voids left by the second screed board. A hand float is used by holding the float on the surface and swinging it in a sweeping arc; very light pressure is applied. IV. Floating – Process Cont.
Bull Floats are pushed and pulled across the surface. Avoid overworking the concrete while it is soft since this may bring excess water to the surface. IV. Floating – Process Cont.
Concrete Float – made of wood, aluminum, or magnesium. It consists of a flat rectangular base of wood or metal with a handle attached; the edges of the base are chamfered. Hand floats are used mostly for small jobs and outside edges. IV. Floating – Tools and Equipment
Bull Float- Consists of a rectangular wooden board (or light weight aluminum plate) for a base approximately 3 – 4 feet long. A swivel pole handle is attached to the base. It comes with extension handles to reach across larger slabs and is operated while standing around the edge of the forms or slab. IV. Floating – Tools and Equipment Cont.
By cutting grooves or placing joints in the slab, the location of cracks can be controlled. A planned break permits the concrete to expand and contract without cracking. If cracks do occur with grooves, it will usually happen below the surface under the groove. V. Jointing - Process
Control joints are needed every 4 to 5 feet apart in sidewalks. Joints are needed 10 to 15 feet apart for floors, driveways, or patios. Cut a joint down the center of 10 foot or longer slabs. The depth of the grooves should be at least 1/5 the thickness of the concrete. V. Jointing – Process Cont.
Joint Material- The joint can be created by using a 3/8” softwood board, ½” asphalt strip, or by pouring sections at different times and using a compound to prevent sections from sticking together. V. Jointing – Tools and Equipment
Groover- The bottom blade is flat with a raised ridge down the center (1/2” inch wide) and comes in different depths. The base is fabricated of cast or sheet steel. Some type of straight edge must be used. V. Jointing – Tools and Equipment Cont.
Power Saw with Masonry Blade- used to create grooves in slabs, usually on large jobs. It cannot be done until 18-24 hours after concrete is poured. V. Jointing – Tools and Equipment Cont.
Questions that need to be answered before the finishing process begins? What type of surface is needed? Slab uses Interior or exterior Non-slip or smooth Sealed for sanitary reasons Excessive water washing Decorative VI. Finishes
Floating– the surface should be floated a second time after the concrete has been set so the water and fine materials will not be worked to the top. It is done with a wood or metal float. Wood floats produce a rougher finish than metal floats. Floating gives a medium non-slip surface, good for concrete which is constantly exposed to outside weather and general use. This floating procedure is generally completed before doing other surface finish such as toweling. Finishes – Popular SurfacesFloating
Brooming- is used if a rougher finish is required than floating It is done after the second floating operation A damp, stiff-bristled (coarse-straw) broom is pulled lightly across the surface of the concrete. This gives a rough surface, provides excellent footing and traction; it is especially good for outside areas which becomes slick from rainy weather or where there is constant use of water such as in a milking barn. For a finer texture, steel trowel the surface first and then use a soft-bristle broom VI. Finishes – Popular SurfacesBrooming
Troweling- produces a smooth, hard surface since this action brings the cement paste to the surface. It is done immediately after floating when the surface is semi-hard. A troweled surface allows for easy clean-up and is ideal for sanitary conditions; however, it is extremely slippery when wet. It is completed with a steel hand trowel which is a rectangular piece of sheet metal with a handle attached. For the first troweling, hold the trowel flat against the surface, making sweeping arcs back and forth with even pressure. b. For the second troweling tilt the leading edge of the trowel upward. This step should be done when a hand pressed against the surface leaves only a slight impression. VI. Finishes – Popular SurfacesTroweling
This process can also be completed with a power troweler which produces a similar surface to the hand trowel and is excellent for large jobs. To operate the power troweler, the concrete must be hard enough to stand on. Additional troweling will make the surface smoother and harder. However, excessive troweling will leave the surface weak and easily damaged by frost and chemicals. VI. Finishes – Popular SurfacesTroweling Cont.
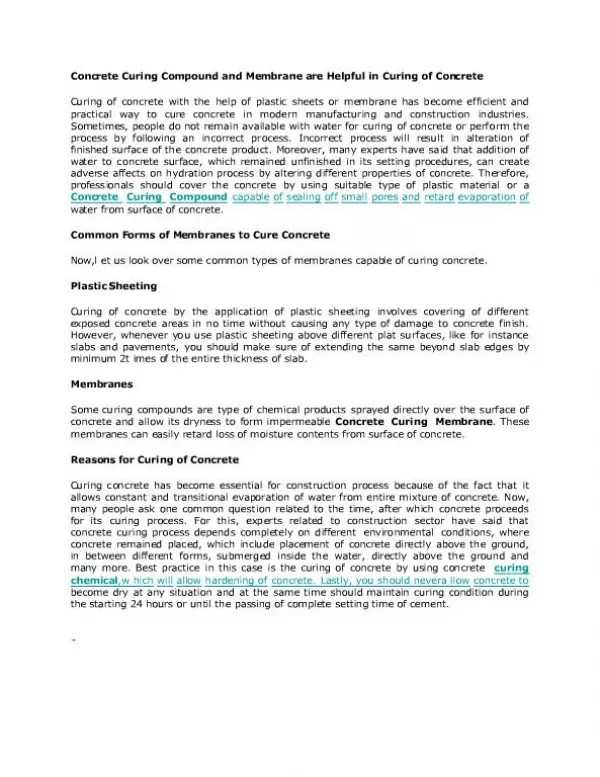
Concrete that has been specified, batched and mixed, placed and finished “letter perfect” can be failure if improperly or inadequately cured. Curing is usually the last step in a concrete project and unfortunately, is often neglected even by professionals. Curing has a major influence on the properties of hardened concrete such as durability, strength, water-tightness, wear resistance to freezing and thawing. VII. Curing
Proper concrete curing for agricultural and residential applications involve keeping newly placed concrete moist and avoiding temperature extremes (above 90 degrees or below 50 degrees) for at least three days. A seven-day (or longer) curing time is recommended. VII. Curing Cont.
6. Concrete must be kept moist and warm while it is setting (hardening) a. Concrete should dry slowly. b. This will greatly increase the strength and durability and will prevent the failure (cracking, crumbling, or breaking) of the concrete before the end of its expected lifetime. VII. Curing Cont.
7. Begin the curing as soon as the concrete has hardened sufficiently to avoid erosion or other damage to the freshly finished surface. a. This is usually within one to two hours after placement and finishing VII. Curing Cont.
8. Guidelines- To cure concrete properly, the concrete must be protected from drying air, excessive heat, and freezing temperatures for several days after pouring. Preventing the moisture loss during the early stages of hardening (hydration) is extremely important. Hot, dry weather can cause the water to evaporate too rapidly, so the concrete will not set properly. Extreme cold can cause the water inside the concrete to freeze and expand. VII. Curing Cont.
9. Different Methods of Curing Concrete Seal the surface by covering it with plastic sheeting; joints must be sealed and covering must be keep continuously wet during the curing time. Cover concrete with burlap, canvas, sawdust, straw, sand, or another type of insulating materials. This covering must be kept continuously wet during the curing time. Keep the concrete constantly moist by; ponding, immersion, spraying (lawn sprinklers), soaker hoses, fogging, and saturated wet coverings. Such methods provide some cooling through evaporation, which is beneficial in hot weather. Spray the concrete with a plastic-base curing compound that forms a continuous membrane over the surface. It is essential the coverage is complete. VII. Curing Cont.
When specifying and ordering concrete, the customer should be prepared to discuss such things as: Amount of water (slump) Use of the concrete Type of concrete Aggregate size Minimum amount of cement per cubic yard Maximum water-cement ratio Any special admixtures How will truck be unloaded (wheelbarrows, chute or concrete pump) VIII. Ordering Concrete