Download

1 / 40
410 likes | 642 Vues
SolidWorks Mini Tutorials . Fillet . Mid Point. Through All. Trim Corner. Power Trim . Trim to Closest . Cut Feature . Chafer. The Trim Tool . Presented By Kaitlin Weir . Using The Trim Tool….

E N D
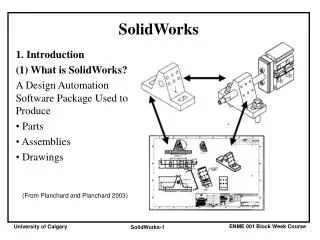
SolidWorks Mini Tutorials Fillet Mid Point Through All Trim Corner Power Trim Trim to Closest Cut Feature Chafer The Trim Tool Presented By Kaitlin Weir
To begin using the Trim tool you must first select which Plane you want to draw on. In this case it is the Front Plane.
To begin your sketch you must first select the sketch tool to draw your fully constrained shape.
You then are able to use different shapes to cross over with your first shape so you have something to trim.
The Power Trim Tool works the fastest when trimming lines. It is a tool that acts as a free-form line meaning that when you hold down your courser and drag it back and forth across your screen any line that had intercepted the courser will be trimmed.
The Trim to Closest tool works by trimming the line that’s closest to the curer. So there for you don’t need your cursor to be right over that line to be able to trim it.
The Trim Corner feature works by selecting two lines (as shown on slide 16) and clicking the Trim Corner button to trim the lines to make a fully constrained corner.
Create your fully constrained shape and use the extrude tool to extrude the shape out.
Chose one of the sides on the shape to draw another shape on top of it.
Chose the Extrude Cut feature to cut that shape “Through All” of the existing shape.
The “Through All” feature extrude cuts the shape until it is fully through the existing shape.
Draw your fully constrained shape and extrude it with the extrude feature.
The Mid Point Cut Extrude feature works by only cutting through “half” of your shape.
Create your fully constrained shape and then select the Fillet feature.
Type in how much you want to fillet your object in the properties box on the left side of the screen.
The Fillet feature works by rounding the selected corners on your shape.
The Chafer tool works like the Fillet tool except that it doesn’t round the edges but cuts the edges to have more vertex's and sides.