Download

1 / 15
260 likes | 573 Vues
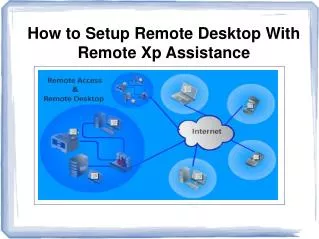
Remote Assistance. Using this program you can allow someone to work on your computer, chat with you and view your screen with your permission The other person should also have Windows XP on his system. Remote Assistance. When you open Remote Assistance, it gives you two options

E N D
Remote Assistance Using this program you can allow someone to work on your computer, chat with you and view your screen with your permission The other person should also have Windows XP on his system
Remote Assistance When you open Remote Assistance, it gives you two options To invite someone to help you out or to view the status of the invitation you have already sent Choose the first option to invite someone to help you
Remote Assistance Again here you have two options You can use Windows Messenger (msn) or send e-mail to the particular person If you are using Messenger service, that person should be online at that time
Remote Assistance If you are using e-mail to invite, type in the e-mail id and click “invite this person” To use this e-mail option, your Microsoft Outlook (default e-mail client with Office XP) should be configured. You can also enter e-mail id from the address book which you have already stored.
Remote Assistance When you choose e-mail option, this screen will appear This screen will ask for your name which appears in your invitation and the message to that person and continue.
Remote Assistance You can set the time limit the other user can connect to your computer You can also set password to connect to your computer for security (optional) Click “Send Invitation”
Remote Assistance If you have not configured “Microsoft Outlook” earlier, the above window appears to “Create a New Profile Give a name for the e-mail account you want to create eg: hotmail account, saluki account If you have configured “Microsoft Outlook” earlier, you won’t get this window.
Remote Assistance After giving a profile name, this screen appears Choose “Add a new e-mail account” and click “Next”
Remote Assistance You have to choose the server type of the mail account you are going to setup. You can know the server type by contacting the mail provider. Most of the school accounts will be POP3 server. Yahoo and hotmail accounts will be HTTP server.
Remote Assistance You have to give your name, e-mail address, User Name and the Password You have to give Incoming and Outgoing mail server. You can get this information by contacting the mail provider
Remote Assistance This screen will appear telling that mail account has been setup successfully Choose Finish
Remote Assistance When you have successfully configured Outlook, this window appears telling that “remote assistance” is trying to access e-mail account. Choose “Yes” You can also set time limit that this program can use Microsoft outlook
Remote Assistance Choose “Yes” on this window
Remote Assistance Now you have successfully sent an invitation. You can send another new invitation or view the invitation status you have sent
Remote Assistance When you click “view invitation status”, this screen appears showing all the details. You can expire, delete or resend this invitation A message will be displayed to you when the recipient tries to access you computer