Download
1 / 18
180 likes | 341 Vues
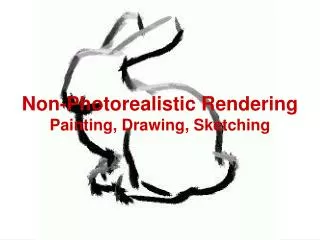
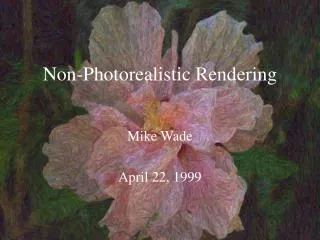
Non-Photorealistic Rendering. This is the attempt to make a realistic scene or object look as if it were hand drawn.

E N D
Non-Photorealistic Rendering • This is the attempt to make a realistic scene or object look as • if it were hand drawn.
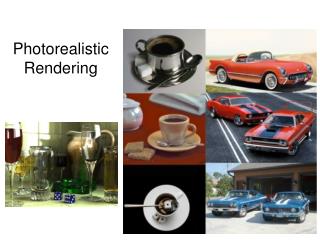
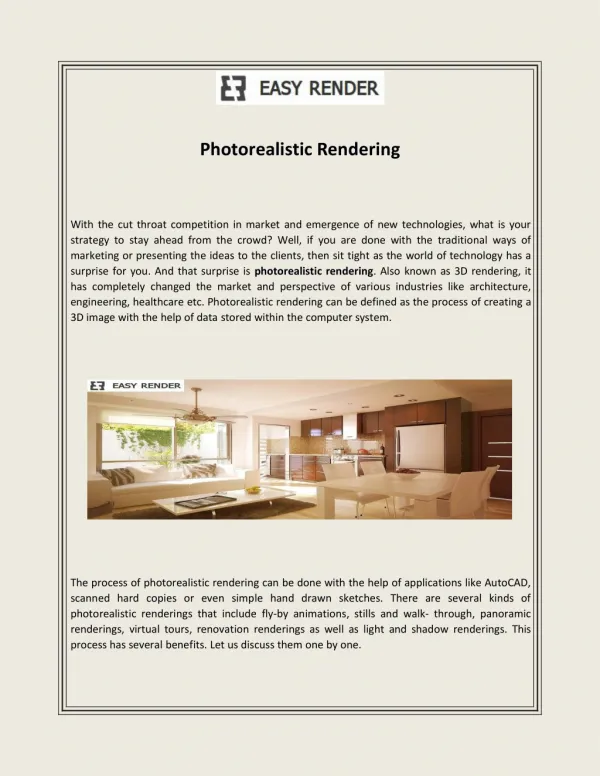
Since Photorealistic Rendering tries to make fake objects like 3D models look as real as possible, this idea would seem like a step back at first glance. But the results can turn out very interesting. Here is a summary of some of the different non-photorealistic rendering techniques.
Painterly Rendering – The idea of making a real scene look like it was created from brush strokes and paint. Here is an example of before and after of Painterly Rendering….
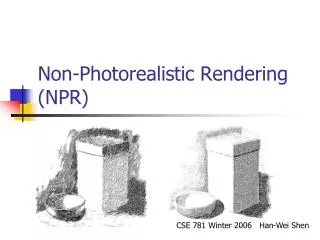
Sketchy Rendering – The attempt to make a scene look like it was sketched with a pencil. Here is a scene from the video game Quake using sketchy rendering:
Art-Based Rendering of Fur, Grass, and Trees – An algorithm that simulates an artist’s strokes to create the look of fur and grass. Here is a 3D scene that goes through a conversion to look like that of the style of Dr. Seuss
Cell-Shading – Making a 3D scene look as if it were a cartoon. This technique is used in many new cartoons and video games. Here is the technique used in the video game Jet Grind Radio for Dreamcast
So how is this done? Cell-Shading requires a few tricks and techniques that can result in a very nice look. Here is an overview of the algorithm.
Disable lighting and blending. We want to do lighting on our own, and blending will make the colors mix. This is a problem because we want broad strokes that simulate an animator’s marker.
Now we need to create a light map. This is a 1-Dimensional texture map that indicates the shade of an object. This texture map divides the color of an object into 3 different shades (or however many you desire). It gives the rendering a solid color look, instead of blending colors like real life.
3. After the light map is created we need to calculate the u and v values of the texture. First you have to get the light vector and the normal vector of a surface. Make sure you normalize both vectors, then get the dot product between the two. This will return the cosine of the angle, which is -1 to 1. It turns out that this value can be used as the u value of the texture coordinate. If the value is negative, set it to zero. And we now have a value of 0 to 1. Now set v to 0 and we have both coordinates.
We now have enough information to draw the object for the first time, but we’re not done yet. Drawing the scene will show the cell-shading. But we don’t have the black outline of the objects as you would see in almost every cartoon. This requires a couple of new techniques explained below.
5. First go into wireframe mode and set the line width to 2 or 3 pixels. Then set the draw color to black. This will give a drawing mode that will look like a thick black marker used in cartoons.
6. Now go through and draw each polygon again. Except this time only draw polygons that are NOT facing the screen. Since the line width is so big it will actually draw the lines at the edges because they stick out further than the old Z-Buffer.
References: http://www.mrl.nyu.edu/projects/npr/painterly/ http://www.cs.wisc.edu/graphics/Gallery/NPRQuake/sketchyNPR.html http://www.cs.brown.edu/people/lem/research/kowalski-s99-preprint-300dpi.pdf http://www.gamedev.net/reference/articles/article1438.asp http://members.aol.com/forrestbro/how_cartoon.html http://www.segaweb.com/reviews/dreamcast/jgrd.html http://nehe.gamedev.net/tutorials/lesson.asp?l=37