Download
1 / 3
30 likes | 43 Vues
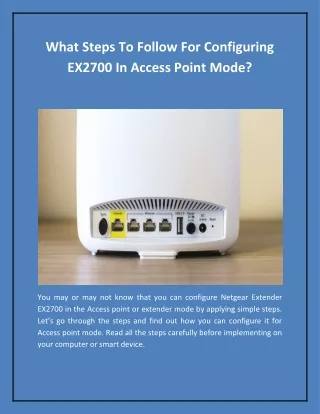
Letu2019s go through the steps and find out how you can configure it for Access point mode. Read all the steps carefully before implementing on your computer or smart device. visit us at: https://www.netgearex2700setup.com/ <br><br>

E N D
What Steps To Follow For Configuring EX2700 In Access Point Mode? You may or may not know that you can configure Netgear Extender EX2700 in the Access point or extender mode by applying simple steps. Let’s go through the steps and find out how you can configure it for Access point mode. Read all the steps carefully before implementing on your computer or smart device.
Steps for configuration: 1.) Plug the Extender into the power source available in the nearby location. If you have placed the device at a location where no power source is available, then you can either change the location or use the extension cable to connect the device to the power supply. 2.) Switch on the power supply and wait till the light on the Extender turns green. If no power light glows, then it means either the connection is not proper or no power supply at source. 3.) Check the power on/off button on Netgear extender. 4.) Ensure that the Switch on the Netgear EX2700 is set to AP mode. 5.) Use the Ethernet cable to connect the Netgear EX2700 setup to the Ethernet LAN port on the router. 6.) From Wi-Fi enabled device, go to ‘Wi-Fi’ connection manager and search for the following information on the page: * 2.5 GHz Network. * 5 GHz Network. 7.) Once the connection gets established, you will find the setup page will automatically get appeared on the screen and the setup process get initiated. If not, then go to web browser and enter www.mywifiext.net or IP address of your Netgear range extender. The page will display the information for the new extender setup. 8.) Click on ‘New extender setup’ option. 9.) Enter the relevant information in the given fields as per asked on the page
10.) Click to create an account. 11.) Click ‘Next’. 12.) It will scan and check if the Access point is set to Extender mode. If the extender is still no enabled for Access point mode, then set the button to the Access point and refresh the screen. 13.) Tap to ‘Continue’ and the extender will then detect the internet connection. 14.) If prompted to set the network name or security option, click on ‘Password’ and enter the password. Select Frequency. 15.) Click ‘Next’. 16.) The extender is now ready to work as an Access point. 17.) Connect the device to the newly enabled Wi-Fi network with the help of username and password. 18.) Take for example if the existing name of SSID is ‘My home network’. 19.) The new name will be ‘My home network 2GEXT. 20.) Click ‘Continue’. 21.)A page will display that you have successfully created a new AP. 22.)On the next page, you will find a registration option. Click to register the extender. If it is not already registered, then check the on- screen instructions to get it registered from the webpage. If registration is already done, then you can skip this option.