Download
1 / 13
130 likes | 301 Vues
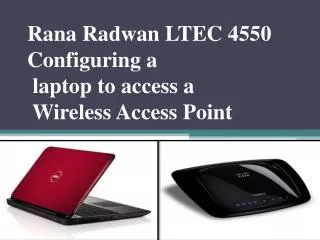
Rana Radwan LTEC 4550 Configuring a laptop to access a Wireless Access Point. What Was Needed. Wireless Router Laptop Internet Connection Ethernet Cable Broadband Router. Setting Up the Router. Start by placing the cd in the laptop that came with the wireless router.

E N D
Rana Radwan LTEC 4550Configuring a laptop to access a Wireless Access Point
What Was Needed • Wireless Router • Laptop • Internet Connection • Ethernet Cable • Broadband Router
Setting Up the Router • Start by placing the cd in the laptop that came with the wireless router. • My laptop automatically opened the cd content. • Upon startup, it asked to select a language: English • Then pressed Next • I had to agree with the agreement • Then pressed Next again • Then the adapter is checked to make sure that it works and my network status
STEP 1 • I had to unplug the Ethernet cable from the laptop and plug it into the yellow point labeled Internet on the back of my wireless router.
STEP 2 • I then connected one end of the blue Ethernet cable to the blue part of the #1 wireless router. • I then connected the other end to my laptop
STEP 3 • In the next step, I had to connect the power cord that came with the wireless router.
STEP 4 • I then was successful setting it and was ready to configure the router. • The only problems that I encountered is that it took some time to discover my router. Once it found it, it all fell in place and gave me step by step instruction.
IP Address • In order to configure my settings, I had to enter my IP address in Internet Explorer. 192.168.1.1 • Asked me for the user name and password. • Since it was my first time setting it up, the default user name is admin and there is not a password. • Once I was logged in, I went to the administration tab and added a password and clicked on save settings at the bottom of the screen.
Wireless Tab • Then I clicked on the wireless tab. • Where it said Wireless Network Mode: Mixed • Wireless Network Name (SSID) kept it as linksys • I also kept the wireless channel the same • On the Wireless Broadcast I left Enable just in case I ever forgot what the SSID name I put • Then I saved the settings again
Wireless Security Tab • Then I clicked on over to the wireless security tab • The security mode that I selected: WEP • My wireless Encryption level is at: 128 bits 26 hex digits which is the most secure • I then let it generate its own WEP key • Then again I had to save the settings
Set Up and Ready to use • Now that I can see my wireless connection, I can now connect wirelessly and use my laptop without having to connect with wires.