Netgear Genie Setup
0 likes | 2 Vues
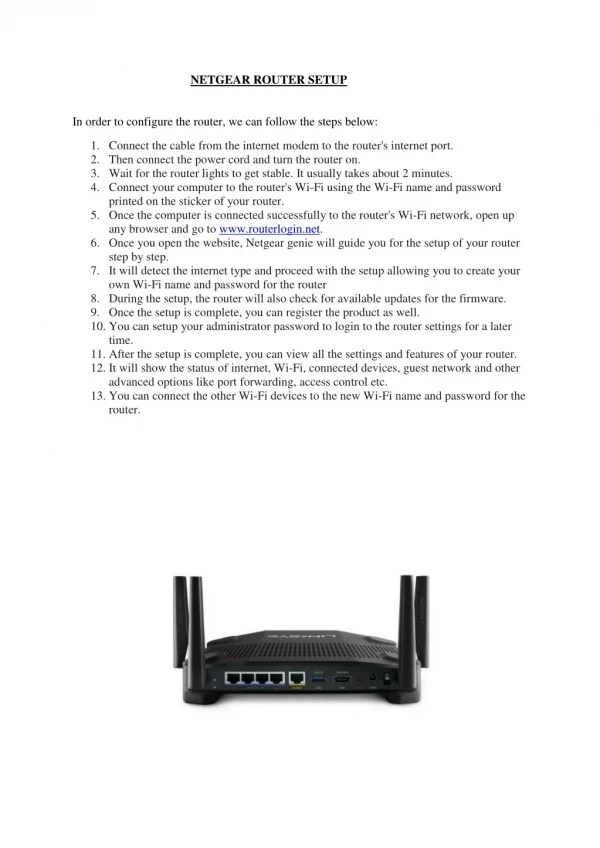
To quickly set up your Netgear extender, use Netgear Genie Setup via MyWifiext Login. Simply open a browser, connect your device to the extender network, and go to mywifiext.net. You can choose your router's WiFi and input the password with the help of the Netgear Genie Setup wizard. MyWifiext Logn simplifies and eases the setup procedure for any home or office network, whether you are trying to improve connectivity or strengthen your signal.<br>

Netgear Genie Setup
E N D
Presentation Transcript
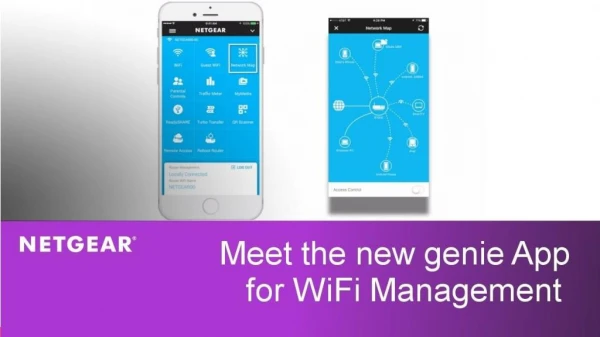
Netgear WiFi Extender Setup Guide Unlock seamless, high-speed internet across your entire home. This guide will walk you through setting up your Netgear WiFi extender using the Netgear Genie setup wizard. MyWifiext Logn
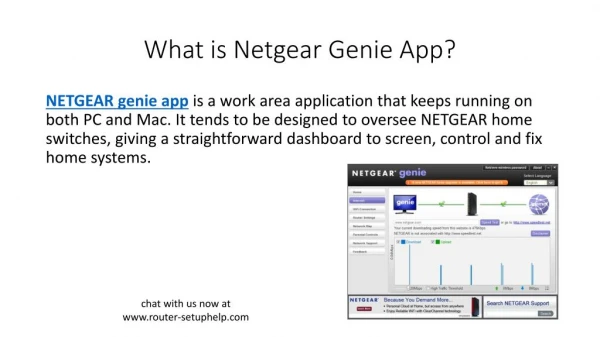
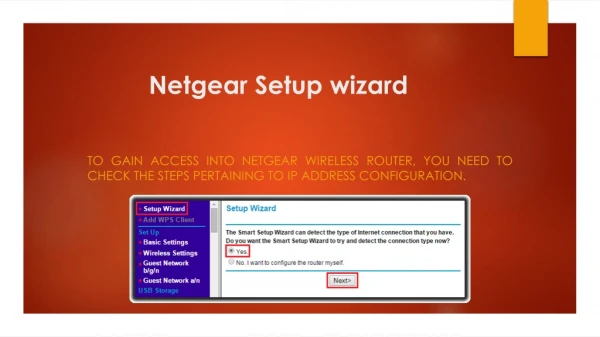
Understanding the Netgear Genie Setup Wizard The Netgear Genie setup wizard is your gateway to installing and configuring your WiFi extender. It's an intuitive, browser- based interface designed to simplify the process. Accessing the Wizard Connect your computer or laptop to the Netgear extender's default WiFi network (e.g., NETGEAR_EXT). Ensure your device has an active internet connection to facilitate the initial setup. Open any web browser (Chrome, Firefox, Edge, etc.). MyWifiext Logn
Troubleshooting Access Issues Sometimes the Netgear Genie Smart Setup page doesn't open automatically. This is a common issue and easily resolved. Open Your Browser Manual Address Entry Press Enter Launch your preferred web browser. If it doesn't redirect automatically, proceed to the next step. Type mywifiext.net into the URL bar. Double-check for typos, as incorrect entries can lead to errors or wrong pages. Hit the Enter key. This should connect you directly to the Netgear Genie Smart Setup wizard, ready to guide you. MyWifiext Logn
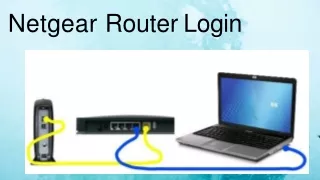
Step 1: Connecting to Your Extender Initial Connection Before you begin the setup process, you need to establish a direct connection to your Netgear extender. This allows the Genie wizard to communicate with the device. Locate the default wireless network broadcast by your extender, typically named NETGEAR_Ext. Connect your computer or mobile device to this network. No password is required for this initial connection. Ensure all other network connections (like Ethernet or your main WiFi) are temporarily disconnected to avoid conflicts. MyWifiext Logn
Step 2: Selecting Your Existing WiFi Network Once connected to the extender, the Netgear Genie wizard will prompt you to choose the network you wish to extend. The wizard will display a list of all available WiFi networks within your extender's range. Carefully select the name (SSID) of your current home or office WiFi network from the list. Click "Continue" to proceed. If your network is secured, you will be prompted to enter its password on the next screen. MyWifiext Logn
Step 3: Dual-Band Routers and Security For dual-band routers, you'll need to specify which band to extend. Security is paramount, so always enter your password correctly. Wireless Security Dual-Band Selection If your chosen WiFi network has wireless security enabled (WPA2-PSK is most common), you must enter its password. This is the password for your main router's WiFi network, not a new one for the extender. If you have a dual-band router (2.4GHz and 5GHz), the wizard will ask you to select the 5GHz WiFi network. While 2.4GHz offers wider coverage, 5GHz provides faster speeds, ideal for extending. MyWifiext Logn
Step 4: Customizing Extender Settings After connecting to your router, the extender will prompt you to customize its WiFi settings, offering flexibility for your network. 1 2 3 New WiFi Settings Option to Skip Automatic Disconnection The extender will suggest new WiFi settings. This usually involves appending "_EXT" or "_5GEXT" to your existing network name. You have the option to accept these default settings or customize them (e.g., change the network name or password). If you prefer not to change them immediately, simply click "Continue." A new screen will appear, indicating your PC has automatically disconnected from the extender's initial wireless network. This is normal during the transition. MyWifiext Logn
Finalizing the Setup The last steps involve verifying your new network and enjoying your extended WiFi. 1 2 3 Verify Settings Reconnect to Extender Finish Wizard Cross-check the displayed settings to ensure they align with your desired configuration or the changes you made. Connect your device to your newly configured extender network (e.g., "YourNetworkName_EXT"). Close the Netgear Genie setup page by clicking the "Finish" button. Your extender is now ready! If you encounter any issues, don't hesitate to contact Netgear support for expert assistance.
Contact Us Feel free to contact us. support@mywifiextlogn.com Mywifiext | www.mywifiext.net Login / Setup