Download
1 / 40
430 likes | 1.1k Vues
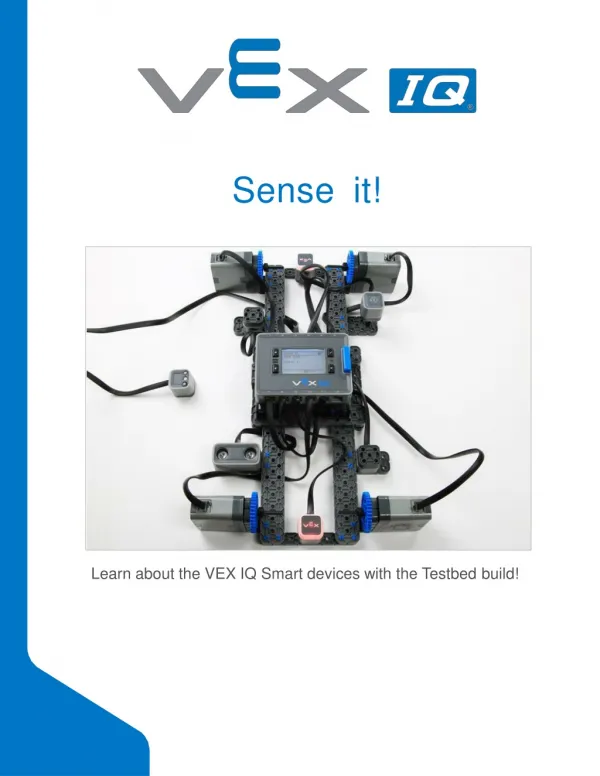
Sens e it!. Learn about the VEX IQ Smart devices with the Testbed build!. Discover new hands-on builds and programming opportunities to further your understanding of a subject matter. The Completed Look of the Build. Testbed.

E N D
Senseit! Learn about the VEX IQ Smart devices with the Testbedbuild!
Discover new hands-on builds and programming opportunities to further your understanding of a subjectmatter.
The Completed Look of the Build Testbed The Testbed build will be used for investigating your SmartDevices.
Build InstructionTips • Steps 1–36: The blue box at the top of the step shows important information for the build. The number above the image of a part is the number of that part required in the step. There may be dimension information below the part to help identify which size touse. • Step 1: Count all pieces before starting your build, including sensors andmotors. • Step 4: Flip the build over after Step 3 to add the blue connector pins asshown. • Step 15: Flip the build over after Step 14 before adding the sensor as shown in thisstep. • Steps 21–26: These steps show you how to put together a single motor sensor group. You will build 4 of these intotal.
Exploration • Now that the build is finished, explore and see what it can do. Then answer the following questions in your engineeringnotebook: • How many devices and sensors are in the Testbed and what are theirnames? • How many Smart Motors are used in theTestbed? • Why are all the Smart Devices attached to the VEX IQBrain?
Test your build, observe how it functions, and fuel your logic and reasoning skills through imaginative, creativeplay.
SmartMotor228-2560 Description This part can power and spin shafts that are inserted into its shaft slot. It has built-in encoders that can be used track its rotational position andvelocity. • Smart Motor228-2560 • CommonUses: • It can turn shafts with wheels to move arobot. • It can turn shafts to move robotic parts like arms andclaws. • It can be used to move the robot to a specificposition.
Bumper Switch 228-2677 Description This sensor acts as a switch. It tells the robot whether its bumper is pressed (sensor valueof 1) or released (sensor value of0). • Bumper Switch228-2677 • CommonUses: • This sensor can trigger a robot action when pressed orreleased. • This sensor can be used as a toggle to turn on or off motors whenpressed. • This sensor can detect walls or objects when the bumper runs intothem. • The sensor can detect other parts of the robot, such as an arm, when it presses in the bumper.
DistanceSensor228-3011 Description This sensor reports the distance between it and the nearest solid object. It calculates distance using the time it takes for ultrasonic waves it sends out to bounce off of an object and then return to thesensor. • Distance Sensor228-3011 • CommonUses: • This sensor can detect if there is an object in front ofit. • This sensor can measure the distance between it and anobject. • A robot can use this sensor to drive a certain distance away from anobject. • A robot can use this sensor to drive up to an object without touchingit. • The values provided by this sensor can be used to speed up or slow down other robot behaviors.
Color Sensor 228-3012 Description This sensor uses reflected light to detect an objects' color, hue value, grayscale value, and proximity. • Color Sensor228-0312 • CommonUses: • This sensor can be used to detect the color of anobject. • This sensor can be used to detect and/or follow aline. • This sensor can detect whether an object is near or far.
Touch LED 228-3010 Description This sensor can detect capacitive touch, such as the touch of a finger. It can also be set to display many colorvariations. • Touch LED228-3010 • CommonUses: • This sensor can be used to start or pause a program at the touch of afinger. • This sensor can be used to display different colors at different parts of aprogram.
Gyro Sensor 228-3014 Description This sensor measures its own rotation around an axis. If this sensor is rotated in the direction indicated by the symbol on the top of it, it measures the angle of theturn. • Gyro Sensor 228-3014 • CommonUses: • This sensor can detect if the robot has turned left orright. • This sensor can detect whether the robot is tilting up ordown. • This sensor can be used to detect the status of one of the robot's components (e.g., arm up, arm down,etc). • This sensor can help the robot to make accurate turns on a slipperysurface.
Sensor Investigation Hardware/SoftwareRequired: 1. Preparing for theInvestigation VEXosUtility Before beginning the investigation, use the Smart Device Check-up to ensure you have the latest firmware and that your devices are functioning properly. You can leave everything connected to the Testbed as is when updating yourfirmware.
2. Navigating to DeviceInformation Device Infooption Power on the Robot Brain and navigate to Device Info. You can use this menu to view the data that is being sent from the connected Smart Devices to the RobotBrain 3. Testing the Connected SmartDevices Device Menu for Port 1 with a Smart Motorconnected
You can use the up and down arrows to navigate through all of the Smart Devices that you have connected to the RobotBrain. • Explore the data provided from each of the below Smart Devices: SmartMotor • BumperSwitch • Distance Sensor • Color Sensor • TouchLED • Gyro Sensor • Which Smart Devices are used more than once on the Testbed build? In your Engineering Journal, list each of the different Smart Devices used on the build along with an explanation of how the data they send to the Robot Brain could be useful on arobot.
Become a 21st century problem solver by applying the core skills and concepts you learned to other problems.
Testing Your Senses! Cockpit view of a flightsimulator Testing Your Senses! We often use simulators to train our responses to sensor feedback. Pilots use flight simulators when first learning to fly a plane or helicopter. They offer a safe learning environment when getting accustomed to controls, sensor readings, weather conditions, and emergency situations. In some professions, our ability to accurately and efficiently respond to sensor data can save lives!
The Value of a Testbed Electronics inspected at atestbed • Testing... One, Two,Three • A testbed is a tool used for simple and repeatable testing of ideas and technology. Testbeds may be comprised of software, hardware, orboth. • Testbeds are used in many different professional fields, and take on many differentforms. • In electronics companies, testbeds can be used to inspect the behavior of new or faulty circuits. • In the automotive industry, "development mules" are used to check the performance and reliability of a new car component in a standard testbedvehicle. • Engine manufacturers use machines called "environmental test chambers" to test how their engines perform over long periods of time, under intense heat and environmental factors.
IncorporatingSensorsona Competition Robot VEX IQ competitionrobot • The "Eyes and Ears" of the Robot • VEX Robotics Competitions are growing as more and more students are introduced to the the wonders of robotic technology. Each year, an exciting engineering challenge is presented in the form of a game to competition participants. The object of the game is to score as many points as possible in a set period of time. One of the challenging aspects for teams is to create a robotic build to complete tasks in the most efficient way possible, earning the most points. Teams must use and rely on different sensors to achieve this goal. Robotic sensors are used to estimate a robot's condition and environment. Just like human senses, robotic sensors send electronic messages to the brain, which them enables appropriate behavior needed by the robot to solve thetask. • Competition robots use many sensors in acompetition: • The Bumper Switch senses if it is currently pressed or released, and it provides that information to the Robot Brain. For example, the Bumper Switch can detect when it comes into contact with a surface such as a perimeter wall, or an object, such as a gamepiece. • The Color Sensor can detect the color of an object near the sensor. This is useful if you want the robot to sort differently colored objects, drive up to a specifically colored object, or detect the color of objects as they pass by thesensor. • The Distance Sensor uses the same principles as sonar devices to measure sound. For example, the robot can use the Distance Sensor to drive toward an object or surface until it is within a specific distance, without touching it. This can be used to make sure that the robot does not knock over gamepieces.
The Gyro Sensor on a robot allows the robot to detect how far it has turned. This is useful to enable the robot to make accurate turns on slippery or unevensurfaces. • The VEX IQ Touch LED allows your robot to detect when it is touched by a finger, as well as display many different colors. For example team members can see when different sections of an autonomous program are running by programming the Touch LED to display a unique color for eachsection.
Is there a more efficient way to come to the same conclusion? Take what you’ve learned and try to improveit.
Prepare for the Sense It! Challenge Testbed build with hand over the DistanceSensor Prepare for the Sense It!Challenge The Sense It! Challenge tests your ability to accurately and efficiently respond to instructions using the Smart Devices on the Testbed build. Once the program starts, you'll hear a sound indicating that it's game time! After hearing the initial sound, you'll be instructed on the Robot Brain's LCD to interact with one of the Smart Devices on the build. You'll need to correctly follow the instructions prior to the Touch LEDs turning red. Each successful response awards you one point. The program on the Robot Brain keeps track of the score. The amount of time you have to respond to each instruction decreases with each successfulresponse. In order to compete in the challenge you'llneed:
Completed Testbedbuild • Sense It! program (ROBOTC or Modkit) downloaded to your Robot Brain using ROBOTC orModkit • Pencil and paper to recordscores
Sense It! Challenge Testbed build with Sense It! programrunning • Sense It!Challenge • In this challenge, you'll test your reaction time as you use the Smart Devices on the Testbed build to respond to instructions given on the Robot Brain's LCD. Each correct response awards you one point. How high can you score? If this is a group activity, compete with others to see who can get the highestscore. • Challenge rules: • The person competing in the challenge must run the Sense It! program to start the challenge themself. • All Smart Devices must be connected to the ports as directed in the VEX IQ Superkit PortConfiguration. • Have fun!
ImproveandTinkerwithYour Build • Answer the following questions in your engineering notebook as you tinker with thebuild. • Now that you have played the Sense It! Challenge, what would you change about the structure of the build to make the challengeeasier? • What steps will you follow to change the build? Explain with details and/orsketches. • How do your changes to the build make the challenge easier? Explainhow.
Understand the core concepts and how to apply them to differentsituations. This review process will fuel motivation tolearn.
Review • The Color Sensorcan... • Be used to detect the color of anobject • Be used to detect and/or follow aline • Detect whether an object is near orfar • All of the above • True or False : A Testbed is a great way to repeat testing of ideas and technology. • True • False • You can use a Bumper Switch on a robotto... • Detect when the robot has come into contact with anotherobject • Detect the height of the robot • Detect what color a nearby objectis • Detect how far away an objectis • The Distance Sensorcan: • Detect if there is an object in front ofit • Measure the distance between it and anobject • Use its values to speed up or slow down other robotbehaviors • All the above • How does the Distance Sensor gather itsdata? • Sonar • Vision
Touch • Estimation • The Gyro Sensor candetect... • If the robot has turned left or right. • If the robot is tilting up ordown. • The status of one of the robot's components (e.g., arm up, arm down,etc). • All of the above. • True or False: The Gyro Sensor can help the robot make accurate turns on slippery or unevensurfaces. • True • False • The Touch LED candetect... • Capacitive touch. • Capacitive distance. • Color hue. • Light. • You can use a Touch LED on a robotto... • Start or pause a running program with a fingerpress. • Display different colors when different parts of a program arerunning. • Create additional human controls for the robot, allowing you to make decisions for the robot while it is running aprogram. • All of the above
RemovingConnectorsfrom Beams and Plates Using a pitch shaft to remove a cornerconnector How to Easily RemoveConnectors You can easily remove corner connectors from beams or plates by placing a metal shaft through one of the holes of the corner connector and pulling outward while holding down the beam orplate.
RemovingPinsfromVEXIQ Electronics Removing a 1x1 Connector Pin from a SmartMotor How to Remove Pins that are Stuck in Electronic Components Connector pins can be removed more easily from Smart Motors, sensors, or Robot Brains by using a 1x1 Beam. Push the beam onto the pin and then twist the beam while pulling outward to remove the pin.
RemovingPinsfromVEXIQ Beams and Plates Removing a pin from a plate assembly using abeam How to Easily Remove Pins from Beams andPlates You can quickly remove connector pins from beams or plates by pressing a beam against the back of the pin, which partially pushes the pin out, so you can remove it with your fingers. You can use this technique to more easily remove pins from individual plates and beams, or from builtstructures.
Installing Rubber Shaft Collars Using your hand to warm a Rubber ShaftCollar Rubber Softens as it getsWarm Hold the Rubber Shaft Collars in your hand for 15-30 seconds before you slide them onto a shaft. Holding the Rubber Shaft Collar in your hand will warm and soften the rubber to make it easier to slide onto a shaft.


