Download
1 / 7
70 likes | 71 Vues
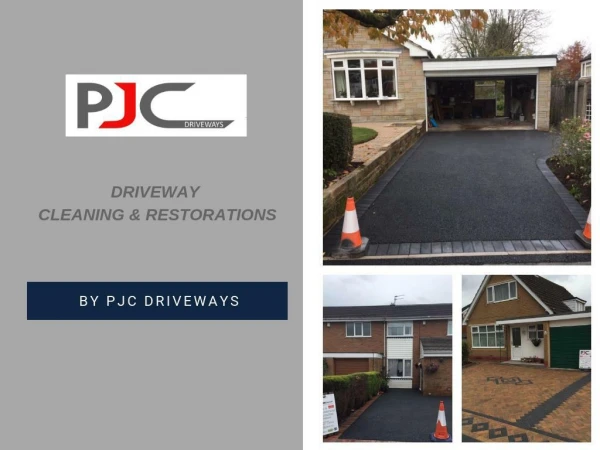
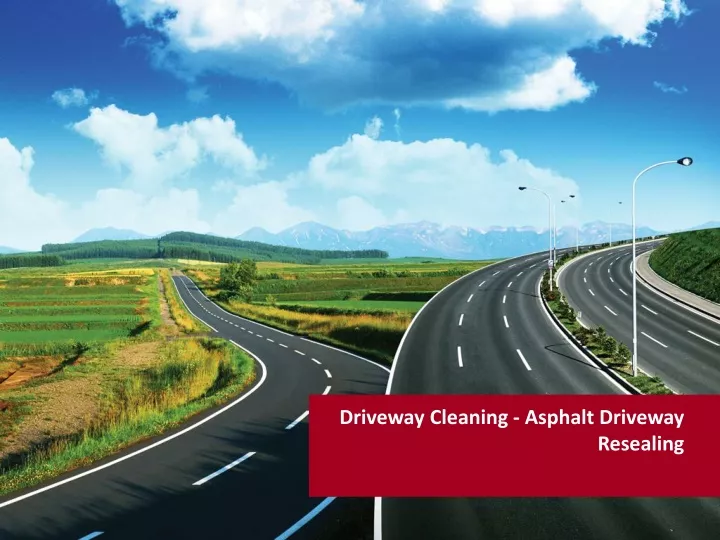
Cleaning an asphalt driveway is a little more challenging. Asphalt driveways are <br>lovely when new, but they require a great deal of care and attention, as well as <br>frequent cleaning and upkeep, to keep them looking wonderful for lengthy periods <br>of time.<br>

E N D
Asphalt driveway cleaning is a little more difficult. Asphalt driveways are attractive when new, but maintaining them and keeping them looking beautiful for long periods of time necessitates a tremendous deal of care and attention, as well as frequent cleaning and upkeep.
The following are the numerous measures that must be taken to clean and reseal your asphalt driveway. 1. When the weather is dry, begin the full driveway cleaning and resealing operation. Wet weather could undo all of your hard work and inflict more harm to your driveway. So begin maintenance when the weather is dry and sunny.
2. Sweep the driveway to remove fallen leaves, debris, and dust; eliminate weeds and plants growing in cracks; and use proper cleaners to remove oil spills and other types of stains. 3. Next, wash the driveway thoroughly with plenty of water. For driveway cleaning, a pressure washer is recommended. Use a low-pressure washer and set the nozzle pressure appropriately. Never use acid in a pressure washer since it will ruin the machine as well as the asphalt road. You will save time, money, and water by using a pressure washer.
4. After cleaning the driveway with water and an appropriate detergent, let it to dry fully. 5. Now inspect the driveway for cracks. Use the proper re-sealer for the depth of the cracks or gaps that have developed over time. You can apply a rubberized asphalt emulsion crack filler or sealant in the crack for shallow cracks. Make sure the sealer does not come into contact with the surface. Allow it to dry after smoothing it out with a putty knife.
6. Fill wider cracks with cold patch blacktop and allow it to cure according to the manufacturer's directions. After that, cover it with a plywood plank and drive over it to completely flatten it. 7. The next stage in driveway cleaning is to apply a suitable sealer to the asphalt surface. It is preferable to apply two thin coats of sealer rather than one heavy coat for the best effects. Beginning at one end of the driveway, make your way to the opposite end. Begin by applying the first coat of sealer in one direction, then the second coat in the opposite. It is preferable to use a paint brush to apply the sealer to the driveway's edge.
8. Next, use a brush or a squeegee to spread the sealer evenly and in a systematic manner. Begin on one side and work your way to the other. Once the first coat of sealer has cured, apply the second coat in the same manner and let the driveway dry. That's it—a freshly paved and cleaned driveway! If done correctly and in a timely manner, driveway cleaning may be quite simple and enjoyable. Cleaning your asphalt driveway on a regular basis will extend its life.