Download
1 / 21
210 likes | 237 Vues
One should always backup registry before making any changes in Windows registry. Go through this article to learn how to backup registry in Windows 10. Visit: https://tweaklibrary.com/how-to-backup-registry-in-windows-10/

E N D
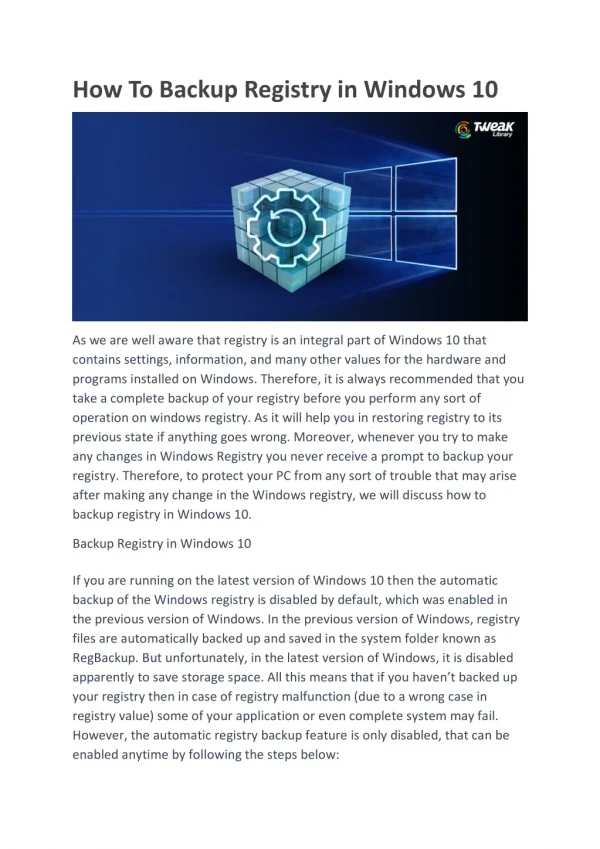
How To Backup Registry in Windows 10 As we are well aware that registry is an integral part of Windows 10 that contains settings, information, and many other values for the hardware and programs installed on Windows. Therefore, it is always recommended that you take a complete backup of your registry before you perform any sort of operation on windows registry. As it will help you in restoring registry to its previous state if anything goes wrong. Moreover, whenever you try to make any changes in Windows Registry you never receive a prompt to backup your registry. Therefore, to protect your PC from any sort of trouble that may arise after making any change in the Windows registry, we will discuss how to backup registry in Windows 10. Backup Registry in Windows 10 If you are running on the latest version of Windows 10 then the automatic backup of the Windows registry is disabled by default, which was enabled in the previous version of Windows. In the previous version of Windows, registry files are automatically backed up and saved in the system folder known as RegBackup. But unfortunately, in the latest version of Windows, it is disabled apparently to save storage space. All this means that if you haven’t backed up your registry then in case of registry malfunction (due to a wrong case in registry value) some of your application or even complete system may fail. However, the automatic registry backup feature is only disabled, that can be enabled anytime by following the steps below:
Backup Registry using a Dedicated Registry Tool: As Windows Registry is one of the most sensitive areas, and to work on it can’t be everyone’s cup of tea. Therefore, it is always a good idea to use a dedicated third-party tool like RegClean Pro to back up the registry. This amazing tool not only helps in backing up the registry with ease but also removes the invalid registry entries, resulting in smooth system performance. Moreover, you can also restore registry to the previous state using RegClean Pro. To backup registry using RegClean Pro follow the steps below: 1. Download 24hrs free trial version of RegClean Pro from the link below: 2. Now install the product by following the on-screen instructions. 3. Once installed, launch the product and click on Backup Registry tab.
4. Click on Take Full Registry Backup button. Within few seconds RegClean Pro will take a complete backup of the registry. Similarly, you can also restore registry in a few clicks using Reclean Pro. To do follow the steps below: 1. Launch Reclean Pro and click on Backup Registry tab.
2. Now click on the Restore button to restore registry backup to its previous state.
In this way, you can easily backup and restore registry using RegClean Pro. But the capabilities of RegClean Pro are not restricted to the backing and restoring of Registry. RegClean Pro is an all in one registry cleaner and optimizer tool that boosts the performance of Windows 10 PC by cleaning invalid registry entries that are unnecessarily cluttering your PC. Apart from this RegClean Pro also helps you in defragmenting your registry, to make the computer more responsive. Since if Windows registry is fragmented then Windows has to search for the relevant information in hundreds of various places on your hard disk. But, RegClean Pro in few clicks defrags Windows registry and removes the fragmentation to make Windows registry more streamlined and responsive. How to Enable Automatic Backup of Registry in Windows 10 Once you enable automatic registry backup, Windows will automatically backup your registry. To enable follow the steps below: Disclaimer: The steps provided here should be performed with utmost care as a slight mistake can cause problems on your PC. 1. Right-click on the Windows Start button and from the menu select Run. Alternatively, press Windows + R to open Run command box.
2. Now type regedit on the Run Command Window and hit Enter. On the UAC that prompts click on Yes. 3. On the Registry Editor window that opens, navigate to the following key:
HKEY_LOCAL_MACHINE\SYSTEM\CurrentControlSet\Control\Session Manager\Configuration Manager. 4. Right-click on Configuration Manager Folder and from the drop-down menu select New > DWORD (32-bit) Value. 5. Now, name the newly created key as EnablePeriodicBackup and hit the Enter key on the keyboard of the computer.
6. Once the key is created, double-click on it. In the Edit DWORD Value window, change the value data from 0 to 1 and click OK. 7. Now reboot your computer for the changes to take effect. From now onwards Windows will automatically create a backup of the registry and placed them in a folder named as RegBackup at the location C:\Windows\System32\config\RegBack. Moreover, a task will also be created in Windows Task Scheduler with name RegIdleBackup, to automatically manage all future backup of the Windows registry. Backup the Registry Manually: You can also backup registry manually through registry editor in Windows. To do so follow the steps given below: 1. Right-click on the Windows Start button and from the menu select Run. Alternatively, press Windows + R to open Run command box.
2. Now type regedit on the Run Command Window and hit Enter. On the UAC that prompts click on Yes.
3. On the Registry Editor window that opens, you can either take a full backup of the Windows registry or a specific registry key. 4. To take full Windows registry backup, right-click Computer on the Registry Editor window and select the Export option. 5. Now provide a name for the file and select the location where you wish the registry backup and click on Save button. By default, the registry backup is saved as .reg file.
6. If you wish to take a backup of any specific registry then navigate to that particular Registry key or Hive, click on File and select Export.
7. Now provide a name for the file and select the location where you wish the registry backup and click on the Save button. By default, the registry backup is saved as .reg file.
Backup Registry by Creating a Restore Point: System Restore is one of the simplest methods to perform Windows registry backup. 1. On Windows Search type Create a restore point. Now select Create a restore point from the search results.
2. On System Properties window that opens click on System Protection tab, select your OS drive and click on the Configure button.
3. In the Restore Setting select the option Turn on system protection and click on Apply button.
4. Now again on System Properties window click the Create button, type the name of the restore point and click on the Create button. 5. After successfully completing the above steps, you have created a complete backup of the registry that you can use in future to revert the setting to a previous state if required. Restoring the Registry via Backup 1. To restore the registry open Registry Editor. Now in the left pane select the desired Registry where you have to restore the registry key. 2. Now click on File and select the Import option and navigate to the registry that you have exported and click on Open.
Restoring the Registry via System Restore: Another way to restore the registry in Windows 10 is via System Restore. Earlier, in the article we have learnt how to backup registry using System Restore, similarly system restore can be used for restoring the registry. To restore registry using System Restore utility, follow the steps below: 1. On Windows Search type Create a restore point.
2. Now select Create a restore point from the search results. 3. On System Properties window that opens click on System Protection tab. Now click on System Restore button.
4. On System Restore window that opens click on Next button.
5. On the next screen that opens select the Restore Point by clicking on it and click the Next button to proceed. 6. Now, a confirmation window will appear, confirming that the computer will be restored to the state selected as a restore point. Click on Finish button to proceed.
7. Your computer will now reboot to apply the changes. After the system reboots itself it has been restored to the previous state. Conclusion: Registry backup can be very handy especially when you are facing issues with your PC. Therefore, it is always recommended to backup registry regularly, so that it can be restored whenever faulty hardware or program make your system messy, even though these backups take some space on your hard disk. Moreover, if your registry corrupts due to a malware infection then also you can restore the registry to its previous state if registry backup is available. Also, if you are not that much familiar with Windows registry then go for a dedicated registry cleaning tool like RegClean Pro to back up the registry. Download Reg Clean Pro So, guys, these were some of the ways to backup registry on Windows 10 computer. If you have any suggestion or feedback regarding the article, then do share it in the comment box below.