Download

1 / 11
120 likes | 533 Vues
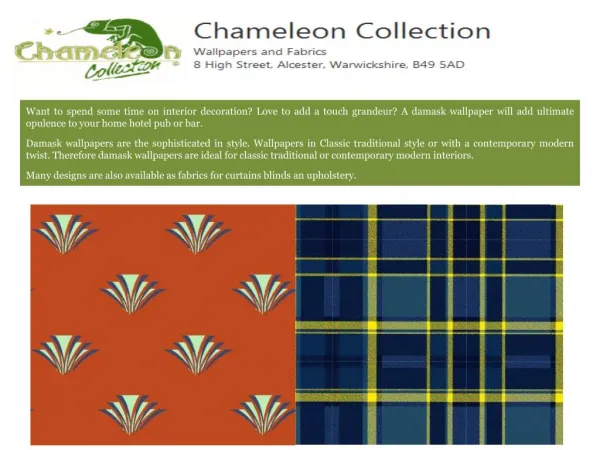
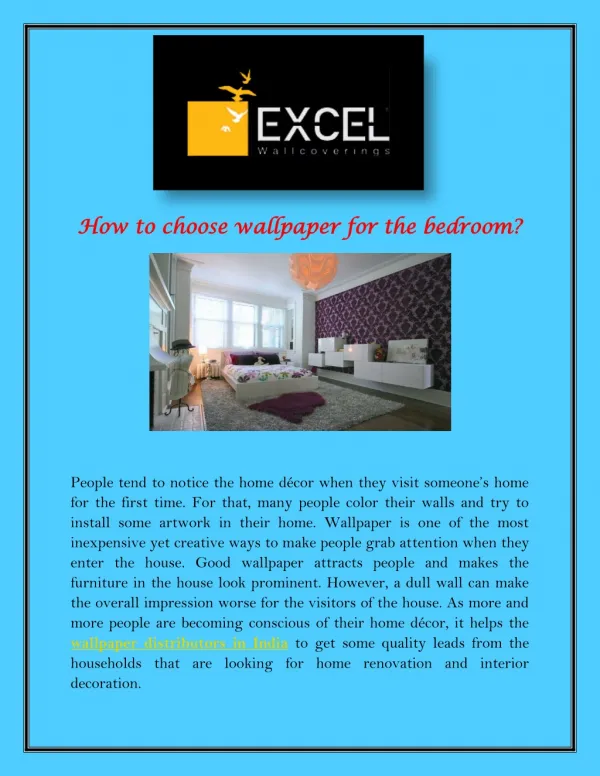
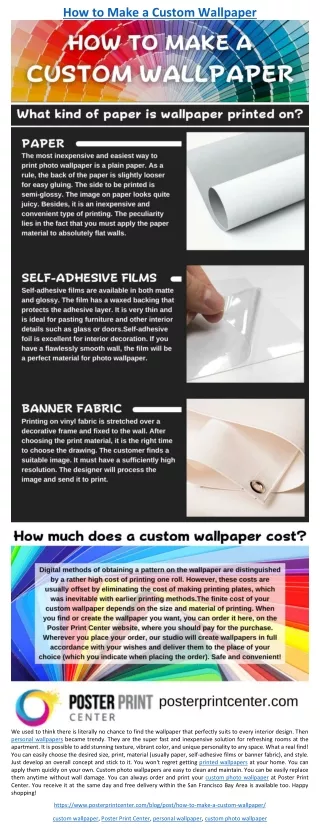
There’s no doubt, wallpaper is back in vogue and is a favourite of interior designers, from Victorian to post-modern decor there’s a perfect solution to give your room a touch of elegance or head turning wow. Thanks to digital technology you can know have full customised wallpaper, use your own image or choose from an image library for an original, personalised look. Choice is only limited by imagination custom wallpaper is certainly worth exploring, perfect for commercial and residential applications, we love it.

E N D
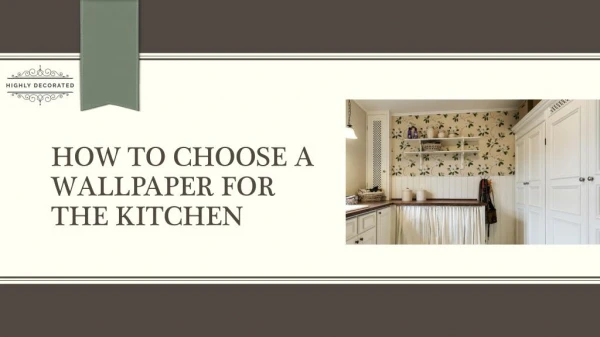
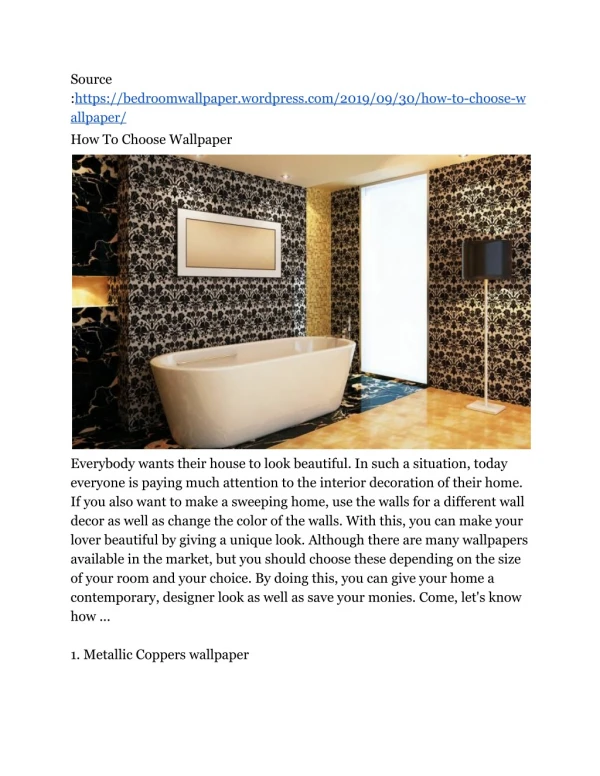
There’s no doubt, wallpaper is back in vogue and is a favourite of interior designers, from Victorian to post-modern decor there’s a perfect solution to give your room a touch of elegance or head turning wow. Thanks to digital technology you can now have full customised wallpaper, use your own image or choose from an image library for an original, personalised look. Choice is only limited by imagination; custom wallpaper is certainly worth exploring, perfect for commercial and residential applications, we love it. Create a feature wall – DIY The choice of wallpaper today is truly outstanding, and today, with modern technology, wallpaper is not only simple to hang, but also easy to remove. Create a stunning feature wall in your home with our step by step guide.
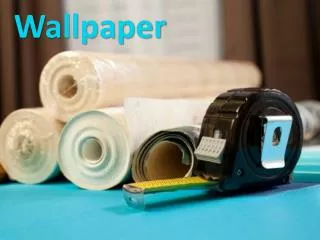
Firstly, like any home renovation, having the right tools are essential to make light work of your project and achieve that professional finish, wallpapering is no exception, so here are a few items you need to get the job done!
Tools of the trade:- - Sugar soap, sand paper and filler for preparation - Wallpaper adhesive and application brush - Clean bucket, sponge and water - A sharp utility or ‘Stanley’ knife and some spare blades - Spirit level - Tape measure - Wallpaper brush - Trowel - Pencil - Step ladder - Scissors
Tip 1 – Preparation, Preparation, Preparation Just like with painting, good surface preparation is essential when wallpapering. First identify any cracks, dents and holes and fill with a ready-made compound that’s easy to sand. Leave to dry then sand the filled areas back to leave a smooth finish. During this drying time mix up sugar soap with water and clean down the wall surface in preparation for your new wallpaper to make sure the paste will adhere to the wall, and nothing else. If you’re papering a new wall make sure the surface is at least sealed with the appropriate sealer, you do not want to apply wallpaper to bare plasterboard.
Tip 2 – Find your starting point Always start in a corner. Pick a spot just below eye level and measure the width of your wallpaper. From the corner of the wall, draw a horizontal line, allow 2-3cm for overlap onto the adjacent wall (you will trim the overlapping paper here later). Now draw a straight vertical line using your spirit level as your ruler, ensure the bubble remains centred, this is will help you align the edge of your wallpaper. Remember all rooms are not square it’s important your edge is straight (this is the edge away from the corner), check this with your spirit level.
Tip 3 – Measure twice, cut once! When using patterned wallpaper it’s important that the pattern should begin at the highest point, don’t forget to allow 2-3cm top and bottom these will be trimmed using your stanley knife. Now take your roll of wallpaper and allow it to drop to full length, this is where an assistant comes in handy! Now make a mark where you need to trim the sheet, remember to allow 2-3cm of overhang, your first sheet is ready to apply.
Tip 4- The art of applying wall paper adhesive Stage 1 – Applying the first sheet Take a brush and apply the mixed paste adhesive to the area marked out on the wall, ensuring the adhesive glue is well applied right into the corners and about 3cm over the pencil line where the next sheet will adhere to. The adhesive can be easily wiped off with a clean damp sponge or cloth in event of a mishap. Now take your first sheet and apply to the wall from the top remembering the overhang, use your pencil line as the guide not the corner. Using your hands gently smooth the paper into position and with your wallpaper brush smooth out any air bubbles from top to bottom.
With your first sheet in place, using your trowel and following the ceiling edge, put a crease in the paper where you need to trim, then using your utility knife carefully cut the paper in the corner and remove the excess. This procedure can also be achieved using scissors. Just remove the top section of paper and cut along the trowel line you made and then smooth paper back into place - voila! For room corners, simply repeat the trowel procedure as you did with the ceiling. With the room corners use the utility knife to trim excess (not scissors), gently and slowly pull from the base to remove the excess strip. Using a damp, clean sponge remove any glue from adjoining wall. Repeat to trim excess from bottom.
Stage 2 – Pattern matching your wallpaper This is when you may require extra overhang, working from the ceiling match the pattern with your wallpaper roll, cut out your next sheet and working with the pattern as your guide align pattern into place and repeat the process of stage 1. You should be left with a new room or wall with some very stylish and in vogue wallpaper to be proud of!
Joshua Hockley is an expert commercial and house painting consultant. He is in the field of painting for over a decade. He loves writing about interior decoration, painting and home improvement. Most of his write-ups are intended to educate his clients and others about colors, paints and interior decoration. Joshua Hockley works for Triple Coat, a team of professional Gold Coast painters. Triple Coat is a good option for people looking for painter Gold Coast or house painters Gold Coast. You can know more about Triple Coat here (www.triplecoat.com.au).