Download

1 / 4
0 likes | 7 Vues
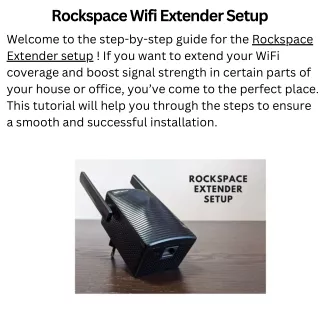
To setup your Rockspace wifi extender, use the local web URL re.rockspace.local. Install your Rockspace range extender for your workplace or home and bid farewell to weak connectivity. So, if you want to install the Rockspace Wi-Fi range extender, read on. Here, we will provide simple step-by-step instructions to assist you in completing the re.rockspace.local setup procedure.<br><br>

E N D
Rockspace WiFi Extender Setup A Rockspace WiFi extender Setup can significantly enhance your wireless network coverage, ensuring a strong and stable connection throughout your home or office. Setting up your Rockspace WiFi extender is a straightforward process. Step by step guide on how to set up a Rockspace WiFi extender:
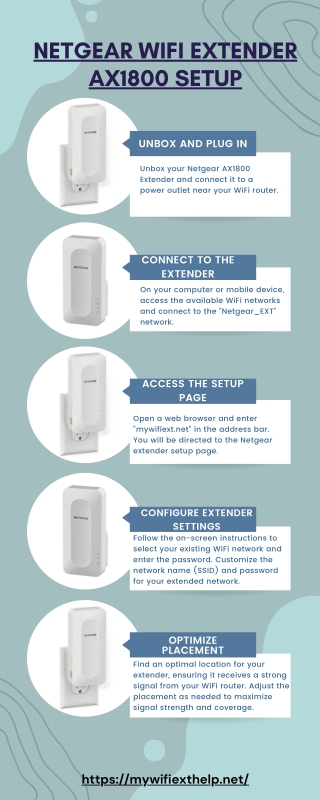
Setting up Rockspace WiFi Extender: Manual Method Follow these steps to manually set up your Rockspace WiFi extender: Plug in the extender near your router and wait for the power LED to become solid. Connect your device (computer or smartphone) to the WiFi network named "Rockspace-XXXX" (where XXXX represents the last 4 digits of your extender's MAC address). Open a web browser and enter "ap.setup" or “192.168.10.1" in the address bar. To finish the setup, follow the on-screen steps, which include selecting your existing WiFi network and entering its password. Once the extender connects to your router's network, you can relocate it to an optimal location.
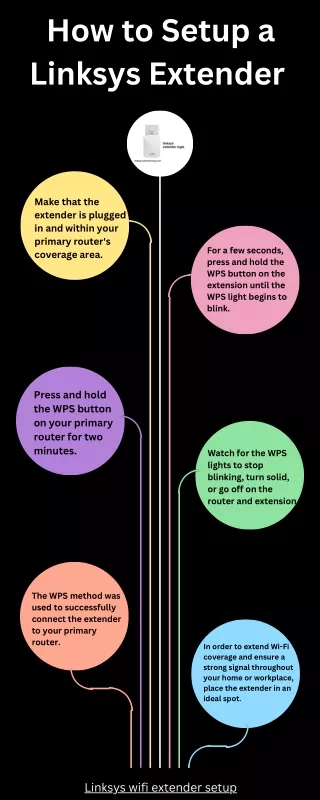
Rockspace Extender Setup using WPS method Rockspace WiFi extender Setup using the WPS (Wi-Fi Protected Setup) method can be a quick and convenient way to extend your WiFi coverage: Plug in the extender and wait for the power LED to become solid. Press the WPS button on the extender. Within 2 minutes, press the WPS button on your router. Once the extender's WiFi LED becomes solid, the setup is complete. Note: The WPS setup process might vary slightly depending on the model of your Rockspace extender. Please refer to the user manual that came with your extender for precise instructions.
How do I perform a factory reset on a Rockspace WiFi extender? To perform a factory reset on a Rockspace WiFi extender, follow these steps: Locate the reset button on the extender (usually on the side or back). Use a paperclip or pin to press and hold the reset button for about 10 seconds. When the LEDs begin to flash, release the button. The extender will reset to its default settings. By performing a factory reset, you'll essentially start over with a clean slate, allowing you to set up the extender as if it were brand new. Always refer to your specific extender's manual for the most accurate and detailed instructions on performing a factory reset.