Rockspace wifi Extender Setup
<br> If you have any issues regarding your extender, you can contact our toll-free number ( 1-323-471-3045) or<br> email: support@mywifiextension.net

Rockspace wifi Extender Setup
E N D
Presentation Transcript
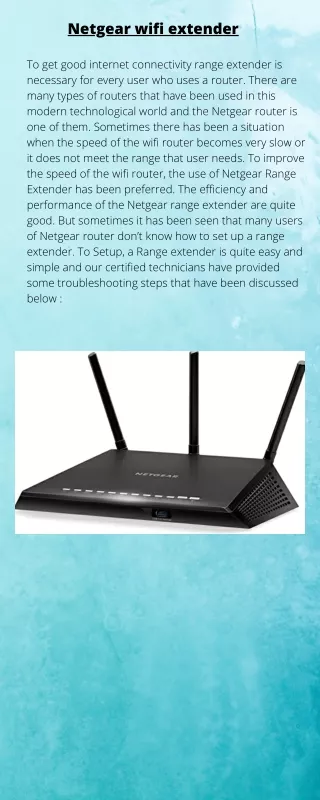
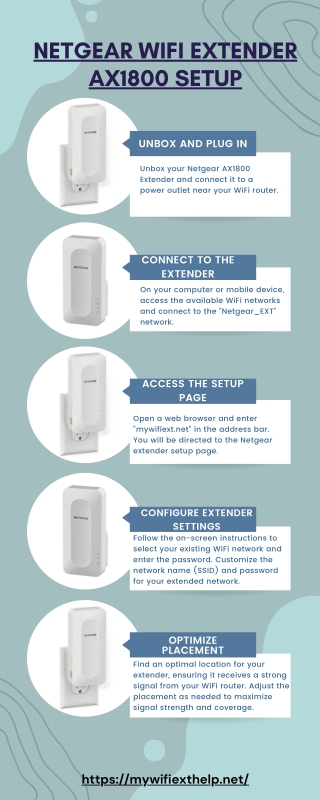
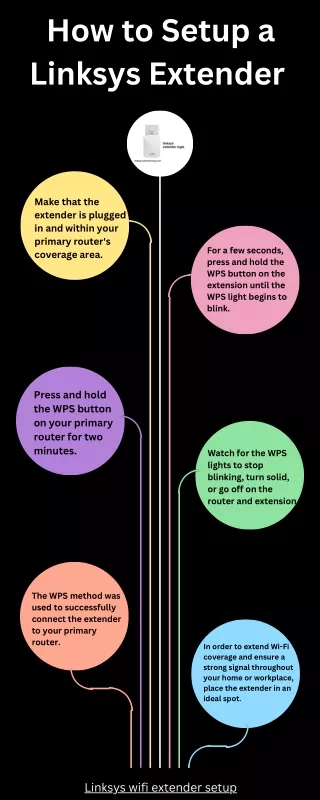
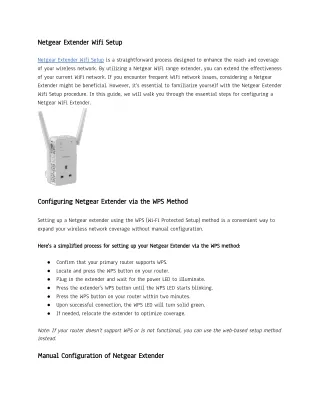
Rockspace wifi Extender Setup Welcome to the Rockspace Wifi Extender setup tutorial! If you want to extend your WiFi coverage and boost signal strength in certain parts of your house or office, you’ve come to the perfect place. This tutorial will help you through the steps to ensure a smooth and successful installation.
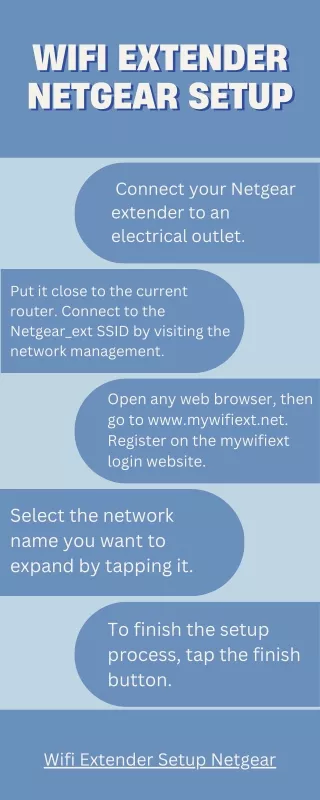
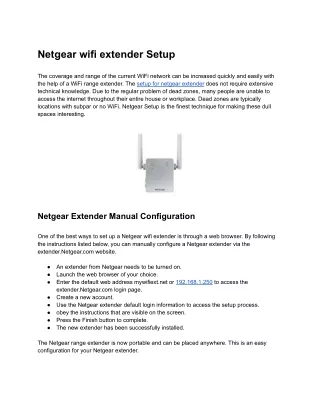
Step-by-Step Manual Setup Guide for Rockspace WiFi Extender To assist you in getting started, here’s a step-by-step manual setup guide that should help you: Position the extender within the range of your existing WiFi router for optimal signal strength. Connect the extender to a power outlet and wait for the LED indicator to solid green. On your device, open WiFi settings and connect to the “Rockspace_Extender” network. Type “ap.setup” into the URL bar of your internet browser. Use the default login credentials (usually “admin” for both username and password) to access the extender’s settings. The on-screen wizard will guide you through selecting and connecting to your home WiFi network. Follow the prompts and save settings.
Rockspace Wifi Extender Setup: WPS Method Rockspace extender Setup using the WPS (Wi-Fi Protected Setup) method can be a quicker and simpler. Follow the following instructions: Connect the extension by pressing the WPS button. Within 2 minutes, press WPS on the router. Wait for the WPS LED to become stable. The extender connects to WiFi. Using the WPS method, you’ve successfully set up your Rockspace WiFi extender. Keep in mind, however, that the WPS method may not be supported by all router or extender models. If you encounter any issues, refer to the specific setup guide provided with your extender for troubleshooting steps.
Rockspace Extender Factory Reset: Step- by-Step Guide Performing a factory reset will erase all personalized settings and configurations on your Rockspace Extender, restoring it to its default settings. To guide you through the process, here’s a general step-by-step guide: Find the reset hole or button on the extender. Press and hold the reset button with a paperclip for roughly 10 seconds. Release the button when the LEDs flash, indicating a successful reset. You’ll need to set up the extender again using either manual setup or the WPS method. After the factory reset, any customized settings you had previously configured will be lost, and you’ll need to reconfigure the extender according to your preferences.
Rockspace Extender Firmware Update Updating the firmware of your Rockspace Extender can help improve performance and security, and add new features. To guide you through the process, here is a step-by-step guide on how to update the firmware: Log in to the extender’s web interface and find the current firmware version. Visit the official Rockspace website to download the latest firmware for your extender model. In the extender’s settings, locate the firmware update section and upload the downloaded file. Allow the update to complete. The extender will reboot with the new firmware. If you have any issues regarding your extender, you can contact our toll-free number (+1-323-471-3045) or email: support@mywifiextension.net