Rockspace Wifi Extender Setup (4)
If you have any issues regarding your extender, you can contact our toll-free number ( 1-323-471-3045) or<br> email: support@mywifiextension.net

Rockspace Wifi Extender Setup (4)
E N D
Presentation Transcript
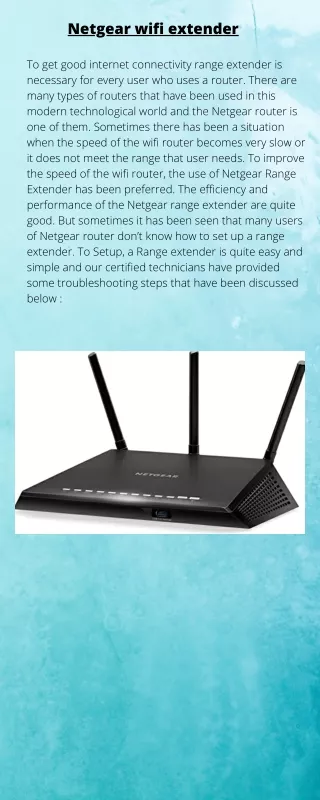
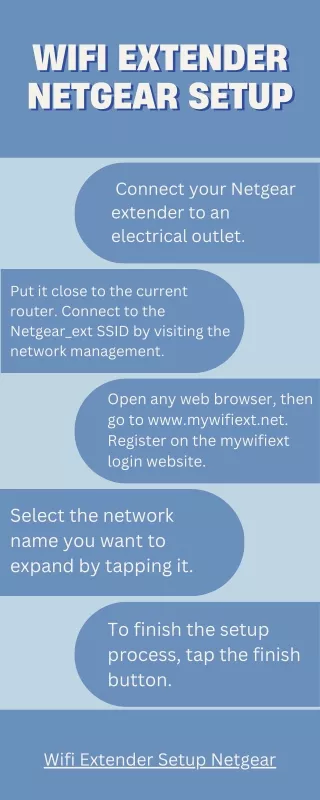
Rockspace Wifi Extender Setup Welcome to the Rockspace WiFi Extender setup tutorial! If you need to enhance your WiFi coverage and improve signal strength in certain areas of your home or office, you’ve come to the right place. This guide will walk you through the steps for a successful installation.
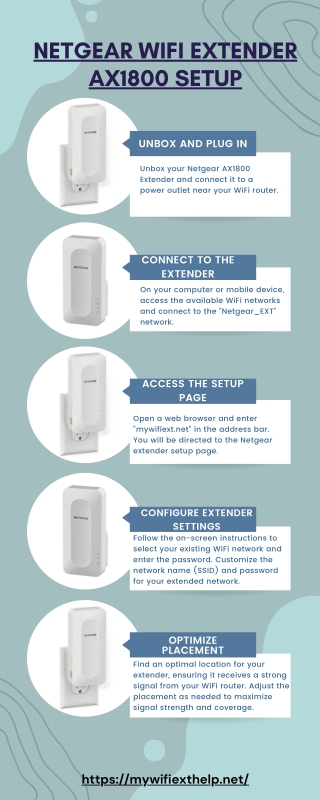
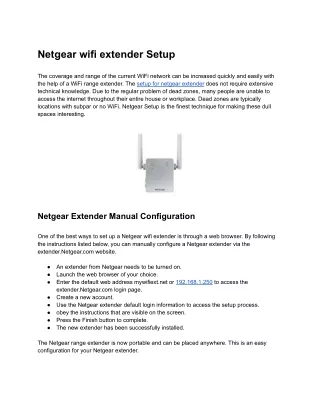
Step-By-Step Manual Setup Guide For Rockspace WiFi Extender: To help you get started, here’s a step-by-step manual setup guide: Position the extender within the range of your existing WiFi router for the best signal strength. Plug the extender into a power outlet and wait for the LED indicator to turn solid green. On your device, open WiFi settings and connect to the “Rockspace_Extender” network. Enter “ap.setup” or “192.168.10.1” into your internet browser’s URL bar. Access the extender’s settings using the default login information. Follow the onscreen wizard to select and connect to your home WiFi network. Proceed as directed by the prompts and then save the settings.
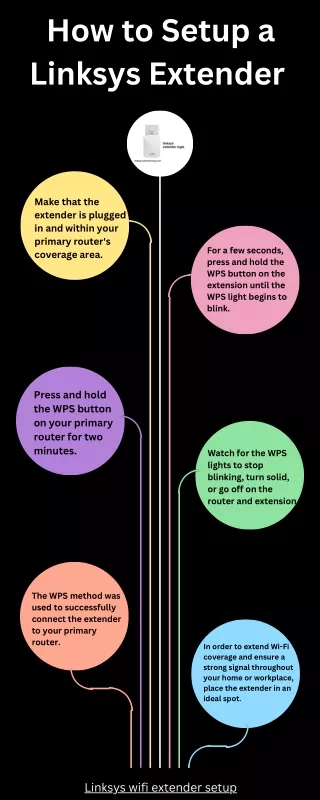
Rockspace WiFi Extender Setup: WPS Method: Setting up a Rockspace extender using the WPS (WiFi Protected Setup) method can be quicker and simpler. Follow these instructions: Press the WPS button on the extender to initiate the connection. Press the WPS button on your router within a 2- minute timeframe. Wait for the WPS LED to become stable, indicating a successful connection. Using the WPS method, you have successfully set up your Rockspace WiFi extender. However, please note that not all router or extender models support the WPS method. If you encounter any issues, refer to the specific setup guide provided with your extender for troubleshooting steps.
Rockspace Extender Factory Reset: StepbyStep Guide Performing a factory reset will erase all personalized settings and configurations on your Rockspace Extender, restoring it to its default settings. Here’s a general step- by-step guide: Locate the reset hole or button on the extender. Press and hold the reset button with a paperclip for approximately 10 seconds. Release the button when the LEDs flash, indicating a successful reset. If you have any issues regarding your extender, you can contact our toll-free number (+1-323-471-3045) or email: support@mywifiextension.net