Download
1 / 24
240 likes | 297 Vues
In this PPT, we have discussed some tips about How to Install Electric Radiant Floor Heating Mat Under a Tile Floor In Toronto which are very helpful. http://www.finance.pr4-articles.com/PR4-Article-Directory/common-uses-radiant-floor-heating-toronto

E N D
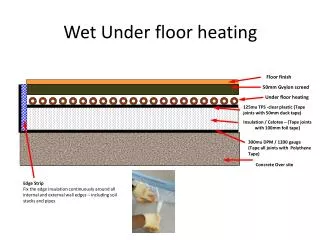
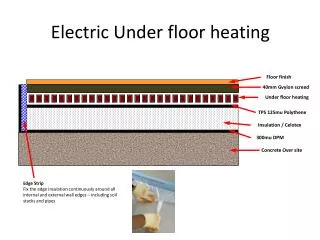
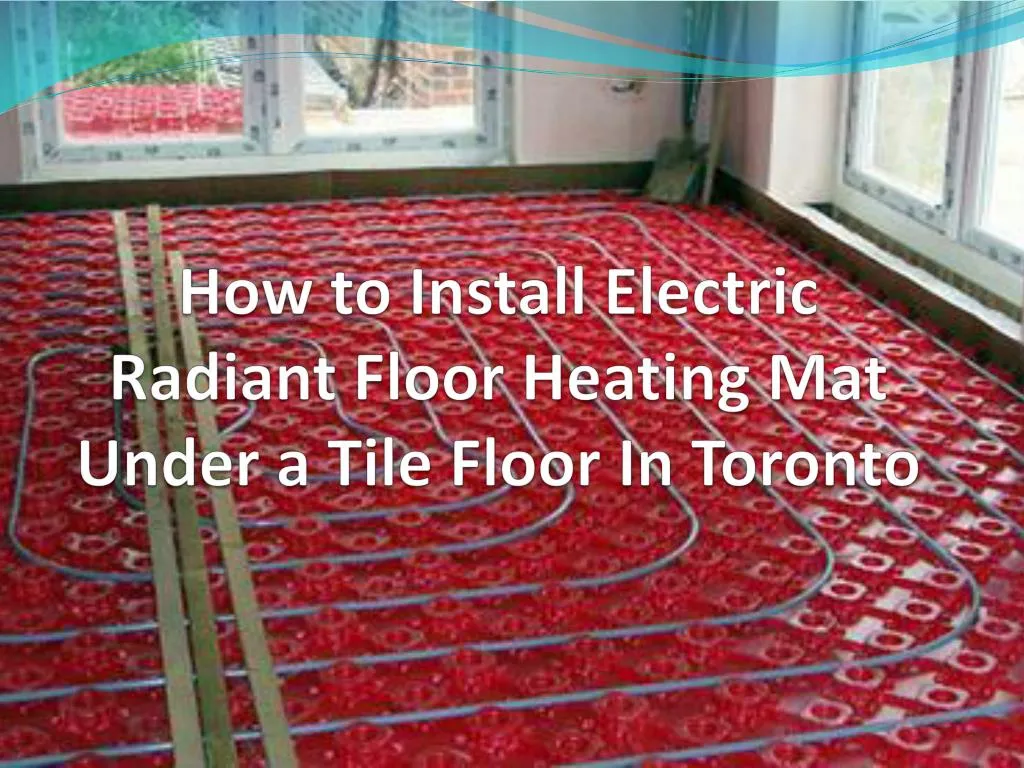
How to Install Electric Radiant Floor Heating Mat Under a Tile Floor In Toronto
1st Step • Prepare your floor for tile by installing tile backer board on the floor, securing it to the existing sub-floor with thin-set mortar and cement board screws or nails.
2nd Step • Make a scale drawing of the bathroom floor, including toilet, tub and vanity locations, and bring it to the tile store or home center so you can buy the proper size mat or combination of mats • Points to keep in mind when sizing the mat are: 1) Install the mat up to the area where the vanity cabinet or pedestal sink will sit, but not under it; that can cause excessive heat buildup
3rd Step • Check the wiring with a continuity tester, after purchasing the mat, to make sure it wasn’t damaged during manufacturing or shipping.
4th Step • Install an electrical outlet box 5 feet (1.5 m). up in the wall near where the wiring leads from the mat will terminate • Run new wiring to the box from the circuit breaker panel or - if the mat is small - from a nearby outlet (consult manufacturer's instructions for more information about wiring requirements).
5th Step • following your preliminary layout, you should mark the path of the thick “power lead” between the mat and wall cavity and chisel a shallow trench into the floor. Notch the bottom plate to accommodate the two conduits that will contain the power lead and the wires for the thermostat-sensing bulb.
6th Step • Select tile that’s at least 6 in. square so each tile will span two or more sections of cable. Smaller tiles are more likely to conform to the minor hills and valleys of the cable when you tamp them in place, creating a wavy surface.
7th Step • Use hot-melt glue to additionally secure the mat. Don’t leave any humps or loose edges; you’ll snag them with your notched trowel when you’re applying the thin-set mortar. [NOTE: This installation shows an open type of mat that is mortared and tiled in one step. Other types of radiant heat mats must be mortared in place first, allowed to dry, and then tiled.
8th Step • Fish the power lead cable through one length of conduit. Hot-melt glue the power lead into the groove. Fish the thermostat wires through a second piece of conduit, then weave it 12 in. into the mat, keeping it equidistant from the cable on each side. Nail metal protective plates over the notches in the bottom plate to protect the wires and cable where they pass through.
9th Step • Use the flat side of the trowel to press the mortar firmly through the mat and into contact with the cement board. You can establish a flat, uniform layer by lightly floating the trowel across the tops of the cable, then use the notched side to comb the mortar to create ridges; a 3/8 x 1/4-in. trowel works well for most tiles. Again, lightly skim your trowel over the cable. The sheathing on the cable is tough, but you still need to avoid any “sawing” type action or jabs with the trowel. It takes a little trial and error to get a flat layer.
10th Step • Do two resistance tests while installing the tile to ensure you haven’t damaged the cable. (If the resistance test fails, see the manufacturer’s instructions to find the problem.) Once the mortar has dried, grout the joints.
11th Step • Use a programmable thermostat so the mat will only come on when it's needed. It costs more initially but will save energy and money in the long run. In this way you can Install Electric Radiant Floor Heating in Toronto