Download

1 / 5

E N D
DIY Gable Fascia Installation Step-by-Step Guide to Installing Your Own Gable Fascia
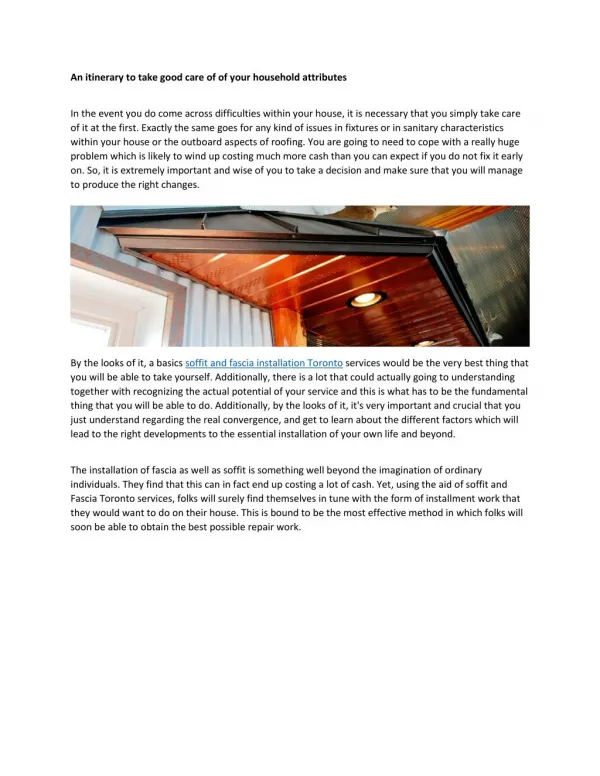
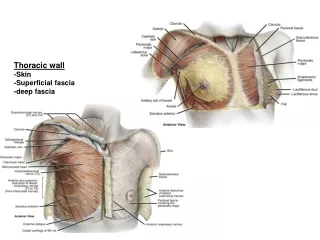
Understanding Gable Fascia • Gable fascia is the panel fitted onto the end of the roof which acts as a barrier, shielding the interior of the house from weather damage. • It plays a crucial role in preventing water and pests from entering the house. • Gable fascia can be made from various materials, such as wood or vinyl, and comes in a range of styles and colors to suit any home.
Necessary Tools and Materials • To install the gable fascia, you will need certain tools, including a ladder, measuring tape, saw, nails, and a hammer or nail gun. • The main materials required are the fascia board itself and suitable waterproof sealant to help keep the fascia in place and protect it from the elements. • Always ensure optimum safety precautions while working on ladders or with power tools.
Installation Process: Part 1 • Measure the length of the gable end of your roof to determine how much fascia you will require. • Cut the fascia board to fit the measured size, but always account for some extra material for unavoidable mistakes. • Secure the fascia board onto the gable end using nails, ensuring it is straight and level.
Installation Process: Part 2 • Apply waterproof sealant along the top edge of the fascia board to prevent water damage. • Take the opportunity to paint or finish the fascia if desired. Using weather-resistant paint can prolong its life. • Inspect the installed gable fascia regularly for signs of damage or weathering to ensure its longevity and maintain its functionality. https://www.jonesexteriors.ca/services/gable-fascia-installation/