Download
1 / 6
60 likes | 76 Vues
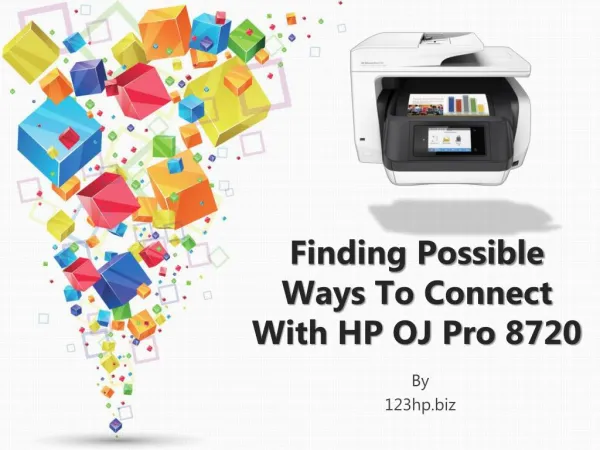
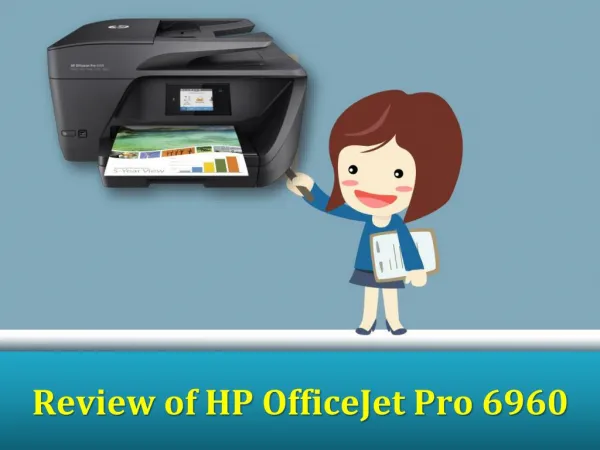
A Simplified Steps for HP Officejet 6950 Printer Unboxing & First-Time Installation Guidance from Our Experts - https://123hpcom.co/hp-officejet-6950/

E N D
Quick Guidance for HP OJ6950 Installation • Take out the HP Officejet 6950 Printer from the box. Eradicate all the packing materials from the interior or exterior of the printer. • Discard the sticker on the printer’s control panel. Elevate the scanner lid. Take out the packing materials in the lid. • Seal the scanner lid. Elevate the output tray. Drag the input tray towards you to access it. • Drag the input tray forwards until it fixes into place. Shut the output tray. Once you have done with the step, move to the next step.
Plug in the power cable to the rear of the HP Officejet 6950 Setup and the other end to the electrical outlet. • Once you have connected the power cable, switch on the printer. On the printer’s control panel, tap the preferred language. • After customising the preferences, tap OK to confirm the choice. In case prompted, choose date and time. • Elevate the ink cartridge access door until it snaps into place. Halt until the carriage is inactive prior to proceeding. • Discard the packing materials from the carriage. Take out the cartridge from the packaging. Drag the orange tab out.
Grasp the ink cartridge by either side and then rotate the protective orange cap counter clockwise to fix it off. • While inserting the cartridge, make sure that the ink cartridge contacts facing downwards and move the cartridge inwards. • While placing the ink cartridge, examine whether the label color matches the color dot on the carriage. • Move the ink cartridges into their respective slots and carefully press the top of the cartridge until it fixes into place. • Once you are done with the installation process, seal the ink cartridge access door for secure installation. • Elevate the output tray and then drag the input tray towards you to access it. Move the paper width guides to their farthest position.
Insert plain paper into the input tray. Shove the stack into the tray until it fixes into place. • Move the paper width guide until it fixes against the edges of the paper. Shove the input tray forward until it fixes into place. • Close the output tray. You need to install the install driver and software for the printer to print from the 123.hp.com/oj6950 printer. • For More Info Visit Here: "https://123hpcom.co/hp-officejet-6950/"


![HP OFFICEJET PRO 6978 NOT PRINTING BLACK [SOLVED]](https://cdn4.slideserve.com/8175951/hp-officejet-pro-6978-not-printing-black-dt.jpg)