How to Setup Canon Maxify IB4120 Printer? - Printer Setup
20 likes | 50 Vues
Learn how to do Canon Maxify IB4120 setup using our expert's guidance. Also, we provide the Canon IB4120 printer installation & troubleshooting steps | Printer Setup

How to Setup Canon Maxify IB4120 Printer? - Printer Setup
E N D
Presentation Transcript
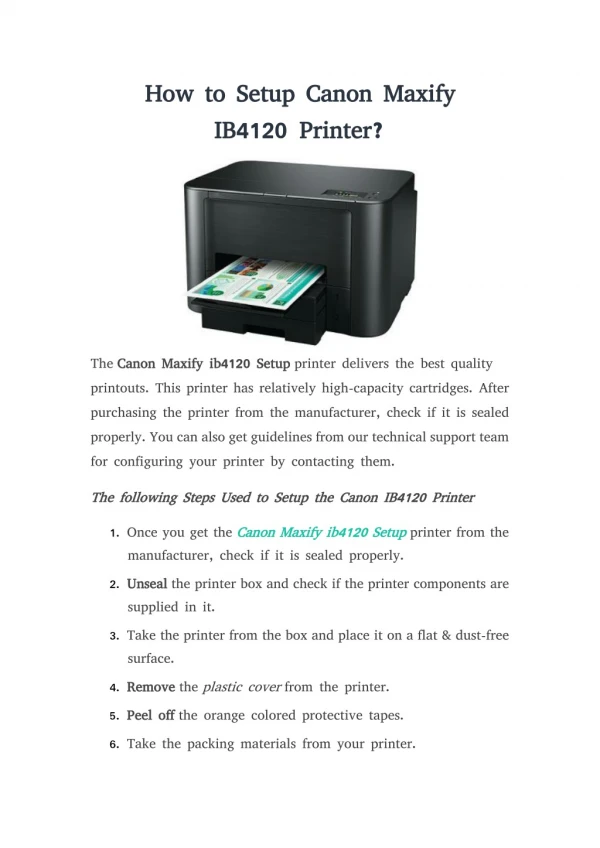
How How to to Setup Setup Canon Canon Maxify Maxify IB4120 IB4120 Printer? Printer? The Canon Canon Maxify Maxify ib4120 ib4120 Setup Setup printer delivers the best quality printouts. This printer has relatively high-capacity cartridges. After purchasing the printer from the manufacturer, check if it is sealed properly. You can also get guidelines from our technical support team for configuring your printer by contacting them. The The following following Steps Steps Used Used to to Setup Setup the the Canon Canon IB4120 IB4120 Printer Printer 1. Once you get the Canon Canon Maxify Maxify ib4120 ib4120 Setup Setup printer from the manufacturer, check if it is sealed properly. 2. Unseal Unseal the printer box and check if the printer components are supplied in it. 3. Take the printer from the box and place it on a flat & dust-free surface. 4. Remove Remove the plastic cover from the printer. 5. Peel Peel off off the orange colored protective tapes. 6. Take the packing materials from your printer.
7. “Unpack” the power cable provided in the printer package. 8. Connect Connect the cable to the respective port of the printer and power supply. 9. “ “Power Power up up” ” the printer by force pressing its power button. 10.Open Open the access cover at the front of your printer. 11.“ “Unpack Unpack” ” the ink cartridges provided in the printer box. 12.Insert the cartridges into the corresponding slots. 13.Close Close the front door of the printer. 14.Pull the input tray and load suitable papers. 15.Connect Connect your printer and computer using a wired or wireless method and complete the first time printer setup. READ MORE…