Download
1 / 16
170 likes | 202 Vues
Be Ready to avail unified synchronization between Shopify & Marketing Cloud. It is enhancing features of e-commerce and CRM platform with the concept of service first approach. It enables you to sync categories, Products, Customers & Orders from Shopify to Marketing Cloud.<br><br>

E N D
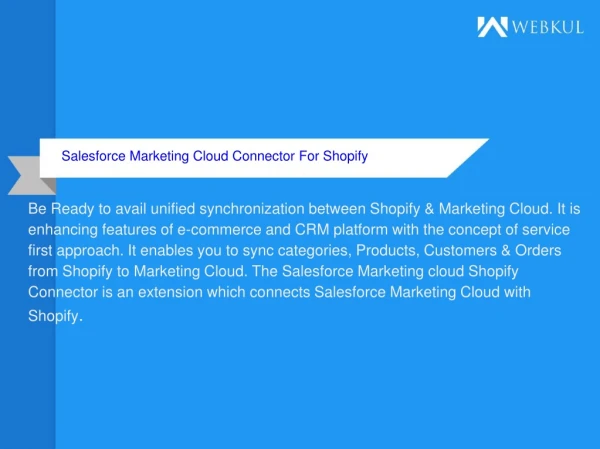
Salesforce Marketing Cloud Connector For Shopify Be Ready to avail unified synchronization between Shopify & Marketing Cloud. It is enhancing features of e-commerce and CRM platform with the concept of service first approach. It enables you to sync categories, Products, Customers & Orders from Shopify to Marketing Cloud. The Salesforce Marketing cloud Shopify Connector is an extension which connects Salesforce Marketing Cloud with Shopify.
Features • Integrate eCommerce and Salesforce Marketing Cloud seamlessly. • Sync customer data and sales details to send transactional and Promotional emails via Marketing Cloud instead of eCommerce System. • Connector provides the power to retain more customers with data-driven email marketing campaign including- New customer Welcome email and post-purchase Thank You mail. Predictive up-sell, cross-sell & hot combo emails based on order history. Automatic products recommendations based on the customer journey. Best customer rewards and various offers emails. Abandoned cart email campaigns. Targeted coupon and discount offer that reaches the right customers with the right offer. • Create automated campaigns directly in journey builder using product, purchase, and customer data from eCommerce Store. • Automate predictive marketing campaigns and bring customers back to buy more.
Benefits 1. Provides a unified platform for scattered conversations. 2. You can plan, personalize and optimize customer journey. 3. From Welcome and promotional emails to critical information, you can build and send emails. 4. Ready to use tools with drag and drop feature to create an email. 5. Measure and optimize your campaigns with advanced email analytics. 6. Manage all your advertising across Facebook, Instagram, Twitter and LinkedIn. 7. Build an audience through social topics and reconnect with your customers using different channels. 8. Plan, personalize and optimize customer journeys at the right moment on the right channel. 9.Select targeted audience and create unique journeys based on their interaction.
Marketing Cloud End: There are some pre-requisite which need to be taken care at Salesforce end before installation : You need to have API User enabled in the user section.
Now, you have to set the Grant The User Access To The WebService role for the user.
Shopify End Now at Shopify end you need to do the following setup: Click on Visit Shopify App Store
Your application is installed successfully. Now put your user name and password in the given sections and save to use the application.
Over in the configuration of the application you have to insert the SFMC Username, Password, you have to specify the SFMC Mode and SubDomain. You also have the option to switch on the AutoSync, and selecting SFMC list id. To get the subdomain go to Administrator-> Account -> Users -> Click on the username -> In the SOAP WSDL field just select and copy the domain and paste it into the SFMC Subdomain field.
Support: For any further query, Click To Create Ticket: https://webkul.uvdesk.com/en/customer/create-ticket/ Click here to get the extension: https://eshopsync.com/marketing-cloud-integration/shopify/
![Salesforce Marketing-Cloud-Email-Specialist [2020] Exam Questions - Success Secret](https://cdn5.slideserve.com/9793186/salesforce-marketing-cloud-email-specialist-dt.jpg)


![[LATEST] Salesforce Marketing Cloud Email Specialist (MCES) Certification Exam](https://cdn5.slideserve.com/10141653/how-to-prepare-for-salesforce-marketing-cloud-dt.jpg)