Download
1 / 3
30 likes | 52 Vues
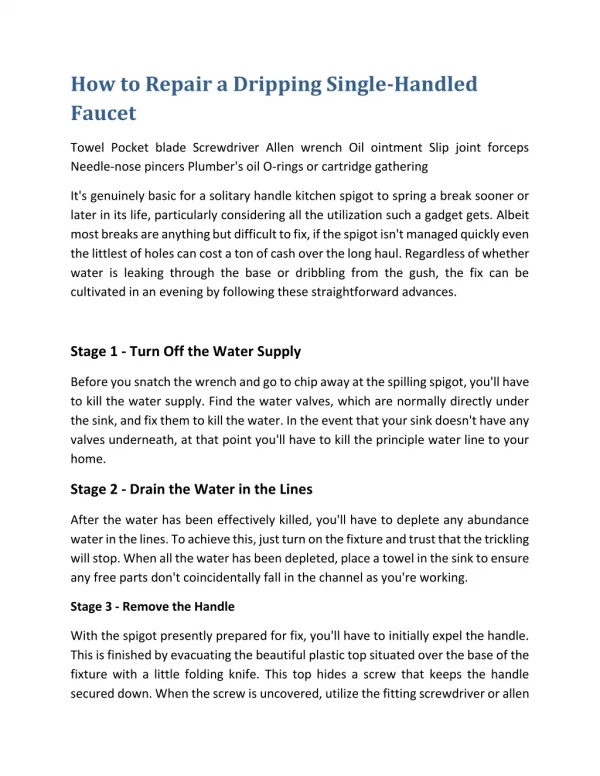
Towel Pocket blade Screwdriver Allen wrench Oil ointment Slip joint forceps Needle-nose pincers Plumber's oil O-rings or cartridge gathering

E N D
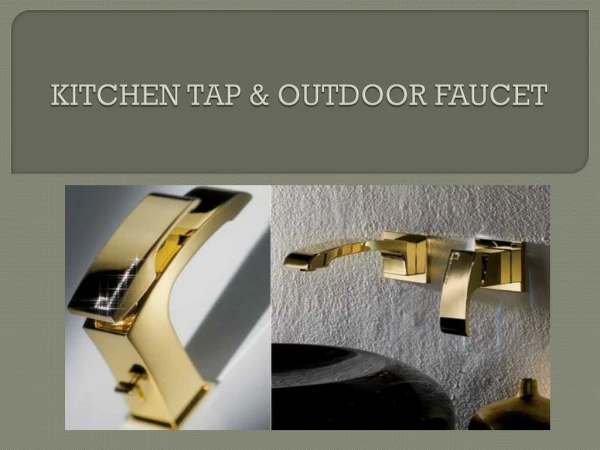
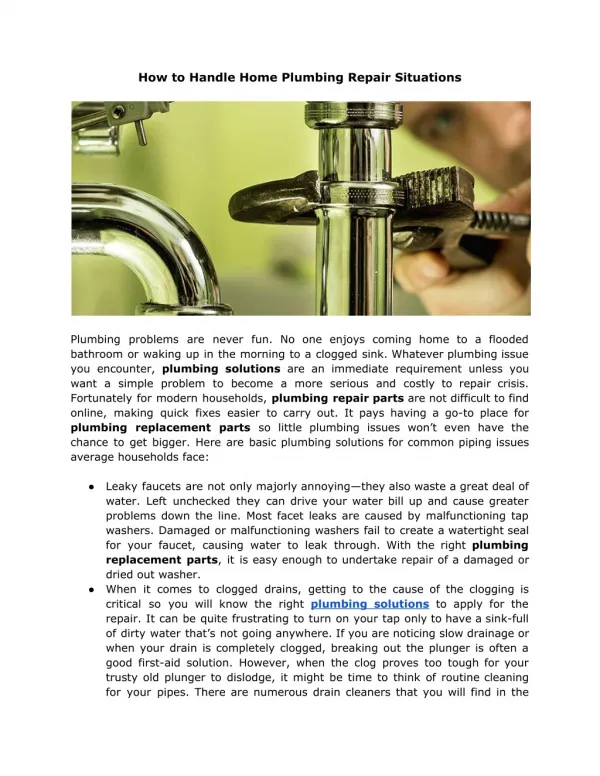
How to Repair a Single Handle Kitchen Faucet Towel Pocket blade Screwdriver Allen wrench Oil ointment Slip joint forceps Needle-nose pincers Plumber's oil O-rings or cartridge gathering It's genuinely basic for a solitary handle kitchen spigot to spring a break sooner or later in its life, particularly considering all the utilization such a gadget gets. Albeit most breaks are anything but difficult to fix, if the spigot isn't managed quickly even the littlest of holes can cost a ton of cash over the long haul. Regardless of whether water is leaking through the base or dribbling from the gush, the fix can be cultivated in an evening by following these straightforward advances. Stage 1 - Turn Off the Water Supply Before you snatch the wrench and go to chip away at the spilling spigot, you'll have to kill the water supply. Find the water valves, which are normally directly under the sink, and fix them to kill the water. In the event that your sink doesn't have any valves underneath, at that point you'll have to kill the principle water line to your home. Stage 2 - Drain the Water in the Lines After the water has been effectively killed, you'll have to deplete any abundance water in the lines. To achieve this, just turn on the fixture and trust that the trickling will stop. When all the water has been depleted, place a towel in the sink to ensure any free parts don't coincidentally fall in the channel as you're working. Stage 3 - Remove the Handle With the spigot presently prepared for fix, you'll have to initially expel the handle. This is finished by evacuating the beautiful plastic top situated over the base of the fixture with a little folding knife. This top hides a screw that keeps the handle
secured down. When the screw is uncovered, utilize the fitting screwdriver or allen wrench to expel it. On the off chance that the screw won't move, take a stab at including some oil and be mindful so as not to strip it out. When it's expelled, wiggle the handle and it should slide off with little power. Stage 4 - Remove the Bonnet The following activity is to expel the cap so as to get to the cartridge get together. To do this, utilization a couple of slip joint forceps to unscrew the cap. When the hat has been unscrewed, utilize your needle-nose forceps to tenderly slide the retainer cut out of the fixture base. As you expel these pieces, put them aside and mastermind them in indistinguishable introduction from they were on the hat. This will enable you to recall how they were sorted out, which will prove to be useful when you reinstall the hat. Stage 5 - Determine the Leak's Source: O-Ring or Cartridge? Before you push ahead, you'll have to figure out where the hole is coming from. On the off chance that the hole is originating from the handle's base, at that point the issue is likely some well used O-rings on the cartridge that should be supplanted. Expel the rings with a blade, and coat the new ones with some warmth verification handyman's oil. In any case, on the off chance that the break is originating from the gush, at that point an altogether new cartridge get together should be introduced. Stage 6 - Remove the Cartridge To expel the old cartridge, just utilize your pincers at the base of the cartridge and draw up with a liberal measure of solidarity, trying not to destroy it from side to side. You may need to pull hard in light of the fact that the O-rings can produce a decent measure of suction and opposition. The key here is to abstain from
harming whatever remains of the spigot, as you'll require it completely flawless when you introduce the new cartridge. Stage 7 - Install the New Cartridge With the old cartridge expelled, it's an ideal opportunity to put in the enhanced one. Ensure that when you introduce the new cartridge into spot, you accurately place it in precisely the same position as the bygone one. This will guarantee that the hot and cold water gaps are not confounded. Stage 8 - Reinstall the Handle With the new cartridge accurately set up, basically fit the old retainer cut back onto the correct opening. Reference how they were situated when you at first took them off to guarantee a tight fit. At that point place the hat over the cartridge, screw it down with your slip joint forceps, and reinstall the handle. With everything back together and the handle screwed on, turn on the water valves to the sink and check to ensure the hole has been fixed. When you're sure everything is working legitimately, reinstall the beautiful plastic top and the spigot is prepared for use. Powered BY: https://www.kitchenfaucetslab.com/