Download
1 / 3
30 likes | 46 Vues
Step by step instructions on how to unbox and setup HP Officejet 8619 Printer. For more guidance visit us.

E N D
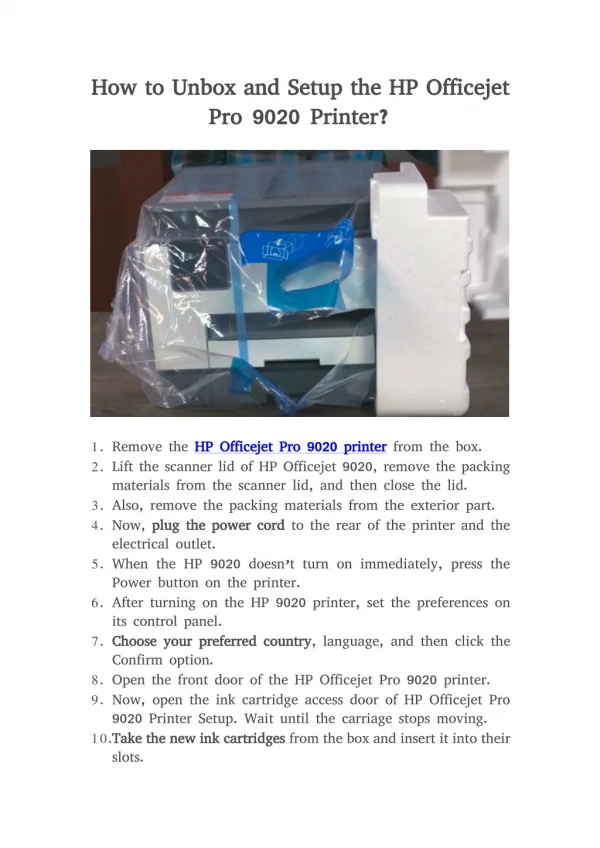
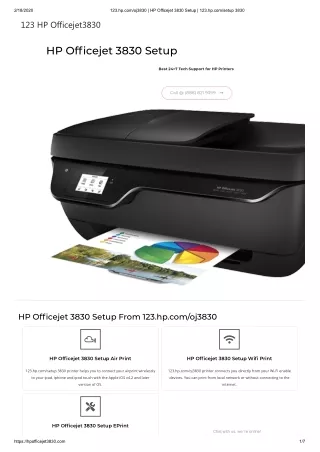
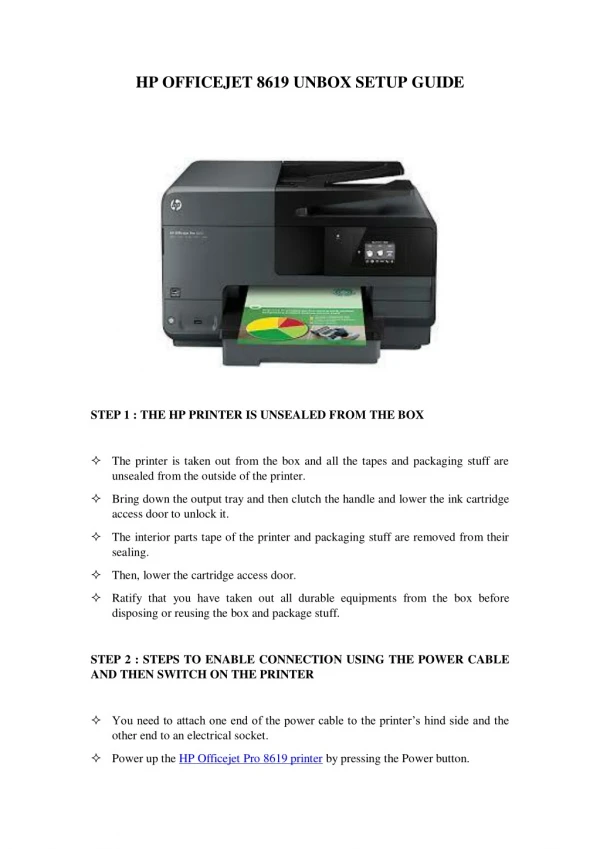
HP OFFICEJET 8619 UNBOX SETUP GUIDE STEP 1 : THE HP PRINTER IS UNSEALED FROM THE BOX The printer is taken out from the box and all the tapes and packaging stuff are unsealed from the outside of the printer. Bring down the output tray and then clutch the handle and lower the ink cartridge access door to unlock it. The interior parts tape of the printer and packaging stuff are removed from their sealing. Then, lower the cartridge access door. Ratify that you have taken out all durable equipments from the box before disposing or reusing the box and package stuff. STEP 2 : STEPS TO ENABLE CONNECTION USING THE POWER CABLE AND THEN SWITCH ON THE PRINTER You need to attach one end of the power cable to the printer’s hind side and the other end to an electrical socket. Power up the HP Officejet Pro 8619 printer by pressing the Power button.
STEP 3 : THE NEW INK CARTRIDGES ARE SET ONTO ITS PLACE The handle of the ink cartridges should be grasped and then the ink cartridge access door is should be further lowered to access it. The carriage will move to the midst of your 123.HP.Com Ojpro8619 printer. Be tranquil until your printer becomes inactive and stationary prior to proceeding. One of the ink cartridges is can now be taken out from its package. Stay alert and make sure you clutch the black plastic on the ink cartridge. The plastic tape is dragged out. The ink cartridge is set onto its place in such a way that it needs to face with the nozzles headed for the printer, and then they are attached to their appropriate slot. The ink cartridge is set onto its place in such a way that the nozzles face the printhead and are fixed into place. In the right side slot, the black cartridge is inserted. In the left side slot, the tri-color ink cartridge is inserted. The new ink cartridge is inserted smoothly at a minute ascendant angle into the empty slot, and then it is pressed till it clicks into its slot. Make use of the same steps for the tri-color cartridges also. The ink cartridge access door is shut down. STEP 4 : FEED THE FRESH PAPER INTO THE INPUT TRAY Place plain, U.S. letter or A4 paper in the input feeder tray subsequently you install the ink cartridges. The input tray is raised up. Dissimilar papers are taken out from the input tray, and then the paper width guide is adjusted as far as possible to the left. A stack of U.S. letter, A4, or legal size paper is inserted into the feeder tray with the diminutive edge forward and the print side facing adjacent to you. The stack is pushed into the tray until it rests. The paper width guide is adjusted to the right until it rests at the edge of the paper.
The output tray is brought down and the output tray extender is slide out . STEP 5 : THE INK CARTRIDGES ARE PUT IN THEIR PLACE Once the paper is loaded, the printer mechanically prints an alignment page. Hold the scanner lid. The alignment page is placed with the print side down on the scanner lid, according to the inscribed guides they are located around the glass. Lower the scanner lid. Hold the Start Copy Black icon or the Start Copy Color icon on the control panel display of the printer. The ink cartridges will be lined up by the printer. STEP 6 : THE PRINTER DRIVER SOFTWARE IS INSTALLED Nor, your 123.HP.Com Ojpro8619 printer hardware setup is ready and you can install the software. Never enable as connection between the printer and computer until you are inculcated to do so.