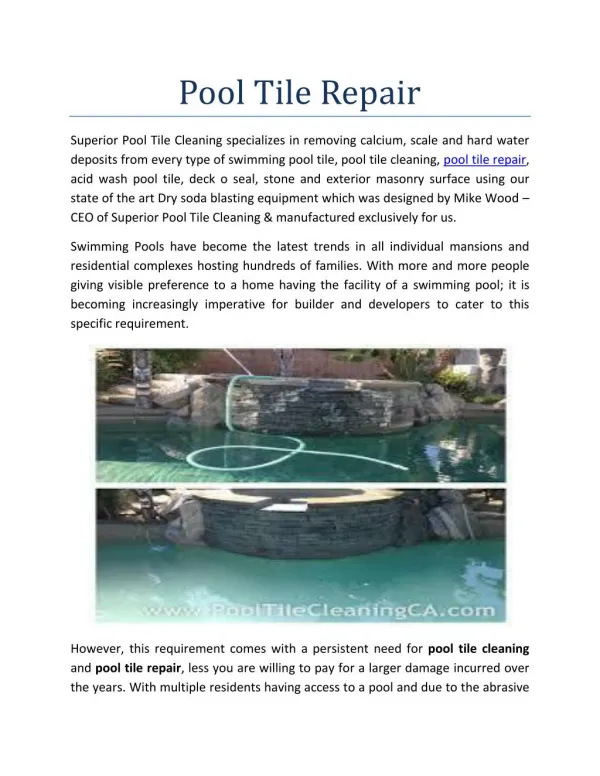
Tile Repair
Find the best services and a fair price at Tile Regrouting. We`ll provide a professional, clean, beautiful regrouting service for you. Get a Quote! Visit us: https://www.tileregrouting.com.au/

Tile Repair
E N D
Presentation Transcript
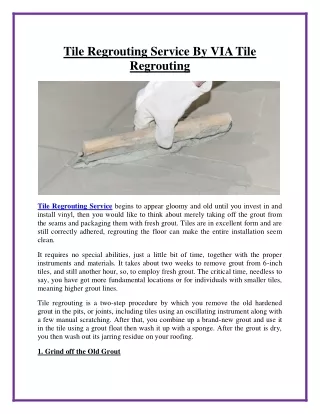
Tile Regrouting Service By VIA Tile Regrouting Tile Regrouting Service begins to appear gloomy and old until you invest in and install vinyl, then you would like to think about merely taking off the grout from the seams and packaging them with fresh grout. Tiles are in excellent form and are still correctly adhered, regrouting the floor can make the entire installation seem clean. It requires no special abilities, just a little bit of time, together with the proper instruments and materials. It takes about two weeks to remove grout from 6-inch tiles, and still another hour, so, to employ fresh grout. The critical time, needless to say, you have got more fundamental locations or for individuals with smaller tiles, meaning higher grout lines. Tile regrouting is a two-step procedure by which you remove the old hardened grout in the pits, or joints, including tiles using an oscillating instrument along with a few manual scratching. After that, you combine up a brand-new grout and use it in the tile using a grout float then wash it up with a sponge. After the grout is dry, you then wash out its jarring residue on your roofing. 1. Grind off the Old Grout
Most manufacturers sell blades created for this goal. Ordinarily, these are wrapped with superior diamond chips that do rapid work of pulverizing scattering grout. Work, and take care never to sew the ceramic tile. On the very first move, your purpose is to eliminate the vast majority of the grout don't worry about removing every part of grout into the primary measure. 2. Clean Up the Grout Lines As soon as you've removed the vast majority of the grout, then create a second pass with the oscillating tool to clean the grout lines up. Make sure not to linger on the boundaries of the grout lines, because this will damage the tiles. The grout will crumble instantly under the actions of this blade. Do not force the blade if you discover that some areas don't grind these parts of grout will be removed manually afterwards. 3. Remove the Grout Apply safety glasses to protect your eyes from chips and dust, then rake out of your grout around the cracked tile using a carbide-tipped grading tool. Apply only enough pressure to remove the grout, but not too much that a slide will gouge the neighboring flooring. 4. Loosen the Tile Apply painter's tape across the boundaries of the adjacent tiles to protect them. Drill evenly spaced holes into the tile broken sections with a 1/4-inch ceramic bit. This will help to free the pieces from this volcano and makes it simpler to chisel out. 5. Chisel outside the Pieces If you don't own a plastic sheeting, a cold chisel or a flat-blade screwdriver will also do the job. Start with the chisel at 90 degrees to the floor, then change to some 45-degree angle as soon as you penetrate the glaze. If the cracked tile was removed, use a full chisel to clean each the previous substrates in the substrate. Precisely the same technique applies for several substrates, including brick, cement backer board, or plywood. 6. Set the New Tile
Comb just a bit of thin-set mortar on the substrate indirectly furrows using a 1/4- inch notched trowel. For the very best adhesion, also, butter the back of the tile using a thin-set. Put the tile setup and press firmly to par it with the surrounding tile. Fix it, so the spacing is even on all sides. Tile Repair 7. Fill the Joint with Grout Wait a minimum of two hours into the thin-set to cure, then combine a batch of grout. Swipe the grout into the joints with a rubber grout float in a 45-degree angle, then wait for 15 minutes for it to harden. When the grout no longer feels tacky to the touch, then wash the excess with a damp sponge. 8. Permit the Grout to Dry Do not walk on the tile for 24 hours. Contact us: Phone: 02 9822 1872 Email: info@tileregrouting.com.au Website: https://www.tileregrouting.com.au/