Download
1 / 12
120 likes | 422 Vues
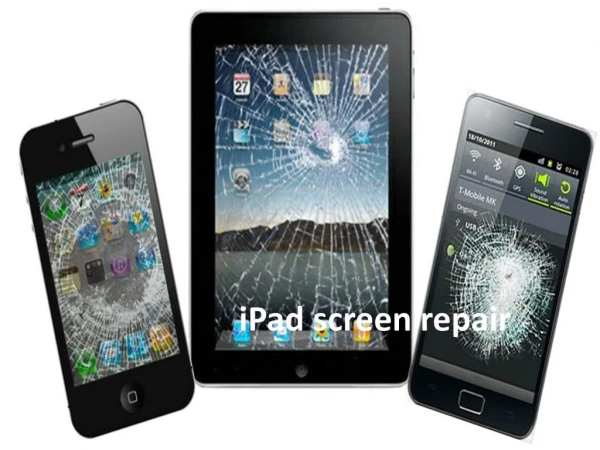
This presentation will walk you through repairing a damaged screen on an iPad 2. For full DIY kits to preform your own iPad 2, please visit: http://www.strivemobile.com/ipad-2-screen-replacement-repair-parts

E N D
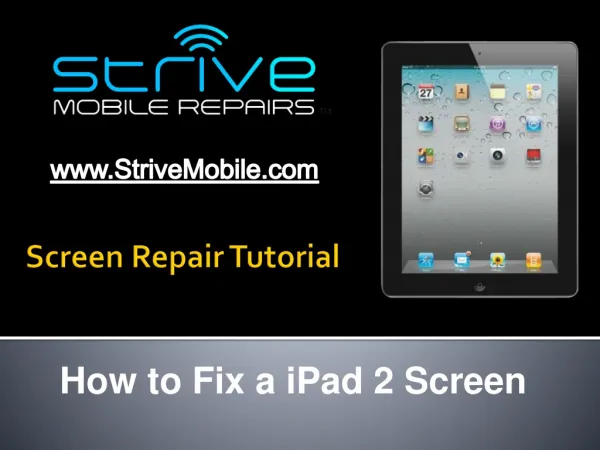
How to Fix a iPad 2 Screen www.StriveMobile.com Screen Repair Tutorial
Things you’ll need • iPad 2 Touch Screen Digitizer Replacement (Black or White) • Nylon Spudger • Plastic Pry Tools • Metal Pry Tool • Small Phillips Screwdriver • Suction Cup (Optional) • 3M Adhesive Strips • Heat Gun or Hair Dryer visit www.StriveMobile.com to purchase your DIY kit
Disassembly - Step 1 • Power off the device • Use a heat gun or hair dryer to warm the outside edges of the screen • Use medium heat about 2 inches from the device for about 30-45 seconds • Continuously move the heating source to insure no areas are overheated
Disassembly - Step 2 Using a metal pry tool and nylon spudger, begin lifting the glass screen away from the device Be cautions of the two areas marked to the left, as there are flex cables located in these positions that can be torn
Disassembly - Step 3 Continue working your way around, releasing all the adhesive holding the screen in place. On stubborn areas it is advised to reheat them for another 15-30 seconds Once the final adhesive is released, flip the glass screen to the left, being careful of the flex cable located in the bottom left
Cleaning the Bezel Using your pry tools, begin cleaning the bezel (where the touch screen rested on your device) from any leftover adhesive or glass
Removing the LCD Screen There are four (4) small Phillips (#00) screws located in each corner of the LCD screen which now need to be removed With the screws removed, use your pry tool to lift up on the right side of the LCD screen to fold it over on top of the touch screen
Releasing the Screen Connectors Use a pry tool to release the three (3) jaw connectors. With the connectors released you can now remove and replace either screen
Prepping New Touch Screen If replacing the touch screen, insure you transfer these two (2) pieces – the home button and camera bezel
Re-Assemble LCD Screen Reconnect the 2 flex cables and fit the LCD screen back into the device. Replace the 4 small Phillips screws
Applying Adhesive to Bezel We can now apply new adhesive. We suggest doing this directly on the bezel, not on the digitizer itself It is safe to place new adhesive in any location old adhesive previously was. The main areas to stay away from are camera holes and sensor locations. You can now remove the adhesive film cover and place your new screen onto the fresh adhesive. Be sure everything lines up properly.
Success!! And there you have it! Your iPad 2 is now looking and working like new again! Don’t forget to visit us at www.StriveMobile.com to order your Black or White iPad 2 Touch Screen Digitizer Replacement Kit or LCD Screen Repair Kit!