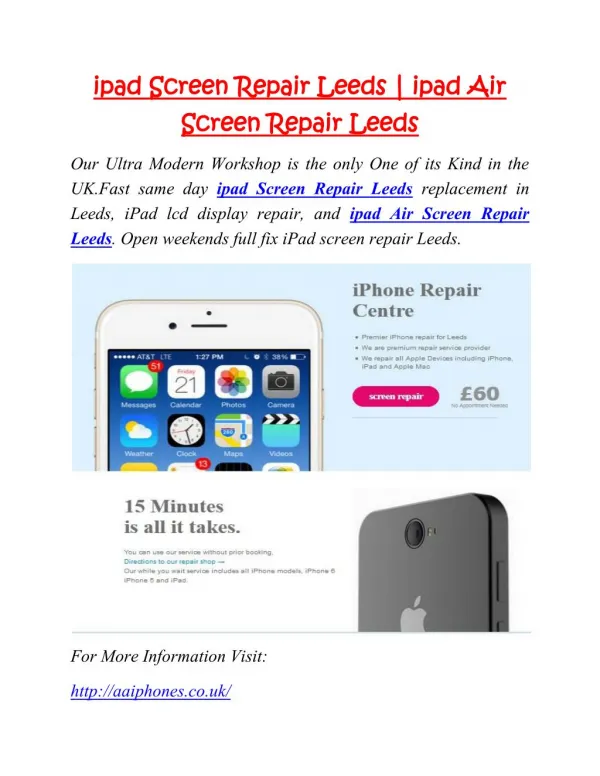
ipad screen repair
We all know how much a Smartphone is important in our life. We cannot think a single minute with a Smartphone. It helps us stay connected with the world and any type of damage or breakage can make us go crazy. Previously, we have to wait for a long period to get the damaged phone back. Today, the services are very prompt and you get the service instantly or within two days.
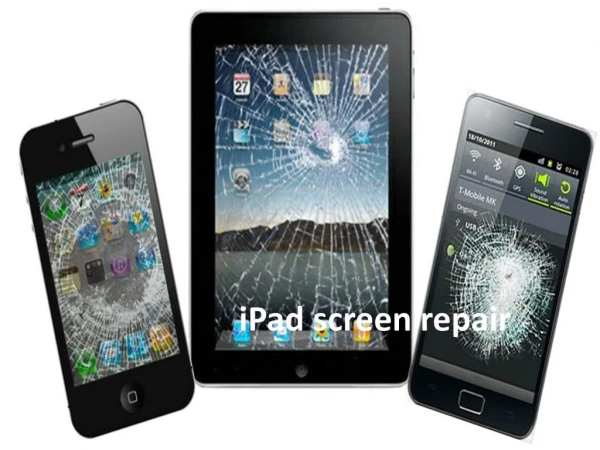

ipad screen repair
E N D
Presentation Transcript
Tools required your repair needs Hair dryer or heat gun iPad opening tool iPad replacement adhesive kit Double zero Phillips screwdriver Metal spudgers 4-6 pry tools
Power off your iPad Before performing any kind of repair on any device you should always power it off first.
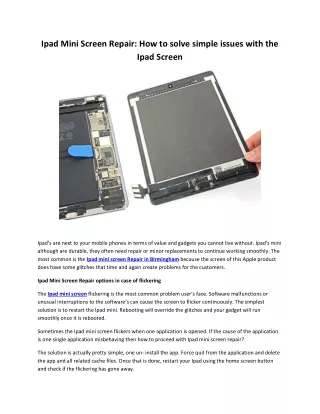
Remove the cracked display • Use your heat gun to heat up lower end of the phone. • Take the opening tool and very carefully insert it in between the digitizer and plastic frame right below where the digitizer cable should be. • Make sure that each area is heated properly so that you can take out the cracked pieces of glass
Attach the new digitizer assembly • Carefully insert the two ends of the digitizer cable into the socket you removed the old one from. • Make sure the digitizer cable is pushed in to or a little past the white lines or the touch screen may not fully respond. • Once it is done snap back down the clips that hold it in place.