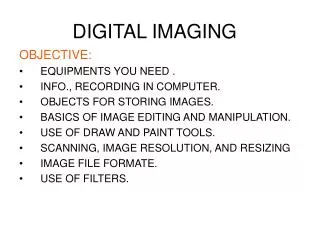
Mastering Image Sources and Editing with Photoshop Elements 7
This guide explores various image sources for editing using Photoshop Elements 7, including web galleries, clip art, scanners, and cameras. It details the importance of managing your image library, editing workflows, and leveraging tools effectively. You will learn how to import, edit, and store images while considering the quality and purpose of each edit. The guide also emphasizes best practices, such as using non-destructive editing and understanding your output needs. Additionally, discover how to eliminate unwanted images and keep organized in a digital gallery.

Mastering Image Sources and Editing with Photoshop Elements 7
E N D
Presentation Transcript
Digital Imaging 2 Using Photoshop Elements 7
Image Source • Web gallery • Clip art • Scanner • Webcam • USB adapters (microscope….) • Mobile phone • POV Camera • Camera
Do I need Photoshop/Elements? • Picasa, Picnik , Flikr………. • Photoshop Express • Within Elements: • Step by step • Quick Edit • Full Edit • Quality of original images (mobile, webcam, compact, SLR…) • Number of images and level of editing • Learning curve • How images are to be used
Image Management • How to manage a library of images? • Team share • Online photogallery • Keep originals? • Using your own images – • Copy all originals camera/card to PC • Eliminate “duds” • Copy originals to working folder • Edit and store in PSE Organiser / photogallery • Burn copies of originals and edits to DVD
Basic Photoediting Workflow • Import/open images • Rotate / align • Crop • Levels • Colour balance • Sharpening • Output
Important Concepts • PSE tools similar to Photoshop not as extensive • For complex/repeat edits keep the file as PSD • DO NOT repeat edit jpg • Size output to suit use (eg print, doc, web) • For final output Save As jpg file • Non-destructive edits possible with layers • Quick Fix makes it easy if desired • Many levels of Undo • Remember EXIF files which may help
Demonstration • Watch for workflow • Consider how image is to be used • Notice tools that are available • Introductory only – PSE is complex!