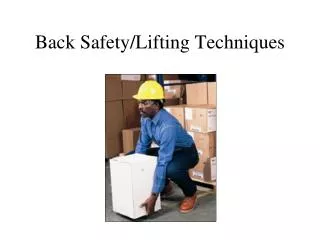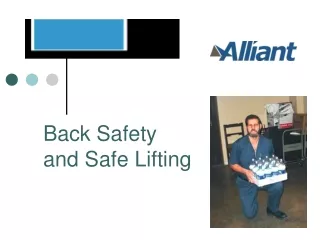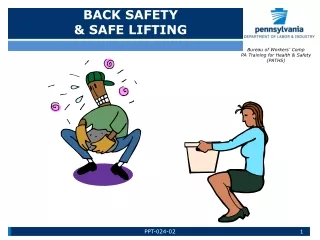
BACK SAFETY and LIFTING
THE FORCE IS AGAINST YOU…. BACK SAFETY and LIFTING. BACK INJURIES. More than 1 million workers suffer back injuries each year, accounting for 1/5 of all workplace injuries or illnesses. Add to that the employees’ pain and suffering.


BACK SAFETY and LIFTING
E N D
Presentation Transcript
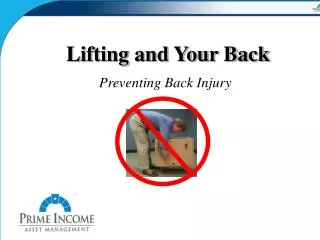
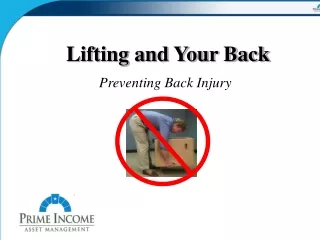
THE FORCE IS AGAINST YOU… BACK SAFETYand LIFTING
BACK INJURIES • More than 1 million workers suffer back injuries each year, accounting for 1/5 of all workplace injuries or illnesses. • Add to that the employees’ pain and suffering. • They are exceedingly painful, difficult to heal, and have an effect on everything you do. After suffering one back injury, you are much more likely to experience another one later on.
BACK INJURIES….. • It is important to learn how to avoid injuring or re-injuring your back. • You might be able to save yourself a lot of pain and a lifetime of back problems. Do yourself a big favor by learning proper lifting techniques and the basics of back safety.
Why do they occur? • The spine’s vertebrae are held together by ligaments. • Muscles are attached to the vertebrae by bands of tissue called tendons. • Between each vertebra is a cushion known as a disc. • Openings in each vertebra line up to form a long, hollow canal. • The spinal cord runs through this canal from the base of the brain. • Nerves from the spinal cord branch out and leave the spine through the spaces between the vertebra.
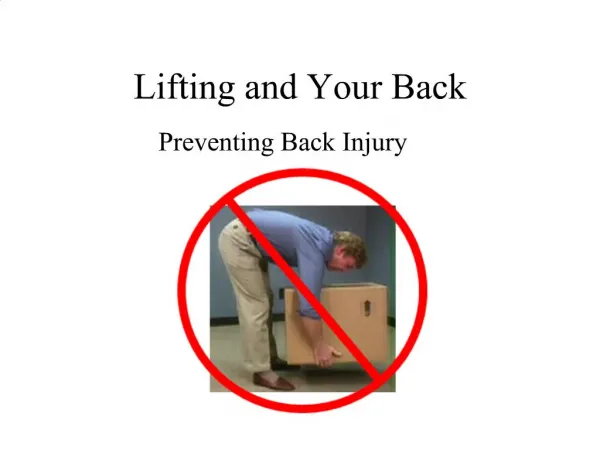
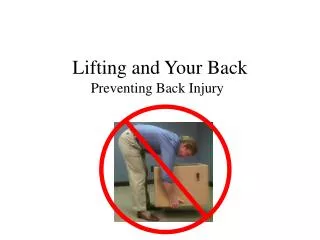
Why do they occur? • The lower part of the back holds most of the body’s weight. • Every time you bend over, lift a heavy object, or sit leaning forward, you put stress on your spine. • Over time, the discs between your vertebrae can start to wear out and become damaged. • Every time you bend or lean over to pick something up, you put tremendous pressure on your lower back.
The Forces Involved • The amount of force you place on your back in lifting may surprise you! • Think of your back as a lever, with the fulcrum in the center, it only takes ten pounds of pressure to lift a ten pound object. 10 lbs 10 lbs
The Forces Involved • If you shift the fulcrum to one side, it takes much more force to lift the same object. • Your waist acts like the fulcrum in a lever system, on a 10:1 ratio. • Lifting a ten pound object puts 100 pounds of pressure on your lower back. 100 lbs 10 lbs
The Forces Involved 1150 lbs • When you add in the 105 pounds of the average human upper torso, you see that lifting a ten pound object actually puts 1,150 pounds of pressure on the lower back. 105 lbs 10 lbs
The Forces Involved 1400 lbs • If you were 25 pounds overweight, it would add an additional 250 pounds of pressure on your back every time you bend over. 130 lbs 10 lbs
Back Safety & Lifting • CAUSES OF BACK INJURIES
Back Injury Prevention * SAFE LIFTING ZONE
Back Safety & Lifting • Reducing exposure to known risk factors • Repetition • Awkward Position • Force • Object weight • Load Distribution • Object friction • Duration
4 PRINCIPLES PRINCIPLES OFSAFE HANDLING
1) ASSESS • Assess the task: • Posture • Pacing, rate of work, breaks • Requirements for team handling • Assess Your Own Capabilities: • Strength, height, etc. • Health problems • Gender, age, fitness000 • Assess the Load: • Weight, shape, size • Handles, packaging • Stability • Contents: hot, cold, hazardous • Assess the environment: • Space constraints • Flooring condition, levels • Temperature, humidity, ventilation • Tidiness, general housekeeping
2) PLAN • Task • What is the most appropriate posture? • Is there mechanical aid available? • Is there anyone else to help? • Route • Consider start and end points • Can any obstructions be cleared
Prepare the load: • Can the load be split? • Can the load be made more stable? • Make sure contents are evenly distributed? • Move the load’s center of gravity close to yours • Cover sharp / abrasive edges • Prepare yourself and the area: • Check space constraints • Move obstacles • Check final destination • Check housekeeping • Get a good grip on the load • Use PPE where appropriate • 3) PREPARE
Apply principles of biomechanics to reduce the load on the spine; • Keep a wide base of support. • Maintain the lumbar curve (low back) as much as possible. • Get a good grip. • Position feet in direction of travel. • Use smooth controlled movements. • Use friction to minimize force. • Try to avoid twisting and stooping. • Use team lifting where appropriate. • 4) PERFORM
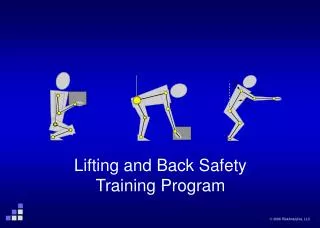
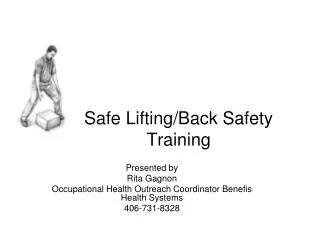
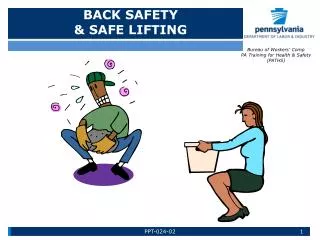
Proper Lifting Techniques • Grip the load • Squat down • Hug the load • PROPER LIFTING TECHNIQUES • Get close to the load • Slowly lift
Get close to the load • Get as close to the load as possible with your feet wide apart about shoulder width, with one foot slightly in front of the other for balance. • Test the object’s weight before lifting • Ask for assistance from a co-worker when appropriate. • Have the object close to the body and put less force on the low back • Avoid rapid, jerky movements.
Squat down • Keep yourself in an upright position while squatting to pick up. • Squat by bending the knees and hips. • Keep the three Curves of the Back properly aligned: • Ears, Shoulders, and Hips are in a straight line.
Grip the load • Tightening the stomach helps support the spine. • Do not hold your breath while tightening the muscles. • Get a firm grasp of the object before beginning the lift. • Use both hands. • Use whole hand, not just fingers. • Use gloves as needed to prevent “pinched” grips or to protect the hands during lift.
Hug the load • Legs are the strongest muscles in the body – so use them. • Avoid back flexion. • Hold objects close to body. • Slide the object from the knee on the ground to mid-thigh. • Keep the head forward. • Hug the object to your stomach & chest.
Slowly lift • Lift with the legs to allow the body’s powerful leg muscles to do the work. • Flex the knees and hips, not the back. • Avoid bending & twisting at the waist. • Try to keep the back “straight” during the lift. • Do not look down at the object during lift. • Look up to help “straighten” the position of the back for a safer lift. • Never Bend, Lift, and Twist at the same time.
SUMMARY • Common Causes Of Back Injuries • Heavy Lifting • Twisting • Reaching & Lifting • Carrying & Lifting • Awkward Positions • Sitting or Standing • Slips, trips, and falls Reduce exposures to known risk factors.
SUMMARY • Principles of Safe Handling • Assess, Plan, Prepare, Perform • Proper Lifting Techniques • Close, Squat, Grip, Hug, Stand Slowly • Should you exercise?---of course!!!