Download
1 / 17
170 likes | 188 Vues
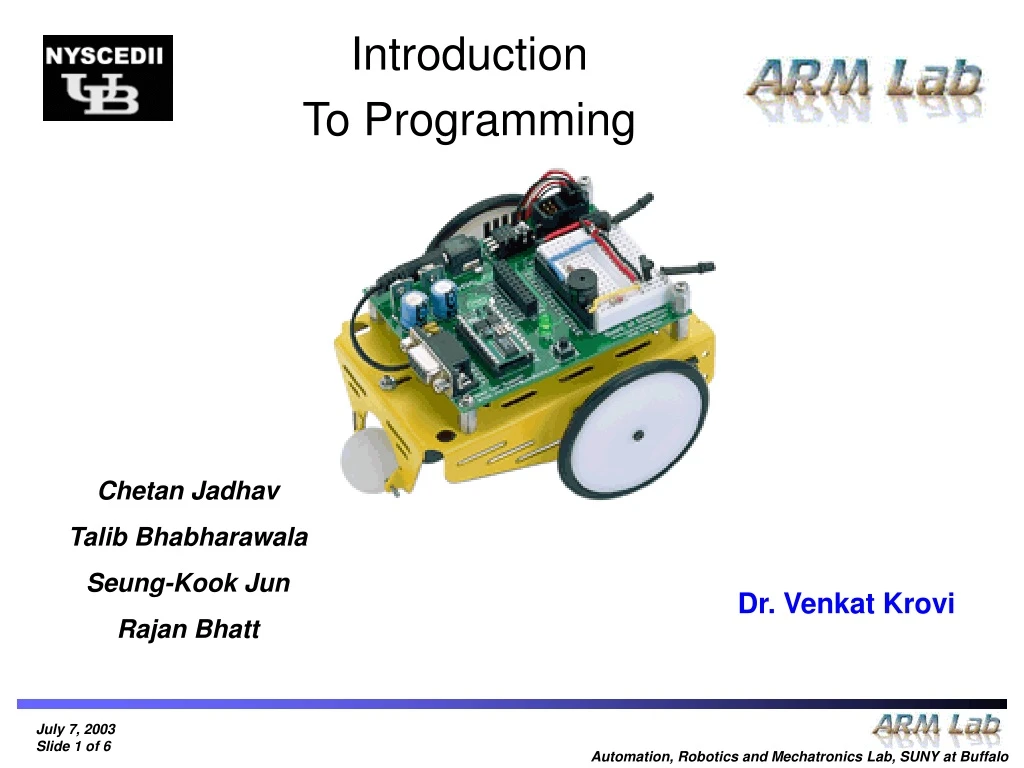
Introduction To Programming. Chetan Jadhav Talib Bhabharawala Seung-Kook Jun Rajan Bhatt. Dr. Venkat Krovi. Basic Stamp II. Self contained computer “Micro-controller” Specialized for “embedded” computing (sensing and controlling things) Built in programming language

E N D
Introduction To Programming Chetan Jadhav Talib Bhabharawala Seung-Kook Jun Rajan Bhatt Dr. Venkat Krovi
Basic Stamp II • Self contained computer • “Micro-controller” • Specialized for “embedded”computing (sensing and controlling things) • Built in programming language • PicBasic (interpreted) • Small programming environment runs on a PC • Connected with a serial cable
Parallax Basic Stamp II } { • PIC processor • (Very) roughly the computing power on the lunar module (much faster, but much less memory) • 1 million instructions / sec • Non-volatile memory • Power regulation • Serial interface
Parallax Basic Stamp II • Input/output pins • 16 total (P0…P15) • This is where the action is • Each pin can be accept input or produce output • Logic levels (0 or +5v) • Also “tricks” for sensing and producing values in between
Identifying the BASIC Stamp • Connect the BASIC Stamp carrier board to your computer with a serial cable. • Power-up your BASIC Stamp carrier board. • Use the Identify button to verify communications to your BASIC Stamp.
Writing the Program • BASIC Stamp programs are written in a version of BASIC called PBASIC entered into the BASIC Stamp Editor. • A program typically reads inputs, processing data, and controls outputs. • Programs must conform to the rules of syntax so that the BASIC Stamp can understand what you are telling it. DEBUG “Hello World”
Variables Overview • Variables are needed when a program requires a value to be stored. • Variables correspond to a memory location which we can read from and write to (Random Access Memory – RAM). • Variables allow the programmer to use descriptive words to indicate the contents of the memory location.
Constants • Constants provide the ability to assign names to values that do not change. They allow an easier reading of code. • Common uses of constants: • Naming of I/O pin numbers. • Naming of values which will not change such as PI (Note: the BS2 operates on whole numbers only). • Constant names follow the same rules as variables and are declared as follows:constant Name CON value
Stamp I/O • There are 16 I/O (Input/Output) pins on the BS2 labeled P0 to P15. These are the pins through which input and output devices may be connected. • Depending on the code that is written, each pin may act as an input to read a device, or as an output to control a device. • We will begin by using a very common and simple output device, the LED.
Output - Connecting an LED • In this configuration a LOW, or 0V, at P0 will allow current to flow through the LED to Vdd (+5V) lighting it. • When P0 is HIGH (+5V), no current will flow and the LED will not light. The LED is Active Low.
Blinking the LED with HIGH, LOW • Use the Stamp Editor to enter the following program:Download or run the program. • Monitor the LED. It should blink at a rate of 1 second OFF, 5 seconds ON. If not, check your configuration and code. ‘Prog : Blink LED program Main: HIGH 0 'Turn off LED PAUSE 1000 'Wait 1 second LOW 0 'Turn on LED PAUSE 5000 'Wait 5 seconds GOTO Main 'Jump back to beginning
Code Discussion • HIGH defines the pin to be an output and sets it to a HIGH state, digital 1 or 5V. • HIGH pin 0-15 • HIGH 8 • LOW defines the pin to be an output and sets it to a LOW state, digital 0 or 0V. • LOW pin 0-15 • LOW 8 • PAUSE instructs the BS2 to wait for the defined number of milliseconds (1/1000 seconds). • PAUSE time in milliseconds 0-65535 • PAUSE 1000 • GOTO instructs the BS2 to jump to the defined label. More about this will be covered in Programming Structures. • GOTO Label
Challenge : Blink a 2nd LED • Connect a second active-low LED2 on P1. • Code a program to blink only this LED using HIGH and LOW instructions.
Challenge : LED Cycling • Code a program to perform the following sequence (use HIGH and LOW): • LED1 on P0 ON, LED2 on P1 OFF • Wait 2 seconds • LED1 on P0 ON, LED2 on P1 ON • Wait 1 second • Both LEDs OFF • Wait one-half second • Repeat
Sound output • FREQOUT Pin, Len, Freq1 • FREQOUT Pin, Len, Freq1, Freq2 • Len in ms • Freq in Hz • 0 for off
Debugging • Debugging refers to the act of finding errors in code and correcting them. There are 2 types of errors which can be made when coding: Syntax errors and Logical errors. • Syntax errors are those that occur when the editor/compiler does not understand the code written.An example would be: GO TO MainThe PBASIC tokenizer, which takes our code and puts it in a form the BS2 understands, does not have an instruction called GO TO (it has one called GOTO). This section of code would be flagged as having a syntax problem, which we identify and correct.
Introduction to Flow • The programs in the tutorial have been relatively easy and follow a sequence of steps from top to bottom. At the end of each program, GOTO Main has been used to loop the program back to the start. • Virtually all microcontroller programs will continually repeat since they are typically embedded in processes to be operated continually. • Sequential flow (top to bottom), looping, unconditional branching, and conditional branching will be explored in this section.