Interactive Whiteboards for Effective Primary Science
200 likes | 377 Vues
Interactive Whiteboards for Effective Primary Science. Continuing Professional Development Unit Interactive Whiteboards for Effective Primary Science. Start. Introduction. Interactive whiteboard (IWB) Overview. Click for an introduction. Whiteboard Basics.

Interactive Whiteboards for Effective Primary Science
E N D
Presentation Transcript
Interactive Whiteboards for Effective Primary Science Continuing Professional Development UnitInteractive Whiteboards for EffectivePrimaryScience Start
Interactive whiteboard (IWB) Overview • Click for an introduction.
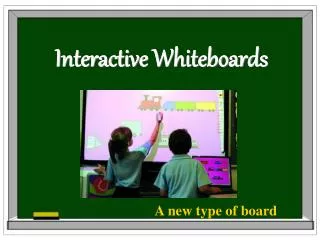
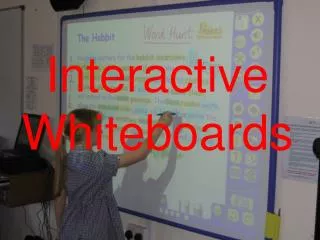
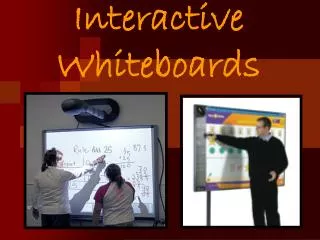
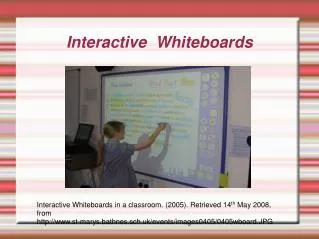
Whiteboard Basics • An IWB is a piece of apparatus that allows people to see and work a computer on a large scale (on a huge screen) by the touch of a pen or finger. • Objects can be moved around very easily and software can be controlled as though you were using a mouse. You can also write over (annotate) anything on your screen. • This allows a teacher to create a science lesson that is presentational, participational and finally interactive.
Whiteboard Basics • There are many makes of IWB on the market and all will allow you to control software and ‘write’ over it. We are going to refer to two market leaders. They are SMART and Promethean boards. • On the next slides you will see the basics of how to use the boards. • Smart Board. • Promethean Board.
Looking at the pen tools on a Promethean board • Description of the tools on a Promethean board. shapes to draw highlighter colours pen clear all rubber redo undo select
Looking at the pen tools on a SMART board Description of the tools on a SMART board. thickness of pen shape tools select highlighter redo undo colours pen rubber
Video – Using the pen tools • Smart Board. • Promethean Board.
Pen Tool Challenge • Can you think of some ways you can use pen tools in a science lesson?
More pen tool ideas • Make notes. • Create a flow chart of ideas. • Use a different colour for a key science word. • Create simple diagrams. • Draw a sequence out of order and use the select tool to reorder it. • Create gap fill exercises to test knowledge. • Write over a science CD to illustrate a point. • Log on to the Internet and write over key ideas.
Video – Using the text tool • Smart Board. • Promethean Board.
The Text tool • On a Promethean board you can simply click on this icon and write in the text box that appears. You’ll get lots of formatting icons in a window that operate similar to word.You can also click on this icon and your free writing will convert to printed text. • On a SMART board you can either type straight from your computer keyboard or use the on screen one that is accessed by pressing a button on the right hand side of the board.You can also write freehand on the board, select the writing using the select tool and then click on the capital ‘A’ that appears.
Text tool challenge • Can you think of some ideas that will enhance your science lesson when you use the text tool?
Text Tool ideas • Write out your learning goals in text. • Create a gap fill exercise to test comprehension. • Create single words to move around the screen so they can be matched up to meanings or appropriate images. • Create word lists related to a science topic and show them on the board. • Match up sentence halves related to science work. • Create labels for a simple diagram and use the select tool to match them to the right place. • Create a science based sentence word by word and use the select tool to construct the sentence.
Video – Using images • Smart Board. • Promethean Board.
Inserting an image • A very simple way of inserting an image is to find the camera icon on either board. The promethean icon looks like this and the SMART icon looks like this . • On the Promethean board click on the camera tool choose area snapshot, draw around your picture and select the icon that is labelled to current page. Click and your image is captured into your Whiteboard software. • On the SMART board click on the camera icon and select area snapshot. Minimise your notebook file and draw round the object of your choice. The image is immediately captured onto your notebook.
Image Challenge • Can you collect a series of images on a science topic of your choice so that they can be the base of your next science lesson. • Use the camera tool. • A useful tip is to visit http://google.com then click on the image tab. Type in the name of the kind of image you’d like and you will find you have access to literally millions of images that you can use for creating lessons.
Video – Leo demonstrates how to plan and execute ideas for teaching in his Lab, using two boards • SMART Board. • Promethean Board.
The final Challenge • Select a a science topic of your choice and try to create a lesson using IWB software. • On your first page type out your learning goals and put in a ‘wow’ factor image. • On your next page present the information you wish to give to the children and illustrate it. • On the next page ask the children to come out to the board to either write or move an appropriate object around the screen. • On a further page create a task that makes the children talk among themselves so they interact. (e.g. discuss an image) • Finally either you or the children can carry out a written/oral plenary using the board to write down appropriate information. • For further ideas click here to view a non-interactive sample lesson
Interactive Whiteboards for Effective Primary Science Interactive Whiteboards for Effective Primary Science You have reached the end of this workshop. We hope that it has promoted some stimulating discussion about the purposes and potential of interactive whiteboardsThank you for your support. To return to the main menu click the close button in the top-right hand corner of this window