Seat and Back Sensor Array Adjustment Guide
Learn how to adjust the sensor array for the seat and back shapes using a simulator. Save the files correctly and verify the shape for accuracy. Instructions included for saving to a disk.

Seat and Back Sensor Array Adjustment Guide
E N D
Presentation Transcript
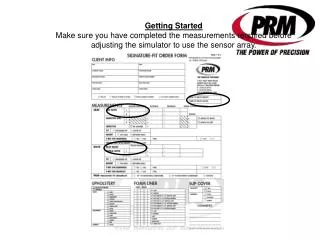
Getting Started Make sure you have completed the measurements required before adjusting the simulator to use the sensor array.
Sampling and Saving a Seat • Double click on the short-cut to s2k icon. • Select sample tab • Select sample seat • Select start sample • Position sensor array at the starting position on the cushion • Starting position for seat is at the front of cushion • Move the sensor array along the simulator in half-inch increments • Once sensing is completed double click on the stop sample button • Click on the done button • Under the file tab, select save seat • Name file using signature file format (XX001s.dat)
Sampling and Saving a Back • Select sample tab • Select sample back • Select start sample • Fully recline the simulator to the 180° position • Position sensor array at the starting position on the cushion • Starting position for the back is at the bottom of the back • Move the sensor array along the simulator in half-inch increments • Once sensing is completed double click on the stop sample button • Click on the done button • Under the file tab, select save seat or back • Name file using signature file format (XX001b.dat)
Shape Save Verification • Verification of the saved shape can be found along the blue line at the top of the window
Saving to a Disk • I do not recommend saving the shape to a disk using the Signature software because you can over write a good shape if you select the incorrect option • Windows explorer is the simplest way to save to a disk without the ability to over write the file
Using windows explorer Double click windows explorer icon Normally opens to “My Documents” Find folder where cushion shapes are saved by clicking on column on left side of screen Once files are located Click on file once so that it is highlighted Saving to a Disk
Saving to a Disk • Then go to top of screen and hit edit • Then copy Then find the folder titled My Computer and click on it • Then select 3 ½” floppy (a:) • Then go to top of screen and hit edit • Then select paste • It should tell you the file is being copied to the disk