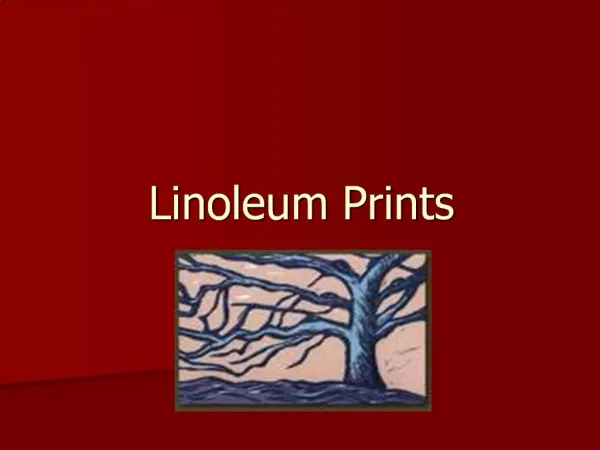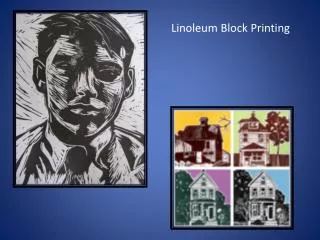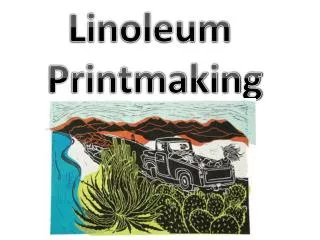
Linoleum Print Making
Linoleum Print Making. Mrs. Llewellyn. WHAT KIND OF IMAGE?. IMAGE DESIGN LANDSCAPE SCENE. VOCABULARY.

Linoleum Print Making
E N D
Presentation Transcript
Linoleum Print Making Mrs. Llewellyn
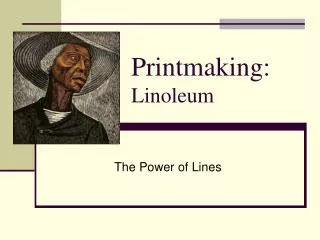
WHAT KIND OF IMAGE? • IMAGE • DESIGN • LANDSCAPE SCENE
VOCABULARY • Printmaking: A process in which an artist repeatedly transfers an original image from one prepared surface to another.Relief printing: a form of printmaking in which only the raised areas of the block are printed.Plate: the surface on which the image is prepared. It can be wood, stone, linoleum or a variety of other materials including cardboard.Safety Kut: a type of linoleum, which can be used on both sides.Gouge: the tool used for carving away the negative shape in your design. It comes with a variety of different blades.Brayer: the rolling device used to spread ink onto the plate and then onto the block. • Baren: a circular tool used to transfer ink onto paper by friction.Edition: the total number of identical prints (copies) made from one image.
http://www.kinderart.com/printmaking/lino.shtml http://artlady.janishenderson.com/printmaking/ http://www.youtube.com/watch?v=69i0mES2UTQ
PROCESS • Once your design has been approved, trace the design heavily in ebony pencil • Transfer to the plate by turning it face down retracing your image with pencil on the back, this will apply the pressure needed to make the transfer. • Use Sharpie
The negative (white) shapes will be cut away using gouges leaving the raised positive shapes. Remember to cut away from you and your hand. • Cut deep enough so that your negative spaces are lower than your positive. (Blick's easy cut blocks have a blue or red inside that show you have carved deep enough) • I will check the plate.
*Tip* I have one table that is the "Inking Table". All the mess will stay in one place! I have 8 ink colors and set them up around the table each with its own brayer. Students are instructed to use the ink in that exact spot! Spoons for barens are also placed in the middle of the table. • Squirt a nickel sized amount of ink on the table! Ink will be spread by rolling the brayer through the ink up and down, left and right till you hear a "tacky sticky" sound. Roll ink onto the plate left and right and top to bottom. • http://www.youtube.com/watch/?v=HQhntptX_dE